Garmin GPS 72, Owner'S Manual & Reference Manual
The Garmin GPS 72 is a versatile navigation device that is user-friendly and reliable. With its Quick Start Manual, setting up and using this GPS is a breeze. You can easily download the manual for free from our website, ensuring that you have all the information you need at your fingertips.
Share
Download


Reviews:
No comments
Related manuals for GPS 72

GL300A
Brand: Queclink Pages: 2

BG77
Brand: 5G HUB Pages: 14

EASY Finder 4G
Brand: PAJ GPS Pages: 3

NAV700
Brand: V7 Pages: 13

PY-GPS7005
Brand: Alien Pages: 104

echoMAP 40 Series
Brand: Garmin Pages: 68

MojoMINI
Brand: Leica Pages: 4

MCP100
Brand: Omnitracs Pages: 256

GPS2058
Brand: DeLorme Pages: 11
BT-Q818
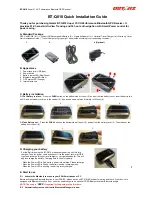
Brand: Qstarz Pages: 2
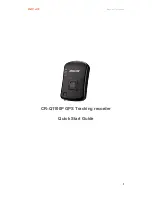
CR-Q1100P
Brand: Qstarz Pages: 4
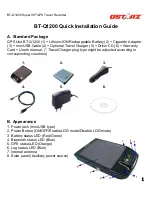
BT-Q1200 Super 99
Brand: Qstarz Pages: 7
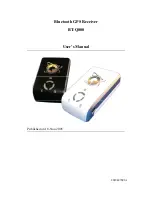
BT-Q800
Brand: Qstarz Pages: 20

BT-Q890
Brand: Qstarz Pages: 24

BT-Q1000XT
Brand: Qstarz Pages: 36

BT-Q1000X
Brand: Qstarz Pages: 42

BT-Q1000eX
Brand: Qstarz Pages: 43

BT-Q1000XT
Brand: Qstarz Pages: 81


