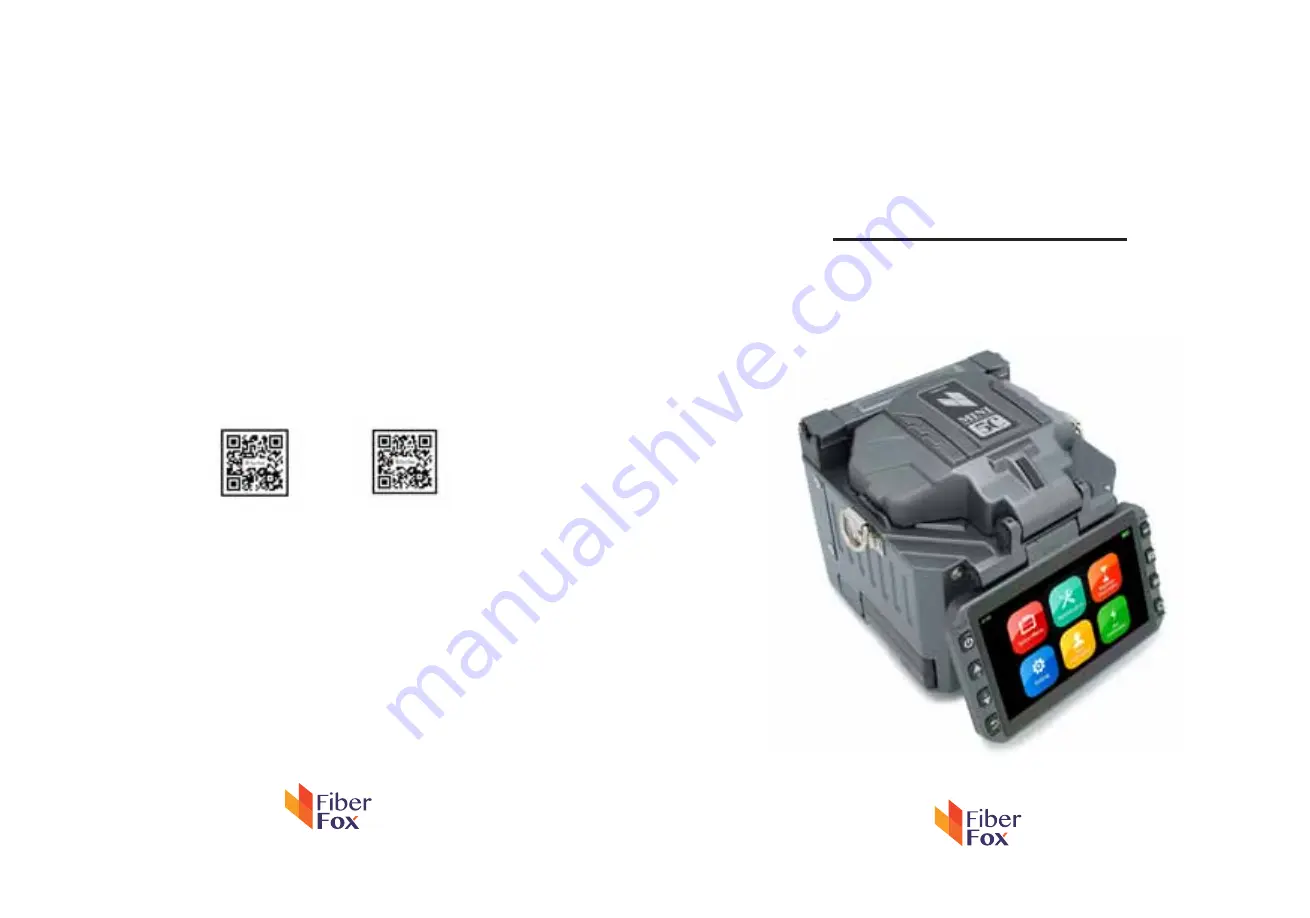
background image

Mini 5C

User Manual 

www.fiberfox.co.kr

www.fiberfox.co.kr

80, Dongseo-daero 179beon-gil,

yuseong-gu, Daejeon 305-320, Korea

Sales : [email protected]

Technical Support : [email protected]

website

youtube

Summary of Contents for Mini5C

Page 1: ...ini 5C User Manual www fiberfox co kr www fiberfox co kr 80 Dongseo daero 179beon gil yuseong gu Daejeon 305 320 Korea Sales sales fiberfox co kr Technical Support support fiberfox co kr website youtube ...

Page 2: ...ce the fiber folder Cleaning Splice Program Stabilize Electrodes Arc Calibration Splice Menu Maintenance Setting 1 Splice Mode 2 Splice Option 3 Heater Mode 4 Data Storage 5 Menu Lock 6 Reset 1 System Setting 2 Language 3 Power Save Option 4 Set Calendar 4 4 6 7 7 9 10 11 13 14 15 8 8 18 19 20 21 ...

Page 3: ...rmation 26 28 31 23 24 Cautions Important The Battery must be taken out of the splicer when stored in the Hand carrying case FiberFox highly recommend s that all users read this manual before operating Mini 5C This manual is valid for the following software version ...

Page 4: ...and automatic splice mode give the custom ers great user friendliness For more information please contact your local distributor or visit our website at www fiberfox co kr This manual explains the features specifications operation maintenance and warnings about Mini 5C The primary goal of this manual is to make the user very familiar with the splicer operation Camera High precision dual camera Dis...

Page 5: ...TU TG 652 DS ITU TG 653 NZDS ITU TG 655 ITU TG 657 A B Type MM ITU TG 651 Applicable Cable Fiber count Single core fiber in cable Applicable diameter 0 25mm 0 9mm 2 0mm 2 4mm 3 0mm Applicable buffer Diameter Cladding diameter 80 150µm Coating diameter 100 3 000 µm Splice Loss SM 0 02dB MM 0 01dB DS 0 04dB NZDS 0 04dB G 657 0 02dB Reliability Operating Condition Altitude 0 5 000M Humidity 0 95 Temp...

Page 6: ... 6 Splicer description part name Battery Micro HDMI Port Connenctor for Charging Battery Return Button ON OFF Button Sleeve Heater Monitor ...

Page 7: ...h new one 4 Tighten up the screw V Grooves Check fiber after cleaning with cotton swab 1 Do not disturb the electrode tips 2 Use only 99 or better purity alcohol Lens Mirrors Caution 1 The unscrewd screws remain in the holder Do not t remove the screws out 2 Do not screw down the holder too tight Caution ...

Page 8: ...discharge center It is necessary to perform an arc power calibration to eliminate these problems Note Performing Arc calibration function changes the arc power Factor value The factor value is used in the algorithm program for all splicing The arc power value will not change in the splice modes Standard Factor value is changed within 11 2 It shows Complete word Arc Calibration In the event of sudd...

Page 9: ... 9 1 Splice Mode Splice Menu Factory Pre Set Mode 16 ea User Mode User Edit 16ea Customized mode 1 ea Delete Splice Mode ...

Page 10: ...FF Proceeding without the pause Pause 2 Align Motor ON Pause after camera focus Axis alignment process OFF Proceeding without the pause Realign After Pause 2 ON Automatically proceed realignment OFF Proceeding without the pause Ignore Splicing Error splicing error message is not displayed Fiber Image On Screen Select display structure for each splicing process ...

Page 11: ... 11 3 Heater Mode Factory Pre Set Mode 4 ea User Mode User Edit 4ea Customized mode 1 ea Delete Heater Mode ...

Page 12: ... which means it is warming up the heater about 120 to 160 itself After a few minutes it is avaiable to shrink the sleeve in 15 seconds Refer to 60mm sleeve which used to perform in 20 seconds However Please be attention it wastes more the battery power than Normal heating mode Normal Cycle is approximately 400 whereas it performs 295 cycle ...

Page 13: ...elete Splice Record Export Splice Data Downloading saved data Splice record or Image User Information Record the work information into the data save file Splice Data Save ON Automatic data save Image data is saved manually OFF Do not save splice record 4 Data Storage ...

Page 14: ...le Splice mode edit OFF Ensable Splice mode edit Heater Mode Lock ON Disable Heater mode edit OFF Enable Heater mode edit Recordes Delete Lock ON Disable Record mode edit OFF Enable Heater mode edit Password Lock ON Disable to change the password OFF Enable to change the password ...

Page 15: ...ary to make all the param eter to be the factory set mode However It is highly recommended to execute task after discussed with a fiberfox technician Whereas lower 1 34 version is necessary to execute Reset to adapt new function of program on splicer after upgrading process ...

Page 16: ...rodes FiberFox recommendation It is highly recommended to change the electrodes after every 3 000 splicing After finished to use this menu the current Arc Count would be reset to 0 Endured Arc Training for new electrodes adjustment It occurs 30 times arc training for adjusting new electrodes function It is recommended to try on completion Replace Electrodes menu Motor Calibration Automatically cal...

Page 17: ...asures and adjusts the brightness of LED Dust Check Detects dust contaminant causing improper splicing In order to find out optimized position for splicing the splicer analyses the fiber images being transmitted by the optical camera LED inside but dust or contaminant on the camera lenses LED may cause inaccurate splicing result Therefore the dust check process is recommended to proceed in case of...

Page 18: ...am Electrode Setting Fiber Training Electrode Caution Caution alram will be displayed when it reachs the number of splicing cycle you set Electrode Warning Caution alram will be displayed when it reachs the number of splicing cycle you set ...

Page 19: ...Upgrade to the latest software version Procedure 1 Prepare the USB device 2 Download the latest version software to the USB 3 Link to the Splicer Via link cable in the package 4 Press O Button to proceed update 5 Device will be rebooted once it is done 6 Splice Menu Reset Format Input Password Execute Format task 7 Execute the Quick Optimize Stabilize Electrodes Arc Calibration ...

Page 20: ...F Manual start Monitor Position Front Normal direction display Rear Opposite direction display Dust Check ON Check the dust density OFF Skip dust checking process Password Lock ON Password is required to operate the device OFF No passwerd is required Pull Test ON Automatic pull test processing after splicing OFF Skip pull test process ...

Page 21: ... 21 2 Language Language Available 繁体中文 Việt English العربية 한글 Español Русский Italiano Deutsch Português Français فارسی ไทย Set your own language ...

Page 22: ...l block the power supply toward LCD 2 System will be switched over to standby mode Press the power button to resume Screen will be back on Splicer Shut Down No input during the time you set the splicer will be shut down to save the power Pressing the power button for 2sec to reboot the splicer ...

Page 23: ... 23 4 Set Calendar 5 Password Change your password Procedure 1 Input 4 digit old password number 2 Input new 4 digit number for new password ...

Page 24: ...installed FPGA Field programmable gate array version Total Arc Count Total number of Arc discharges Current Arc Count Current number of Arc discharge Last Maintenance Last maintenance date First Maintenance First manufacturing date Warranty Period Warranty period Delivery Date Delivery date Product OEM Manufacturer name ...

Page 25: ... 25 ...

Page 26: ...eaver is well conditioned Pre fuse power too low or pre fuse time too short INcrease Pre fuse power and or Pre fuse time MFD Mismatch Arc power too low Increase Arc power Combution Bad fiber end face quality Check the cleaver Dust still present after cleaning fiber of cleaning arc Clean fiber throughly or in crease Cleaning arc time Bubbles Bad fiber end face quality Check if fiber cleaver is well...

Page 27: ...ffect splice quality such as splice loss or tensile strength Fat Fiber stuffing too much Decrease Overlap and perform Motor clibration Thin Arc power not adequate Perform Arc calibration Some arc parameters not adequate Adjust Prefuse power Pre fuse time or Overlap Line Some arc parameters not adequate Adjust Prefuse power Pre fuse time or Overlap ...

Page 28: ...Failed to Find The Fiber End face The fiber is not set correctly at the bottom of the V groove Press the Reset button and then re position the fiber correctly at the bottom of the V groove No Arc Discharge Arc Discharge does not occur Confirm the electrodes in proper position Replace electrodes Motor Overrun The fiber is not set correctly at the bottom of the V groove Press the Reset button and th...

Page 29: ...The fibers of two sides are different type It may resul tin large splice loss if you continue to splice Please use the proper splice mode corresponding to the fibers Large Cleave Angle Bad fiber end face check the condition of the fiber cleaver if the blade is worn rotate the blade to a new position or change a new one and then re prepare the fibers Cleave Limit is set too low Increase the Cleave ...

Page 30: ...using MM splice mode to splice There s dust or dirt on the fiber surface Prepare the fiber again There s dust or dirt on the fiber surface Execute the Dust check after the lenses and LEDs are cleaned Cleave angle limit is too low Increase the cleave angle limit to a decent value standard value 3 0 c Fat Fiber Overlap too much Adjust overlap parameter Motor is not calibrated Calibrate and maintain ...

Page 31: ...s Replace the electrodes Please refer to Appendix I The splice loss varies according to the cleave angle arc conditions and fiber cleanliness Monitor suddenly turned off The monitor suddenly turn off after an extended period of splicer inactivity if the power saving function is enabled Press any key to return to the normal state Splicer power suddenly turned off without Low battery message The mon...

Page 32: ...while execute some specified function that fibers are needed Return key is invalid Open the wind protect shield load prepared fibers in the splicer and press Set to continue or press Reset Upgrading Failure When users use the USB to upgrade the splice may not be able to correctly identify the upgrade file you need to re plug the HDMI cable with USB and retry the upgrade software Check if the upgra...

Page 33: ... 33 ...

Reviews: