background image

CONTENT

Self- Assembly

4-5 

Overview

1-3

Setup

6-14

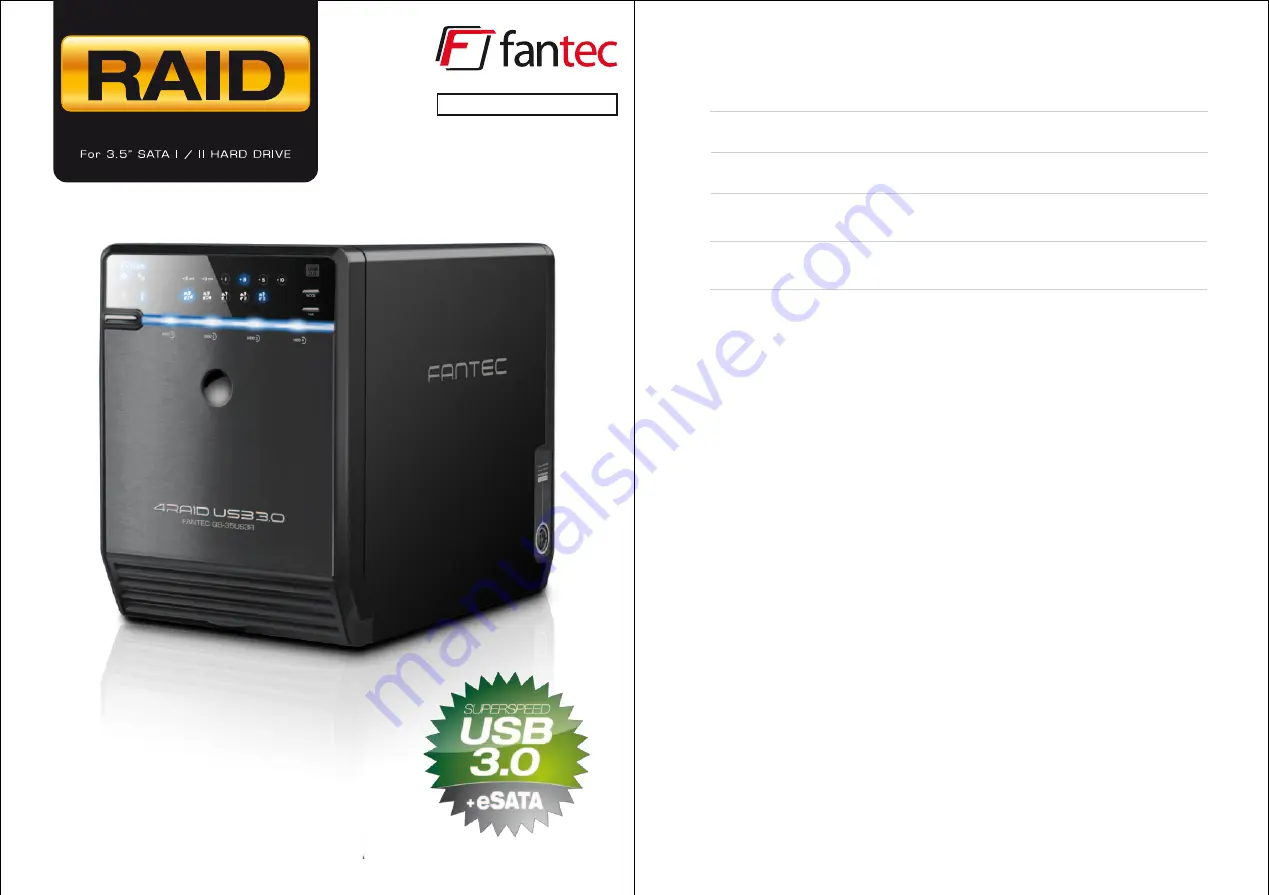
   Model: QB-35US3R

4-BAY RAID ENCLOSURE

RAID Modus Einstellungen / LED Anzeigen

Initialization

15-24

Windows Vista / Windows 7 / Macintosh O.S. 10.X  

References

25-28

http://www.fantec.de

If you have questions or need help with this device,
please visit our Fantec Support Forum:

http://www.fantec-forum.de/

Please visit our website for more information:

English

Summary of Contents for QB-35RFEU3

Page 1: ...s Einstellungen LED Anzeigen Initialization 15 24 Windows Vista Windows 7 Macintosh O S 10 X References 25 28 http www fantec de If you have questions or need help with this device please visit our Fantec Support Forum http www fantec forum de Please visit our website for more information English ...

Page 2: ...idental power off 11 eSATA in use access 12 USB in use access 13 HDD Handle 14 17 HDD1 HDD2 HDD3 HDD4 Blue active Purple access Red rebuild 18 Smart Fan automatic mode 19 Smart Fan manual mode 20 Fan speed level 1 21 Fan speed level 2 22 Fan speed level 3 23 Mode RAID mode button needs to be pressed for 3 seconds to switch the device s mode This design will prevent accidental execution of this fun...

Page 3: ...se the provided handles to secure the 4 HDDs with screws B Press the circular deepening to open the cover DESCRIPTION 1 Fan 2 RAID CONFIRMATION button 3 USB 3 0 2 0 port 4 eSATA port DESCRIPTION 1 DC Jack 2 DC Power HDD HANDLE FRONT COVER METAL FRAME REAR PANEL SIDE PANEL right EN 04 28 EN 03 28 1 2 3 2 4 1 2 1 ...

Page 4: ...SATA cable in the rear panel and power on the device H Set up RAID Mode EN 06 28 First install the HDD from up to down in the enclosure Power on the device press RAID button for 3 seconds until LED flashes Press it again select the RAID mode you want to use and press the Confirmation Button on the rear panel till the device shuts down Power the device on again and the RAID mode setup is completed ...

Page 5: ...ess of writing data to multiple drives simultaneously Mirroring is used to provide redundancy If one drive fails the redundant drive s will continue to store the data and provide access to it The failed drive can then be replaced and the drive set can be rebuild This mechanism provides an improved performance and fault tolerance similar to RAID 5 but with a dedicated parity disk rather than rotate...

Page 6: ... Display Status MODE LED Display Spanning RAID O When any of HDD1 HDD4 is recognized by the PC HDD1 HDD4 blue active is on Blue Active RAID O Striping LED Display Status MODE LED Display When any of HDD1 HDD4 is recognized by the PC HDD1 HDD4 blue active is on Blue Active ...

Page 7: ...D Display RAID 3 Striped set with dedicated parity MODE LED Display When any of HDD1 HDD4 is recognized by the PC HDD1 HDD4 blue active is on Red Rebuild When the data is being rebuilt LED of rebuild HDD error and HDD 1 4 depends on which HDD is being rebuilt error will be on Red Rebuild When the data is being rebuilt LED of rebuild HDD error and HDD 1 4 depends on which HDD is being rebuilt error...

Page 8: ... the data is being rebuilt LED of rebuild HDD error and HDD 1 4 depends on which HDD is being rebuilt error will be on When any of HDD1 HDD4 is recognized by the PC HDD1 HDD4 blue active is on MODE LED Display RAID 5 Striped set with distributed parity LED Display Status MODE LED Display When any of HDD1 HDD4 is recognized by the PC HDD1 HDD4 blue active is on LED Display Status Blue Active RAID 1...

Page 9: ...first click Start Execute at your PC and key in diskmgmt msc After that please press RETURN key Windows 2000 XP 32 64 bit Windows 2000 XP 32 62 bit only support MBR Under Windows 2000 XP the HDD total volume shall not be more than 2 048GB otherwise the device won t be recognized EN 15 28 3 Disk format completed 2 Create new partition and format disk ...

Page 10: ...click Start Execute at your PC and key in diskmgmt msc After that please press RETURN key 1 Start disk initialization 2 Create new partition and format disk 3 Disk format completed Note Please enable GPT if the total capacity is more than 2TB and enable MBR if the total capacity is less than 2TB GPT mode Get more information on page 20 ...

Page 11: ...cute at your PC and key in diskmgmt msc After that please press RETURN key 1 Start disk initialization Activate MBR if total volume size is up to 2TB Note Please enable GPT if the total capacity is more than 2TB and enable MBR if the total capacity is lup to 2TB Initialization with GPT or MBR mode Activate GPT if total volume size is more than 2TB ...

Page 12: ...DE 31 38 2 Create new partition and format disk 3 HDD format completed EN 21 28 EN 22 28 Macintosh O S 10 X 1 Click Disk Utility icon 2 HDD initialize ...

Page 13: ...EN 23 28 5 HDD format in process 6 Format completed 4 Click Erase 3 Click Erase EN 24 28 ...

Page 14: ...could be recognized only for the operation system is 10 4 11 Tiger or later 10 Do not connect the device to the SATA on board port of the motherboard Either use SATA to eSATA PCI Express or SATA to eSATA PCI add on card otherwise the PC may not recognize the device 11 In RAID 1 HDD1 and HDD2 must be installed otherwise the PC can not recognize the device 12 Rebuild time is based on the capacity e ...

Page 15: ...more than 2TB Macintosh 10 3 x or later 25 Support USB transfer speeds of Low speed 1 5Mbps Full speed 12Mbps High Speed 480Mbps Super Speed 5Gbps eSATA transfer speed 1 5 3 0Gbps EN 27 28 26 The chart below shows you that the device still functions when one HDD has error RAID MODE RAID 1 RAID 3 RAID 5 When one HDD has error the device still functions well but you may have to replace it with a new...

Reviews: