Summary of Contents for 1000 Mercury Dual Fuel
Page 1: ...Mercury 1000 Dual Fuel USER GUIDE INSTALLATION INSTRUCTIONS...
Page 4: ...ii...
Page 35: ...31...
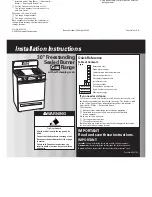
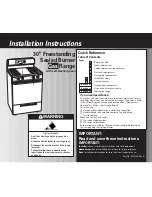
The Falcon 1000 Mercury Dual Fuel cooker is a sleek and efficient addition to any kitchen. For detailed instructions on how to use and install this appliance, download the User's Manual and Installation Instructions for free from manualshive.com. Get the most out of your cooker with this essential manual.
Page 1: ...Mercury 1000 Dual Fuel USER GUIDE INSTALLATION INSTRUCTIONS...
Page 4: ...ii...
Page 35: ...31...