


A
H
0480
0154 117 101
000303
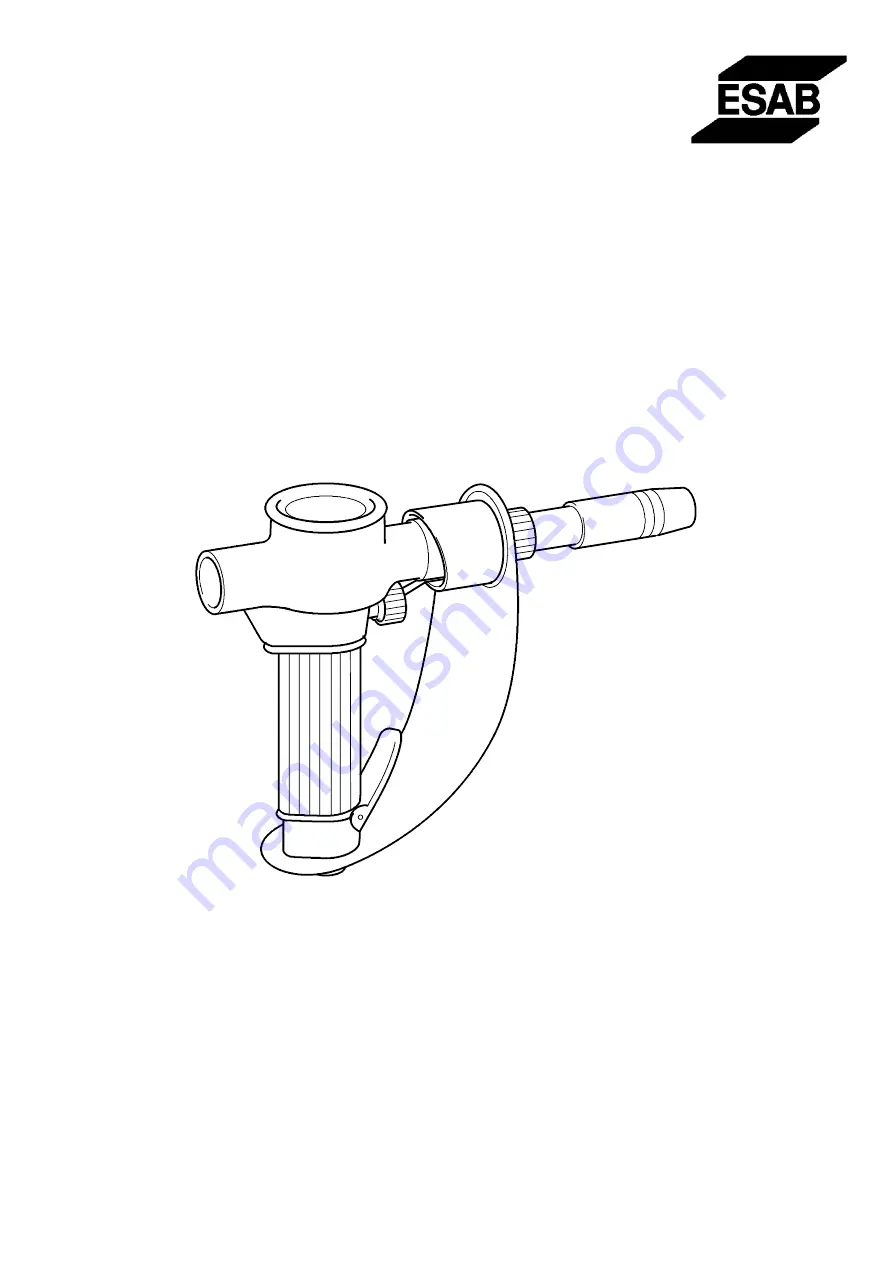
PKB 250
PKB 400
101103105107109111102021110025108024042106023061104022041100020040060001
Bruksanvisning
Brugsanvisning
Bruksanvisning
Käyttöohjeet
Instruction manual
Betriebsanweisung
Manuel d’instructions
Gebruiksaanwijzing
Instrucciones de uso
Istruzioni per l’uso
Manual de instruções
Ïäçãßåò ÷ñÞóåùò


