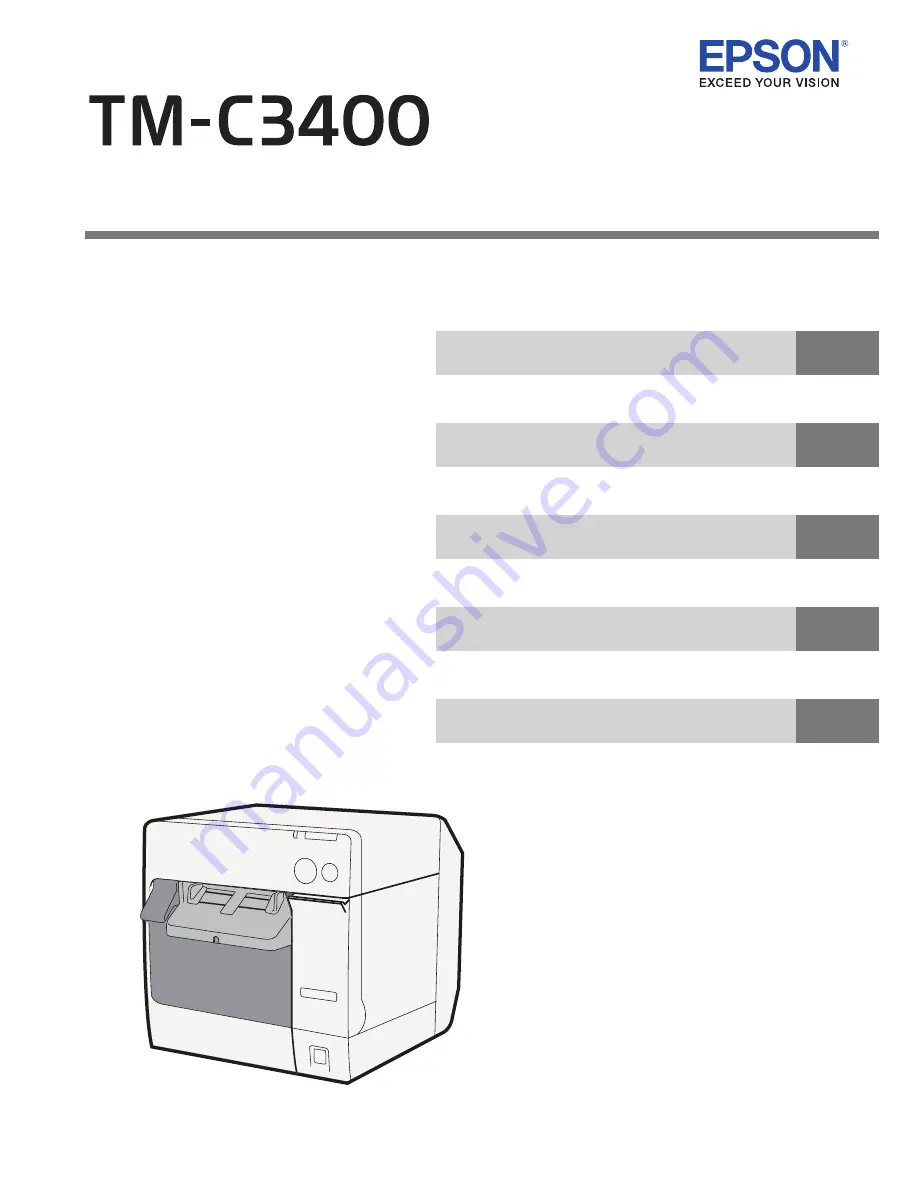
Technical Reference Guide
Describes features and general specifications for the product.
Describes setup and installation of the product and peripherals.
Describes how to control the printer and necessary information
when you develop applications.
Describes how to handle the product.
Describes to administrator for necessary information to administer
TM-C3400 in the system such as distributing driver or installing
new printer or replacing the printer.
M00008308
Rev.I
Setup
Application Development Information
Handling
Product Overview
Maintenance of the TM-C3400
Summary of Contents for SecurColor TM-C3400
Page 86: ...86 7 Lock the paper ejection guide 8 Close the roll paper cover ...
Page 91: ...Chapter 2 Setup 91 2 For fanfold paper 1 Open the fanfold paper cover 2 Remove the paper left ...
Page 98: ...98 4 Close the fanfold paper cover This is the end of loading of the fanfold paper ...
Page 100: ...100 3 Slide the bottom tray to align it with the paper length 4 Lock the paper ejection tray ...
Page 130: ...130 ...