background image

Setup Guide

Before use. . . . . . . . . . . . . . . . . . . . . . . . . . . . . . . . . . . . . . . . . . . 2
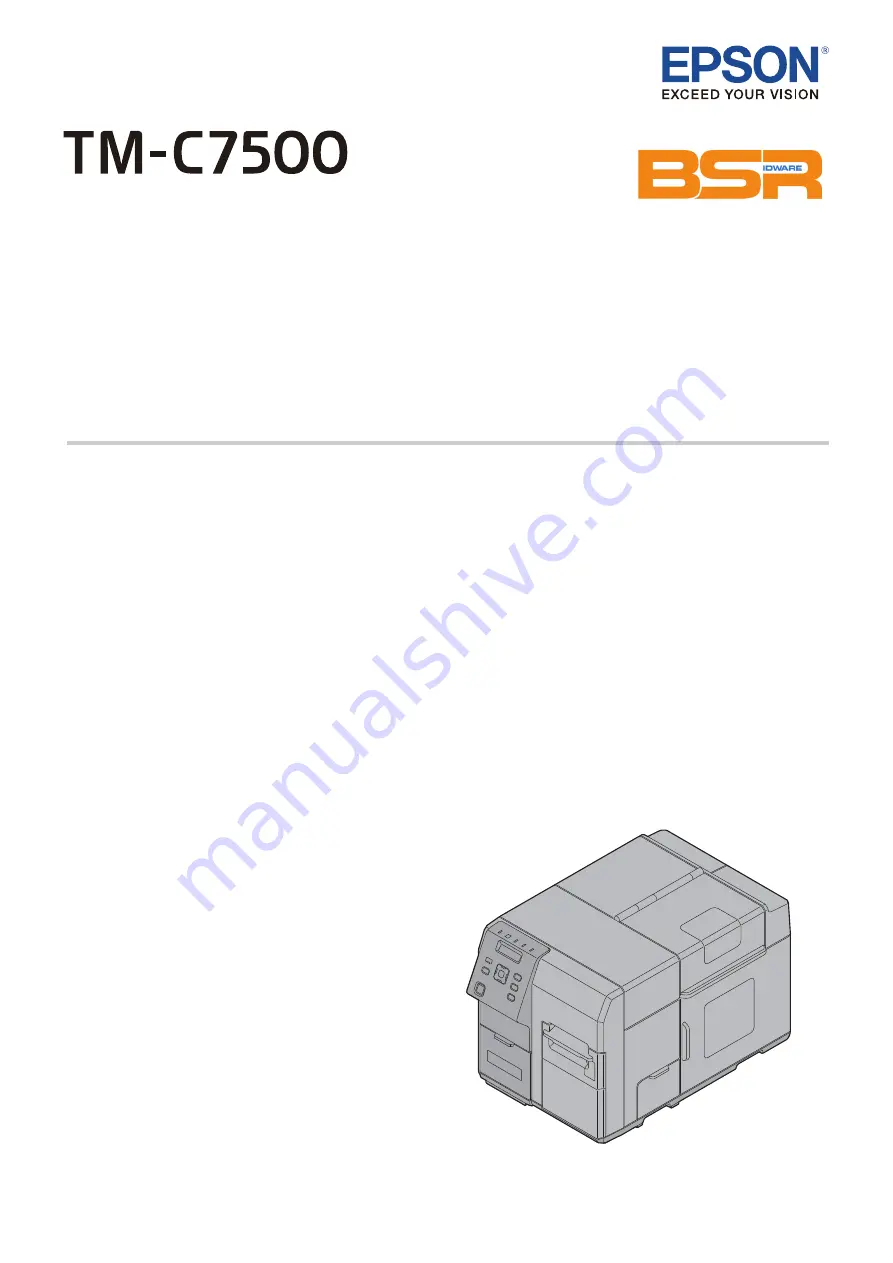
Part Names and Functions . . . . . . . . . . . . . . . . . . . . . . . . . . . 6
Basic Operation  . . . . . . . . . . . . . . . . . . . . . . . . . . . . . . . . . . . . 10
Setup  . . . . . . . . . . . . . . . . . . . . . . . . . . . . . . . . . . . . . . . . . . . . . . 11
Setting the Printer . . . . . . . . . . . . . . . . . . . . . . . . . . . . . . . . . . 23
Troubleshooting. . . . . . . . . . . . . . . . . . . . . . . . . . . . . . . . . . . . 25
Specification  . . . . . . . . . . . . . . . . . . . . . . . . . . . . . . . . . . . . . . . 29
Consumable Products and Options  . . . . . . . . . . . . . . . . . 30
Appendix  . . . . . . . . . . . . . . . . . . . . . . . . . . . . . . . . . . . . . . . . . . 32

M00079300EN

BSR idware GmbH

Jakob-Haringer-Str.3

A-5020 Salzburg
Web: www.bsr.at            

Summary of Contents for ColorWorks TM-C7500

Page 1: ...mes and Functions 6 Basic Operation 10 Setup 11 Setting the Printer 23 Troubleshooting 25 Specification 29 Consumable Products and Options 30 Appendix 32 M00079300EN BSR idware GmbH Jakob Haringer Str 3 A 5020 Salzburg Web www bsr at ...

Page 2: ...n Cautions on Installation WARNING Do not block the air vents of this product Doing so can result in heat accumulated in the product causing a fire U Rear Side on page 9 Do not cover the product with a cloth or install it in a poorly ventilated location Make sure to allow installation space as specified in this manual U Location Appropriate for Installation on page 11 CAUTION Do not install store ...

Page 3: ... blades Leaving the power plug connected to the outlet for a long period of time may cause dust to accumulate on the blade root resulting in a short circuit or fire Hold the plug and do not pull the cable when disconnecting the power plug from the outlet Pulling the cable may damage the cable or deform the plug causing electric shock or fire CAUTION To ensure safety unplug this product before leav...

Page 4: ...ttle amount of ink remains is removed and reinstalled it may not be usable Some ink is consumed each time cartridges are installed because the product automatically checks their reliability Install all ink cartridges Printing is not possible even if only one ink cartridge is missing Since ink cartridges are designed to stop the operation before ink runs out completely to maintain the quality of th...

Page 5: ...g the print head nozzle ink discharge holes to get ready for printing That is why the number of the printable sheets may be fewer than for the cartridges to be installed later If you turn the power off the product using the power button the print head is automatically capped which prevents the ink from drying After installing the ink cartridges be sure to turn the power off using the power button ...

Page 6: ...nder Connection Cover Open this cover to install the rewinder option U Rewinder on page 31 4 Maintenance Box Cover Open this cover to install replace the maintenance box 5 Roll Paper Cover Open this cover to set roll paper U Setting the Roll Paper on page 15 6 Paper Set Cover Open this cover to set roll paper or fanfold paper U Setting the Roll Paper on page 15 For details about how to set fanfold...

Page 7: ... cancel the first print job Press this button for three seconds or more to cancel all the print jobs The printer returns to the print standby status if the button is pressed while a menu is being executed 4 Power Button Turns on off the printer U Turning On Off on page 10 5 Selection Setting Button Use this button to select set the menus and items displayed on the LCD Menu Button Displays the menu...

Page 8: ...owing conditions The ink cartridge cover maintenance box cover is open No ink cartridge maintenance box is set It is time to replace the ink cartridge It is time to replace the maintenance box 10 Paper LED Lights when the printer has no paper or jammed paper or when the Paper Set Cover the Roll Paper Cover or the Front Cover is open 11 Pause LED Lights Flashes while the printer is paused U Status ...

Page 9: ...connecting a power cable 4 Wire Saddle Pass the USB cable through this saddle to prevent disconnection of the USB cable 5 Air Vent Exhausts heat generated in the product to prevent an internal temperature rise Allow a clearance of 10 cm 3 94 or more from the air vent to ensure ventilation when installing the product 1 2 3 5 4 ...

Page 10: ... On Off This section describes how to turn on off the product Turning On Press Power button Power LED lights up and the power turns on Turning Off Hold down Power button for one second or more Power LED turns off and the power turns off ...

Page 11: ...ct on the floor be careful not to get your fingers caught between the product and the installation surface Lift up this product in a natural posture for example bending your knees a sufficient amount Lifting the product in an inappropriate posture may cause injury to the worker or damage to the product Do not tilt the product more than 10 degrees in any direction while carrying it Doing so may cau...

Page 12: ...y AC 100 V for the power supply Using other type of power supply may cause electric shock or fire Be sure to install this product in the vicinity of a power outlet so that you can immediately unplug the product if some fault or other problem occurs 1 Make sure that the printer is powered off U Turning Off on page 10 2 Insert the power cable connector into the AC inlet on the product securely to th...

Page 13: ...e cable through the wire saddle to prevent accidental disconnection Installing the Ink Cartridge Install the ink cartridge by following the steps below CAUTION Read the handling instructions carefully before installing the ink cartridge U Cautions on the Ink Cartridge on page 4 Ink cartridge on page 30 1 Turn on the printer U Turning On on page 10 2 Open the ink cartridge cover Wire Saddle ...

Page 14: ...holder label and set the cartridges to each matching color 5 Close the ink cartridge cover Ink charging starts The Power LED flashes during ink charging QNotes The ink cartridge included in the product package is used for initial charging The printer uses ink to prepare for printing ink charging when the ink cartridge is installed for the first time It takes at least 10 minutes to charge ink The i...

Page 15: ...sume a large amount of ink which may require replacement of the ink cartridge before completion of charging 6 When ink charging completes the Power LED changes from flashing to on 7 Press the Pause button Setting the Roll Paper Set the roll paper by following the steps below 1 Make sure that the printer is powered on U Turning On on page 10 2 Open the paper set cover ...

Page 16: ...per flange while holding the release lever of the roll paper flange between your fingers 5 Attach the roll paper to the spindle and push the core of the roll paper as far as possible so that it is securely fit it into place Roll Paper Flange Release Lever Spindle ...

Page 17: ...roll paper 7 Attach the roll paper flange to the spindle while holding the release lever of the roll paper flange between your fingers Push the flange to the bottom to align it with the roll paper width Roll Paper Flange Release Lever ...

Page 18: ...18 English 8 Open the paper hold inside the paper set cover 9 Insert the paper along the paper guide a Align the end of the paper with mark Paper Hold Paper Guide a Mark ...

Page 19: ...ned with the paper width Adjust the paper guide b in accordance with the paper width 11 Insert the end of the paper into the paper feed slot The paper starts to feed automatically after a certain amount is inserted The Paper LED turns off when the paper is set properly If the Paper LED stays on the paper is not set properly Set the paper again Lever Paper Guide b Paper Feed Slot ...

Page 20: ...20 English 12 Close the paper hold 13 If the paper is loose turn the roll paper flange in the direction of the arrow to tighten the paper 14 Close the roll paper cover Paper Hold ...

Page 21: ...e printer is powered on U Turning On on page 10 2 Press Menu button to display the menu 3 Select NOZZLE CHECK and press the OK button 4 Select YES and press the OK button The nozzle check pattern is printed 5 Check the printed nozzle check pattern If the pattern is printed normally all the lines are printed properly as shown in the left figure below The nozzle is clogged if there is an unprinted l...

Page 22: ...the OK button 4 Select NETWORK SETUP and press the OK button 5 Select IP ADDRESS and press the OK button 6 Enter the IP address Use the button to select a number and the buttons to select the digit to be changed 7 Press the OK button This completes IP address setting QNotes For details about other network connection settings refer to Technical Reference Guide This is the end of the printer setup p...

Page 23: ...y following the steps below 1 Make sure that the printer is powered on U Turning On on page 10 2 Press Menu button to display the menu 3 Select PRINTER SETUP3 and press the OK button 4 Select CLOCK and press the OK button 5 Enter the current date and time Use the button to select a number and the buttons to select the item to be changed 6 Press the OK button This completes time setting OK OK 0 9 M...

Page 24: ...s the Menu button to display the menu 3 Select PRINTER SETUP3 and press the OK button 4 Select LANGUAGE and press the OK button 5 Select the language to be used The following languages are available Japanese English French German Dutch Italian Spanish Portuguese 6 Press the OK button This completes language setting QNotes For details about other settings refer to Technical Reference Guide ...

Page 25: ...s time to replace the ink cartridge U Installing the Ink Cartridge on page 13 Ink cartridge on page 30 Check that the maintenance box is set properly and if it is time to replace the maintenance box U Maintenance Box on page 30 Printer operation is paused when only the Pause LED lights in amber Press the Pause button to restore the printer to the print standby status U Operation Panel on page 7 In...

Page 26: ...26 English 3 Pull the front cover open lever at the paper feed slot 4 Open the front cover Front Cover Open Lever ...

Page 27: ...27 English 5 Cut the jammed paper and remove it WARNING Do not touch the metal wheels Doing so may cause injury 6 Pull out the paper from the paper feed slot ...

Page 28: ...28 English 7 Close the front cover 8 Set the paper again U Setting the Roll Paper on page 15 ...

Page 29: ...igh speed Type B Power supply AC 100 240 V 50 60 Hz Consumption current Average 1 0 A Temperature and humidity Environment guaranteed for operation Operating 5 to 35 C 41 to 95 F 20 to 80 RH No condensation Environment guaranteed for printing Operating 15 to 35 C 59 to 95 F 20 to 80 RH No condensation Environment for transportation packed Operating 20 to 60 C 4 to 140 F 5 to 85 RH No condensation ...

Page 30: ...epairs for any damage or breakdown of this product due to the use of non genuine Epson products will not be free of charge even if the warranty period is still valid Color adjustment of the product is based on the use of genuine Epson ink cartridges Use of non genuine ink cartridges may result in reduced print quality Epson recommends the use of genuine Epson ink cartridges Maintenance Box The mai...

Page 31: ...e rewinder is a device used to rewind the printed paper into a roll form The rewinder available for this product is Model TU RC7508 For details about how to install the rewinder refer to the manual supplied with the rewinder ...

Page 32: ...such as aerospace equipment main communication equipment nuclear power control equipment or medical equipment related to direct medical care etc please make your own judgment on this product s suitability after a full evaluation Notes 1 All rights reserved No part of this publication may be reproduced stored in a retrieval system or transmitted in any form or by any means electronic mechanical pho...

Page 33: ...our Vision is a registered trademark or trademark of Seiko Epson Corporation All other trademarks are the property of their respective owners and used for identification purpose only Product information is subject to change without due notice 2014 Seiko Epson Corporation All rights reserved ...

Reviews: