Summary of Contents for Control Techniques Focus 3N
Page 7: ...Page vii ...
Page 52: ...Page 46 Tuning Adjus Optional tments Current Ref Gain Speed Ref Gain Zero Bias ...
Page 53: ...Page 47 ...
Page 54: ...Page 48 ...
Page 74: ......
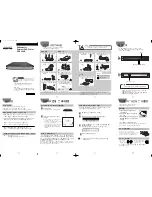
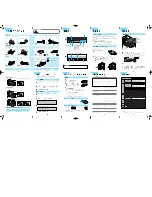
The user-friendly Emerson Control Techniques Focus 3N product offers precise control and advanced functionality. Enhance your user experience by downloading the detailed user manual for free from our website. The manual provides comprehensive instructions and useful insights, ensuring seamless operation and maximum performance.
Page 7: ...Page vii ...
Page 52: ...Page 46 Tuning Adjus Optional tments Current Ref Gain Speed Ref Gain Zero Bias ...
Page 53: ...Page 47 ...
Page 54: ...Page 48 ...
Page 74: ......