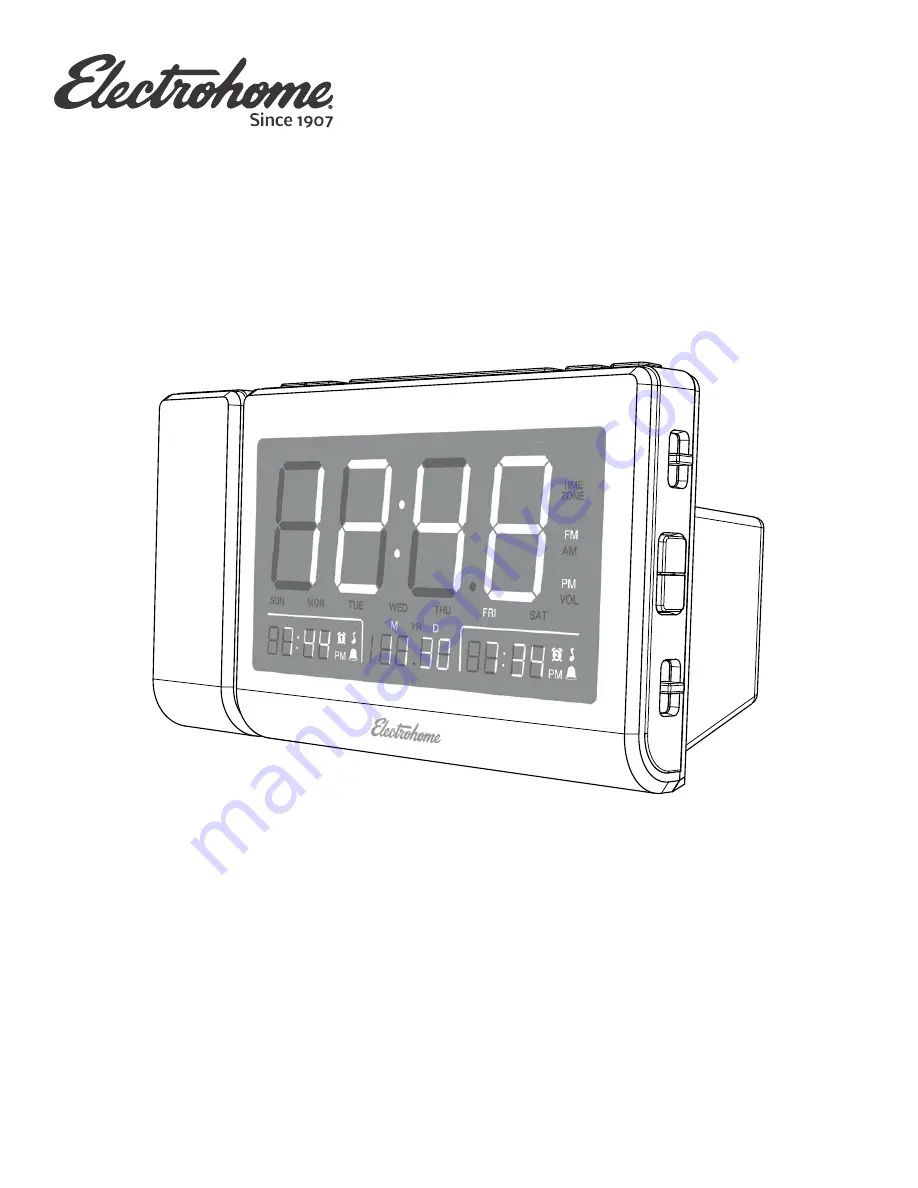
background image

PB

CR6 Series User Manual

Alarm Clock Radio with USB Charging 

CR61-CR62-CR63-CR64

Thank you for your purchase of this Electrohome product. Please read this 

user manual carefully before using product to ensure proper use. 

Keep this manual in a safe place for future reference.

electrohome.com/support

Summary of Contents for CR61

Page 1: ...USB Charging CR61 CR62 CR63 CR64 Thank you for your purchase of this Electrohome product Please read this user manual carefully before using product to ensure proper use Keep this manual in a safe place for future reference electrohome com support ...

Page 2: ...HER Since 1907 Electrohome has been developing high fidelity audio products has been welcomed into homes for generations One thing that remains the same in our more than 100 year history is our unmatched dedication to design and premium craftsmanship ...

Page 3: ... has been spilled on or into the product 17 If the product has been exposed to rain water or other liquids 18 If the product does not operate normally by following the operating instructions Adjust only those controls that are covered by the operating instructions Improper adjustment of other controls may result in damage and will often require extensive work by a qualified technician to restore t...

Page 4: ...cient magnitude to constitute a risk of electric shock to persons The exclamation point within an equilateral triangle is intended to alert the user to the presence of important operating and maintenance servicing instructions in the literature accompanying the appliance WARNING DO NOT INGEST BATTERY CHEMICAL BURN HAZARD This product contains a coin button cell battery If the coin button cell batt...

Page 5: ... no objects filled with liquids such as vases shall be placed on the apparatus 6 Do not connect FM antenna to outside antenna 7 The unit should not be exposed to direct sunlight very high or low temperature moisture vibrations or placed in dusty environment 8 Do not use abrasive benzene thinner or other solvents to clean the surface of the unit To clean wipe it with mild non abrasive detergent sol...

Page 6: ...SETTING AN ALARM 11 SNOOZE FUNCTION 12 SETTING THE DATE TIME 12 RADIO FUNCTION 13 RADIO PRESET FUNCTION 13 SLEEP FUNCTION 14 DIMMER FUNCTION 14 DATE DISPLAY 15 TEMPERATURE FUNCTION 15 AUTOMATIC DAYLIGHT SAVING TIME FUNCTION 15 USB CHARGING FUNCTION 16 PROJECTION FUNCTION 16 AUX IN FUNCTION 17 BATTERY BACKUP 18 REPLACING THE BATTERY 19 TROUBLESHOOTING 20 SPECIFICATIONS 21 CARE AND MAINTENANCE 21 IC...

Page 7: ...n Indicator 7 PM Time Indicator AUX IN 1 2 3 4 5 7 9 11 12 13 14 15 16 18 20 21 17 19 6 8 10 8 Volume Indicator 9 Day Indicator 10 Alarm 2 Indicator 11 Alarm 2 Alarm Type Indicator 12 Alarm 2 PM Indicator 13 Alarm 2 Time Display 14 Date Indicator 15 Temperature Display 16 Year Indicator 17 Month Indicator 18 Alarm 1 Alarm Type Indicator 19 Alarm 1 PM Indicator 20 Alarm 1 Indicator 21 Alarm 1 Time ...

Page 8: ... Back Arrow Button 3 Forward Arrow Button 4 Set Button 5 Snooze Dimmer Sleep Button 6 Radio On Off AM FM Band Selection Button 7 Alarm Off Button 8 Photo Sensor SIDE 1 Alarm 1 Toggle 2 Volume Up Button 3 Volume Down Button 4 Alarm 2 Toggle 1 2 3 4 BUTTONS AND FUNCTIONS ...

Page 9: ... Button 2 Time Zone Setting Button 3 Daylight Saving Time Button 4 Date Display Year Display Button 5 Temperature Display Celsius Fahrenheit Cycle Button 6 Aux In Connection 7 DC Input 8 USB Charging Port 9 Projection Focus Adjustment Dial 10 Projection 180 Flip Button 11 Projection On Off Button ...

Page 10: ...sapplicabletowhichmodel Example CR61 Doesapplytothismodel CR61 DoesNOTapplytothismodel QUICK START GUIDE CONNECTING POWER CR61 CR62 CR63 CR64 Connect the power cord to a standard AC wall outlet CR61 CR62 CR63 CR64 Connect the power adapter to the DC IN connection Then connect the adapter plug to a standard AC wall outlet USB ...

Page 11: ...nfirm SETTING AN ALARM CR61 CR62 CR63 CR64 Follow these steps to set Alarm 1 or Alarm 2 Alarm settings will flash in the following order Hour Minute Days of the Week Radio Alarm Volume 1 Slide to the SET position 2 Use to decrease or increase setting 3 Use to confirm and go to the next setting until complete 0 Newfoundland time 1 Atlantic time 2 Eastern time default 3 Central time 4 Mountain time ...

Page 12: ...utesandturnoffautomatically 7 To disable an Alarm slide to the OFF position SNOOZE FUNCTION CR61 CR62 CR63 CR64 When the Alarm is sounding press to silence the alarm for 9 minutes After 9 minutes the alarm will resume Press to cancel the Snooze function SETTING THE DATE TIME CR61 CR62 CR63 CR64 The Date Time settings will flash in the following order Year Month Day 12 24H Time Format Hour Minute 1...

Page 13: ...orbestFMreception 5 Use to adjust the music volume RADIO PRESET FUNCTION CR61 CR62 CR63 CR64 Setting a Radio Preset 1 Press to turn the radio on 2 Use to select your desired radio station 3 Press and hold to begin the radio preset setting process 4 Use to select your desired preset number 5 Press to set the selected preset number to the current radio station Note Thepresetnumberwillflashtwicetocon...

Page 14: ...electOFFtocancelaSleepTimer 4 Press to exit Sleep Timer setting mode 5 Press and hold to check the time remaining on the Sleep Timer DIMMER FUNCTION CR61 CR62 CR63 CR64 Press to cycle through the LCD display brightness options of HI LO OFF CR61 CR62 CR63 CR64 Press to cycle through the LCD display brightness options of Auto HI LO OFF Note TheAutooptionwillusethephotosensoronthebackoftheclocktoauto...

Page 15: ... Display to Temperature Press again to cycle between Celsius and Fahrenheit AUTOMATIC DAYLIGHT SAVING TIME FUNCTION CR61 CR62 CR63 CR64 By default the Automatic Daylight Saving Time DST function will be enabled When enabled ON will show briefly on the screen and when disabled OFF will show briefly on the screen Daylight Saving Time begins at 2 00 AM on the second Sunday of March Standard Time begi...

Page 16: ...e back of the clock Note Chargingtimewillvarydependingonthechargingcurrentthatyourdevicerequires Therefore somedeviceswilltakelonger tochargethanothers PROJECTION FUNCTION CR61 CR62 CR63 CR64 1 Press to turn the time projection on or off 2 Adjust the angle of the projection unit forward or backward until the projection is in the desired location Note Recommendeddistanceis3 9feet USB ...

Page 17: ...ojectionsize recommendeddistanceis3 9feet 4 Press to rotate the projected image 180 AUX IN FUNCTION CR61 CR62 CR63 CR64 1 Using a 3 5mm audio cable sold separately connect your source device mobile phone tablet or MP3 player 2 Use to adjust the volume of the clock Note Volumecanbeadjustedonbothyoursourcedeviceandtheclock USB ...

Page 18: ...perationofthisclockradiorequiresittobepluggedintoanACwalloutlet ATTENTION REPLACING THE BATTERY Batteries must be installed by an adult Use only the recommended size and type of battery specified Please be sure to follow the correct polarity when installing the battery in the battery compartment A reversed battery may cause damage to the clock radio When not using the unit for a prolonged period o...

Page 19: ... be lost 1 Loosen the screw using a small Phillips Head screwdriver Note Thescrewisdesignedtobeheldbythebatterypanel andcannotbefullyremoved 2 Remove the battery compartment panel 3 Remove and recycle the depleted battery Replace with a new 3V CR2032 Flat Lithium battery 4 Close the battery compartment and tighten the screw to secure the battery panel ...

Page 20: ...ON OFF button Volume is at minimum setting Press the VOLUME UP button Noise or sound distorted on FM FM antenna is not fully extended Unroll and extend the antenna CLOCK Incorrect time Clock not set to correct time zone Set correct time zone and ensure clock is set to correct time Battery is inserted incorrectly or depleted Check replace the battery and ensure time is set to correct time Alarm doe...

Page 21: ...Yes PLL Digital Radio Tuner CR61 CR62 CR63 CR64 Yes AM FM Radio Station Presets CR61 CR62 CR63 CR64 Yes 10 AM 10 FM Dual Alarm CR61 CR62 CR63 CR64 Yes Calendar Display CR61 CR62 CR63 CR64 Yes Indoor Temperature Reading CR61 CR62 CR63 CR64 Yes CR61 CR62 CR63 CR64 No Adjustable Brightness CR61 CR62 CR63 CR64 Yes High Low Off CR61 CR62 CR63 CR64 Yes High Low Off Auto Sleep Timer CR61 CR62 CR63 CR64 Y...

Page 22: ... AND FCC WARNINGS NOTICE CAN ICES 3 B NMB 3 B This device complies with Part 15 of the FCC Rules Operation is subject to the following two conditions 1 This device may not cause harmful interference and 2 This device must accept any interference received including interference that may cause undesired operation REMARQUE CAN IECS 3 B NMB 3 B Cet appareil est conforme a la partie 15 des regles FCC L...

Page 23: ... inappropriate use as outlined in the owner s manual B Any Electrohome product tampered with modified adjusted or repaired by any party other than Electrohome C Any cosmetic damage to the surface or exterior that has been defaced or caused by normal wear and tear D Any damage caused by external or environmental conditions including but not limited to transmission line power line voltage or liquid ...

Page 24: ...www electrohome com ...

Reviews: