background image


USER MANUAL


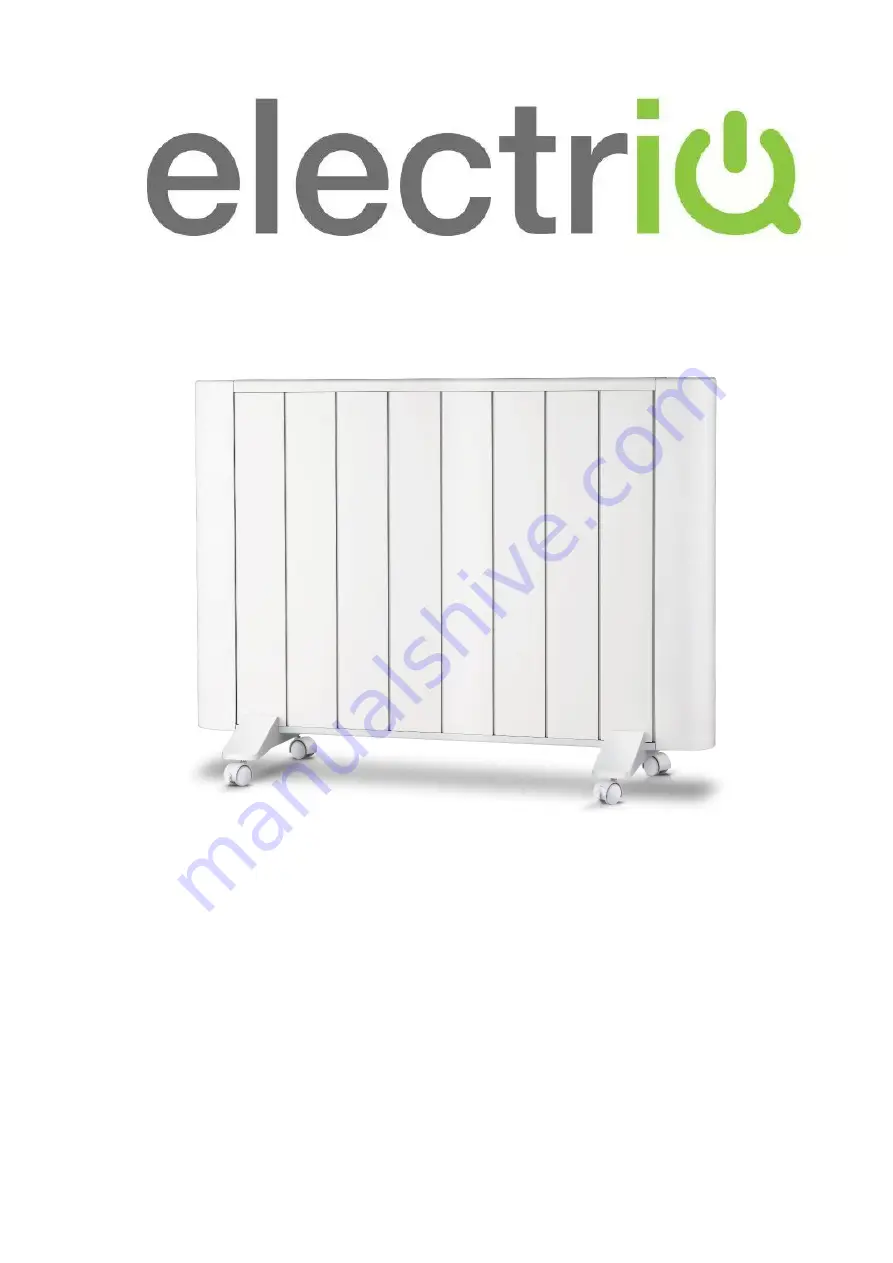
ALUMINIUM HEATER   

WITH SMART APP CONTROL 


EAH2000W


Thank you for choosing electriQ 

Please read this user manual before using this heater and keep it safe for future 

reference. 

Visit our page www.electriQ.co.uk for our entire range of Intelligent Electricals 


THIS PRODUCT IS ONLY SUITABLE FOR WELL INSULATED SPACES OR 

OCCASIONAL USE 

Summary of Contents for EAH2000W

Page 1: ...u for choosing electriQ Please read this user manual before using this heater and keep it safe for future reference Visit our page www electriQ co uk for our entire range of Intelligent Electricals THIS PRODUCT IS ONLY SUITABLE FOR WELL INSULATED SPACES OR OCCASIONAL USE ...

Page 2: ...UP 5 PRODUCT OVERVIEW 6 CONTROL PANEL 6 DISPLAY 7 QUICK USE GUIDE 7 SETTING THE DAY AND TIME 7 OPERATION 8 WEEKLY TIMER 9 SETTING UP THE APP 11 USING THE APP 17 CLEANING AND MAINTENANCE 22 TROUBLESHOOTING 22 TECHNICAL SPECIFICATIONS 23 SUPPORT 23 PRODUCT FICHE 24 ...

Page 3: ...s and less than 8 years shall only switch on off the appliance provided that it has been placed or installed in its intended normal operating position and they have been given supervision or instruction concerning use of the appliance in a safe way and understand the hazards involved Children aged from 3 years and less than 8 years shall not plug in regulate or clean the appliance or perform user ...

Page 4: ... use only There may be a trace of odour during the first few minutes of initial use or after a period of storage This is normal and will quickly disappear This appliance has hot and arcing or sparking parts inside Do not use it in areas where gasoline paint or any flammable liquids are used or stored Never locate this appliance where it may fall into a bathtub or otherwise become exposed to water ...

Page 5: ...asure the distance between A and C 3 After double checking the measurements mark their position on the wall using a pencil We would advise using a spirit level to ensure all markings are square and level 4 Once you are happy with the position of the marks drill 8mm diameter holes using a suitable drill bit 5 Insert the wall plugs into the holes Please note depending on the wall type alternative fi...

Page 6: ...Page 6 of 24 PRODUCT OVERVIEW CONTROL PANEL STANDBY Button UP Button DOWN Button PROGRAM Button Air Outlet Control Panel Castors Power Switch TIMER Button ...

Page 7: ... on hold the DOWN button for 3 seconds until it bleeps 2 Change the day shown on the day indicator using the UP and DOWN buttons 3 Hold the DOWN button for 3 seconds until the unit bleeps to confirm the day 4 Change the hour value using the UP and DOWN buttons 5 Hold the DOWN button for 3 seconds until the unit bleeps to confirm the hour value 6 Change the minute value using the UP and DOWN button...

Page 8: ...on the display and the buttons are disabled on the control panel until the child lock is deactivated CHANGING THE POWER LEVEL Repeatedly press the PROGRAM button to change between the 3 available power modes High Heat The heater will operate at High Power 2KW the desired temperature can be specified between 5 C and 50 C Low Heat The heater will operate at Low Power 1KW the desired temperature can ...

Page 9: ... activated CHOOSING BETWEEN THE TIMER PRESETS There are 4 timer presets built into the machine P0 P3 The presets specify in which mode the unit operates throughout the day changing the appliance between High Heat and Low Heat options Press and hold the PROGRAM button for 3 seconds to change between the presets P0 is fully customizable whereas the other three presets are as given below ...

Page 10: ...ns to select which hour to adjust 5 Once the hour to adjust is selected the PROGRAM button can be used to change the heating mode operational within that time period 6 To set the desired temperature for the hour selected press the TIMER button to allow adjustment of the temperature using the UP and DOWN buttons 7 Once the desired temperature has been changed press the TIMER button to allow selecti...

Page 11: ...of 24 CONNECTING THE APPLIANCE TO WIFI DOWNLOAD THE APP TO YOUR PHONE Download the TUYA SMART app from your chosen app store using the QR codes below or by searching for the app in your chosen store Android IOS ...

Page 12: ...ease ensure your device is in the correct Wi Fi connection mode for the connection type you are attempting the flashing WiFi indicator on your heater will indicate this Connection Type Frequency of Flashes Quick Connection Flashes twice per second AP Access Point Flashes once per second CHANGING BETWEEN CONNECTION TYPES To change the unit into AP mode with the appliance in Quick Connection mode pr...

Page 13: ...egister 4 A verification code will be sent by the method selected in step 3 Enter the code into the app 2 The app is now registered It will automatically log you in following registration 5 Type in the password you would like to create This needs to be 6 20 characters with letters and numbers 1 Press on the register button at the bottom of the screen ...

Page 14: ...on 3 Type in a name for your home 4 Press on the location button to select the location of your home See SETTING YOUR LOCATION below 5 New rooms can be added by pressing the ADD ANOTHER ROOM option at the bottom See ADD ANOTHER ROOM below 6 Untick any rooms that are not required on the app 7 Press DONE in the top right corner SETTING YOUR LOCATION Use your finger to move the orange HOME symbol Whe...

Page 15: ...k We advise turning mobile data off during setup 2 Select the type of device as Heater within the Home Appliance tab 3 Ensure the Wifi indicator on the heater is flashing twice per second then press on the orange button at the bottom of the screen 5 This will then transfer the settings to the heater Wait for this to complete If this fails retry If still unsuccessful please review the troubleshooti...

Page 16: ... as Heater within the Home Appliance tab 3 Press on the AP mode button in the top right of the screen 4 Ensure the WiFi indicator on the heater is slowly flashing once per second then press on the orange button at the bottom of the screen to confirm 5 Enter your Wi Fi password and press confirm 6 Go to network settings in your phone and connect to the SmartLife xxx connection There is no password ...

Page 17: ...make other changes Smart Scene Allows you to program intelligent behavior based on the internal and external environment Add Device Add a device to the app and go through the setup process Profile Provides the option for changing settings Name of Heater Press to enter the Device Screen Home Return to home screen from the Smart Scene and Profile screens Voice Control Press to give verbal instructio...

Page 18: ...ome Screen Power Use to turn the unit on or off MODE Use to change between the different preset modes COUNTDOWN TIMER Use to add an off timer while the unit is running or an on timer while the unit is turned off Device Name Current Mode Shows the mode the heater is currently working in Desired Temperature Displays what has been set as the target room temperature Decrease desired Temperature Temper...

Page 19: ... preset configurations Below is an example of how to set up a scene 3 Press the Pen next to Please Enter Scene Name to input the name for your Scene Show on Dashboard Leave this on if you require the scene to be displayed as a button on the Home Screen Press the Red Plus to add the action required Then select the heater from the list of devices 4 Chose the function set the value for the function a...

Page 20: ...start Press the Pen next to Please Enter Scene Name to input the name for your Scene Press the Red Plus next to When any condition is satisfied to add the trigger Press the Red Plus next to Execute following actions to add the action required Then select the heater from the list of devices 6 Chose the function set the value for the function and then press the back button in the top right corner to...

Page 21: ... is in the correct Wi Fi connection mode if not please refer to the CHANGING BETWEEN CONNECTION MODES section 2 Ensure the Wi Fi password has been entered into the app correctly Case sensitive 3 Check that the phone is connected to the Wi Fi you are connecting the device to 4 Ensure the network you are connecting it to is 2 4Ghz 5Ghz Wi Fi networks are not supported and that there is a strong Wi F...

Page 22: ...2 There is no power from the the socket 3 The power switch on the rear of the unit is turned off 1 Connect the power cord 2 Check socket is turned on 3 Ensure the power switch on the rear of the unit is in the On position Odour emission from the unit 1 New unit When the unit is used for the first time the unit may produce an odour which will dissipate within a week of use 1 No action required Stro...

Page 23: ...rs 9AM 5PM Monday to Friday www electriQ co uk Unit J6 Lowfields Business Park Lowfields Way Elland West Yorkshire HX5 9DA APPENDIX Disposal Do not dispose of this product as unsorted municipal waste Collection of such waste must be handled separately as special treatment is necessary Recycling facilities are now available for all customers at which you can deposit your old electrical products Cus...

Page 24: ...oom temperature control select one At minimum heat output elmin N A kW single stage heat output and no room temperature control No In standby mode elSB 0 00038 W two or more manual stages no room temperature control No with mechanical thermostat room temperature control No with electronic room temperature control No with electronic room temperature control plus day timer No with electronic room te...

Reviews: