


◆
In the initial settings, exclusive channel for DVD/Video is set to CH 3. Set
the TV channel to CH3 before using it.
◆
Region code of DVD/Video player for home is 1 or ALL. In inserting a disc
with other region code, it does not operate. Please only use a disc with
region code 1 or ALL.
◆
is a ÔProhibitionÕ mark. If this mark is displayed in operating the
product, please wait for a while, then use it. If "
Prohibition" mark
continues to be displayed in pressing a button after that, it means the
button does not function in the currently played disc.
◆
Press a product button on the remote control then use the product.
¥ DVD operation : [
DVD
] button
¥ Video operation : [
VCR
] button
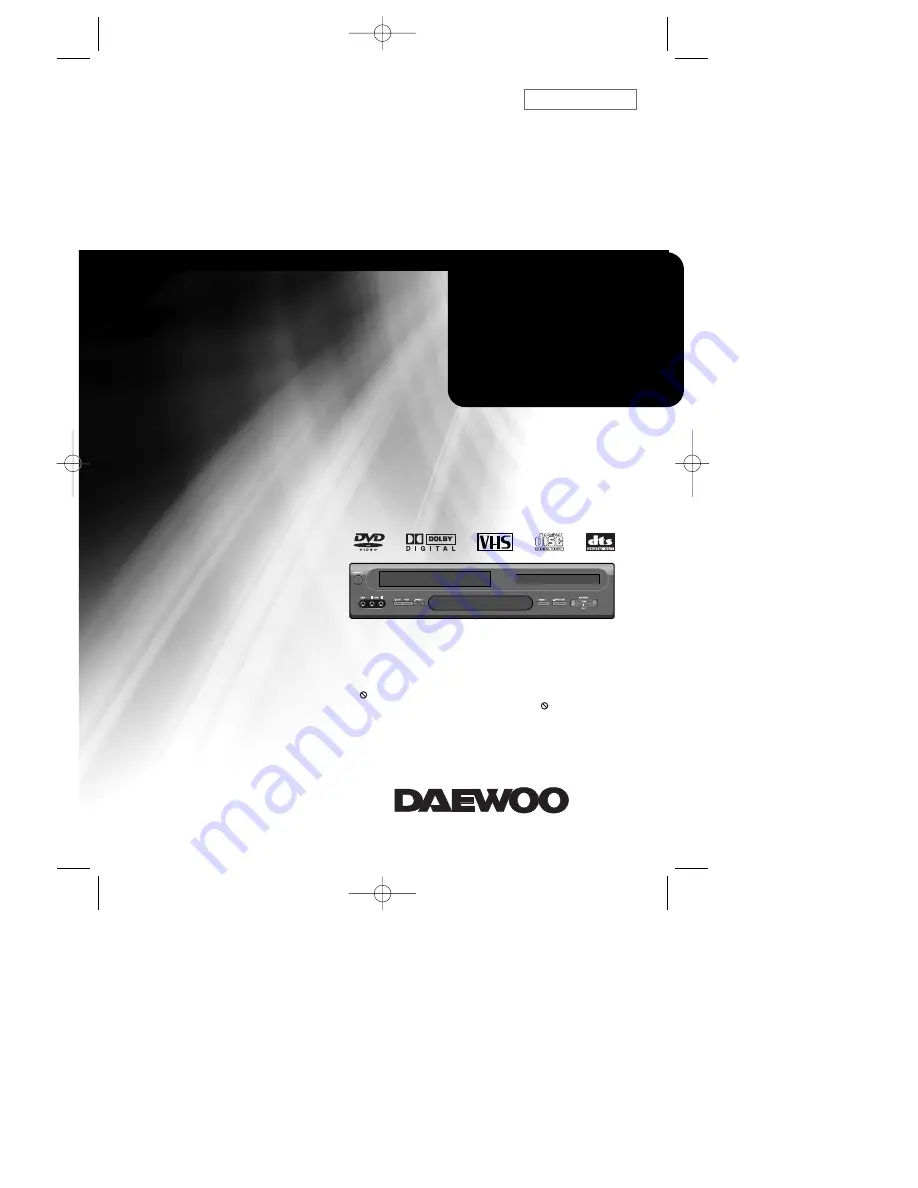
Owner’s Manual
Model :
DV6T834N / DV6T834B
DV6T844N / DV6T844B
DV6T854N / DV6T854B
DV6T864N / DV6T864B
DV6T935N / DV6T935B
DV6T945N / DV6T945B
DV6T955N / DV6T955B
DV6T965N / DV6T965B
DVD-VIDEO PLAYER
A83/84/53/54D1N-QS(˜ ”‚ VE2.0) 03.8.13 11:20 PM ˘
`
A


