D-Box Milano, Self-Installation Manual
"Get your hands on the ultimate User Manual for GFA Milano, providing comprehensive instructions for the perfect user experience. Easily download this manual for free from our website manualshive.com, and explore all the features, troubleshooting tips, and detailed specifications, ensuring seamless usage of your GFA Milano."
Share
Download


Reviews:
No comments
Related manuals for Milano

POLY
Brand: KANYON Pages: 3

V220
Brand: FAirway Pages: 4

TILL 20 90 01 62
Brand: Links Pages: 8

1693
Brand: MAJA Möbel Pages: 14

3i
Brand: velda Pages: 24

BX3000
Brand: Saint Birch Pages: 12

Round Table
Brand: Vari Pages: 2

NYX
Brand: VALK Pages: 24

IQ 07
Brand: ML MEBLE Pages: 33

ART 295L
Brand: Hafele Pages: 4

TLK-802-B
Brand: CorLiving Pages: 20

36395-17-5
Brand: emob Pages: 9

Lacy Mid Sleeper
Brand: Happy Beds Pages: 54
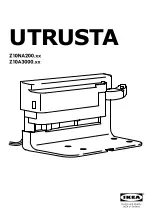
UTRUSTA Z10NA200 Series
Brand: IKEA Pages: 8

Vermont 03VER0808-V1
Brand: Mercia Garden Products Pages: 8

Ceto Basic
Brand: Original Steifensand Pages: 16

Compass CM600FD
Brand: Tavistock Pages: 2

cat97
Brand: KLOBER Pages: 40


