background image


User Manual 

Read this manual before using machine to avoid serious injury and damage 


40800H-CT   

13” 2 SPEED SPIRAL CUTTERHEAD 

  PLANER 


For technical support, email 

[email protected] 

  or call at 

858-886-7333


VER. 21.05.20


Summary of Contents for 40800H-CT

Page 1: ...al Read this manual before using machine to avoid serious injury and damage 40800H CT 13 2 SPEED SPIRAL CUTTERHEAD PLANER For technical support email support cutechtools us or call at 858 886 7333 VER...

Page 2: ...3 Parts List 25 INTRODUCTION This user manual is intended for use by anyone working with this machine It should be kept available for immediate reference so that all operations can be performed with m...

Page 3: ...the warranty claim is considered to be invalid due to exclusions listed above CUTECH will at your direction dispose of or return the product In the event you choose to have the product returned you w...

Page 4: ...epth of cut 13 1 16 Minimum Length of Stock 7 Minimum Thickness of Stock 1 8 Cutter inserts qty 26 2 sided Motor power input 120 V 60 Hz AC Only 15 Amp Shipping Weight 77 lbs Shipping Dimensions 25 W...

Page 5: ...ury including silicosis a serious lung disease cancer and death Avoid breathing the dust and avoid prolonged contact with dust The dust may contain chemicals known to the State of California to cause...

Page 6: ...r quality job by only performing operations for which the machine was intended WARNING DO NOT stand on a machine Serious injury could result if it tips over or you accidentally contact any moving part...

Page 7: ...E ONLY recommended accessories Use of incorrect or improper accessories could cause serious injury to the operator and cause damage to the machine If in doubt DO NOT use it THE USE of extension cords...

Page 8: ...ions and wiring should be made by qualified personnel only 4 WARNING TO REDUCE the risk of electrical shock DO NOT use this machine outdoors DO NOT expose to rain Store indoors in a dry area 5 STOP us...

Page 9: ...aged blades 19 MAKE CERTAIN that the planer is properly adjusted prior to use 20 DO NOT try and remove excessive amounts of wood in one single pass 21 INSPECT all stock before planing ensuring that th...

Page 10: ...u are not sure the tool is properly grounded WARNING Electrocution or fire could result if this machine is not grounded properly or if the electrical configuration does not comply with local and state...

Page 11: ...a qualified person before using it Protect your extension cords from sharp objects excessive heat and damp or wet areas MINIMUM RECOMMENDED GAUGE FOR EXTENSION CORDS AWG 120 VOLT OPERATION ONLY 25 LO...

Page 12: ...ning apply a good quality paste wax to any unpainted surfaces including the infeed outfeed and center tables Make sure to buff out the wax before assembly Compare the items to inventory figures and ve...

Page 13: ...the raise lower adjustment handle to the shaft located on top of the planer and fasten in place with 1 Hex Socket Head screw Tighten screw using supplied hex wrench SEE FIG 1 FIG 1 ATTACHING DUST POR...

Page 14: ...o allow chips to flow out the back of the planer when a vacuum system is not used SEE FIG 3 FIG 3 SECURING PLANER TO A TABLE OR WORKBENCH During operation if there is any tendency for the planer to ti...

Page 15: ...ner table C with one end of the straight edge over the infeed table B SEE FIG 5 2 Check to make sure that the infeed table is level with the planer table 3 If an adjustment is necessary raise table lo...

Page 16: ...the handle will move the cutterhead up or down approximately 1 16 You can confirm this by referencing the scale C on the front right side of the planer FIG 6 NOTE The Repeat Cut Thickness Indicator D...

Page 17: ...ck to the section labeled ATTACHING DUST PORT in the ASSEMBLY section page 13 for information on removal 2 Use the handle to lower the cutterhead assembly down to about 1 on the scale 3 Insert the sup...

Page 18: ...KNESS SCALE ADJUSTMENT The thickness scale located on the right of the planer shows the thickness of the finished work piece To make sure the scale is set properly run a piece of wood through the plan...

Page 19: ...n This planer is also equipped with a special lockout toggle switch that prevents unauthorized use To prevent unauthorized use of the planer simply pull out the yellow key A located on the face of the...

Page 20: ...es to ensure a uniform thickness of all work pieces SEE FIG 11 FIG 11 NOTE When lowering the head assembly ensure the REPEAT CUT preset is in the lowest desired thickness position Failure to do so may...

Page 21: ...ed 5 Move to one side of the rear of the planer and receive the planed work piece by grabbing the edges of the wood like you did when feeding the work piece in 6 It normally takes several passes of va...

Page 22: ...buildup and other debris can cause the tool to plane incorrectly Periodic cleaning and waxing is needed for accurate precision planing Any moving parts should be cleaned regularly with a penetrating o...

Page 23: ...r is located in the same position on the rear of the motor assembly The Brush Holder can be removed using a flat blade screwdriver SEE FIG 12 FIG 12 FIG 13 2 Once the brush has been removed inspect th...

Page 24: ...ure content Dull blades Too deep a blade setting Dry wood before planing Replace or turn blades Reduce depth of cut Board thickness does not match depth scale indicator Depth scale incorrectly set Adj...

Page 25: ...25 PARTS 97...
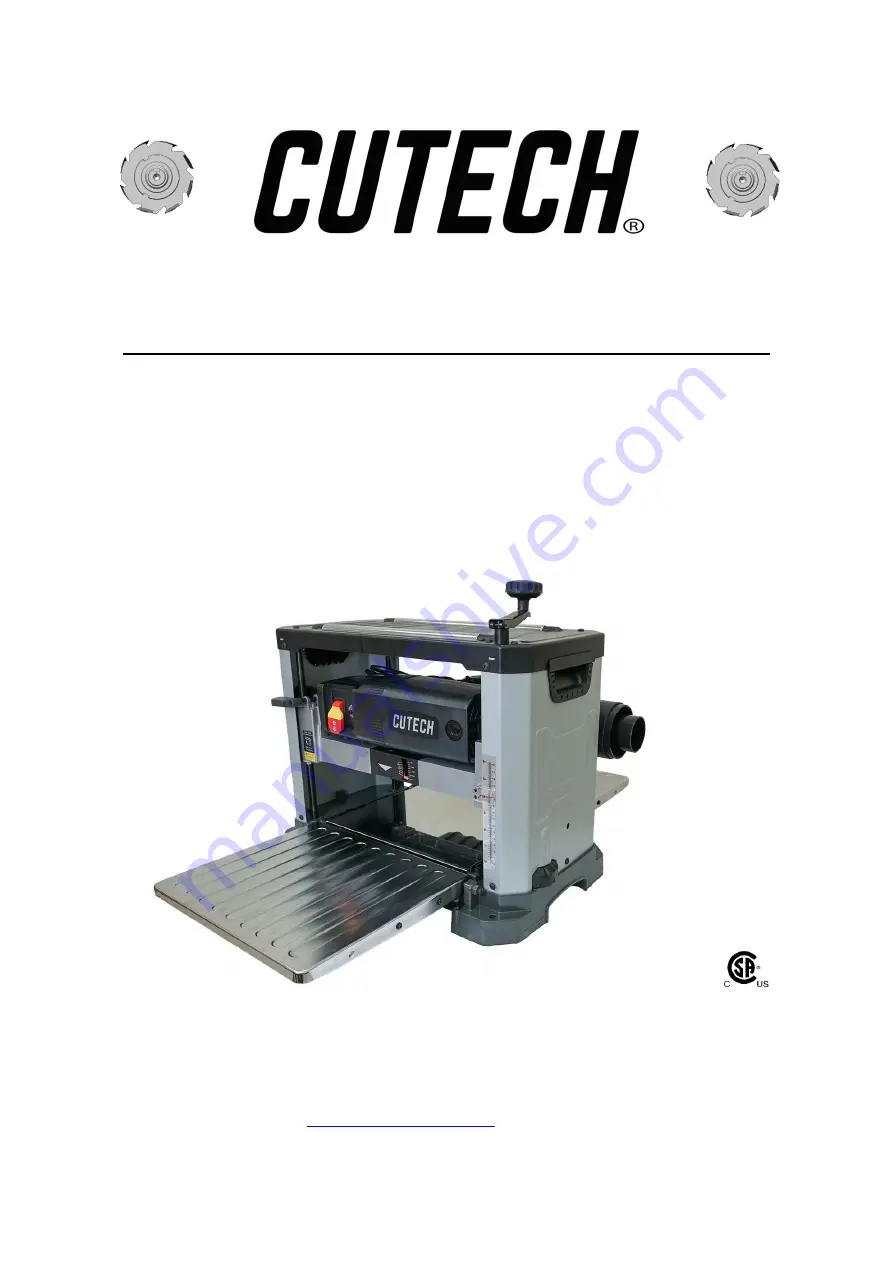
Page 26: ...T HD M6xP1 0x10L 13 12 SCR PAN CR TAP M3xP1 0x16L 2 13 IDLE WHEEL 3 14 IDLE WHEEL SHAFT 3 15 SPINDLE 3 16 HEIGHT ADJ SPINDLE 1 17 HEX SOC HD SCR M5xP0 8x20L 1 18 HANDLE ASSEMBLY 18A 18F 1 19 BASE 1 20...

Page 27: ...SET CUP PT M5XP0 8X8L 1 50 SCR PAN CR M5XP0 8X8L 1 51 CORD CLAMP 2 52 SCR HEX SOC HD LOCK M4XP0 7X10L 2 53 WASHER 2 54 WASHER 1 55 SCREW HEX HD M8XP1 25X20L 1 56 GEAR INTERMEDIATE 1 57 RING RETAINING...

Page 28: ...81 CURSOR 1 82 BUSHING 1 83 PHILLIPS SCREW M4XP0 7X10L 1 84 COVER POINTER 1 85 SPRING COIL 8 5X19X0 8 1 86 ROD POINTER ELEVATING 1 87 SCR PN CR TYTT M5XP0 8X8L 2 88 LOCKWASHER EXT 2 89 FEED RATE LABEL...

Page 29: ...D 1 133 GEARBOX COVER 1 134 SCR PAN CR M5XP0 8X10L 3 136 BOLT ADJUSTING M10XP1 5 4 137 NUT HEX SPECIAL 4 140 SCREW HEX M6XP1 0X25L 4 141 NUT HEX 4 142 BALL BEARING 5 143 WA SHER 4 144 SCR HEX SOC CAP...

Reviews: