


+1.818.937.0700 www.arecontvision.com [email protected]
Contera
®
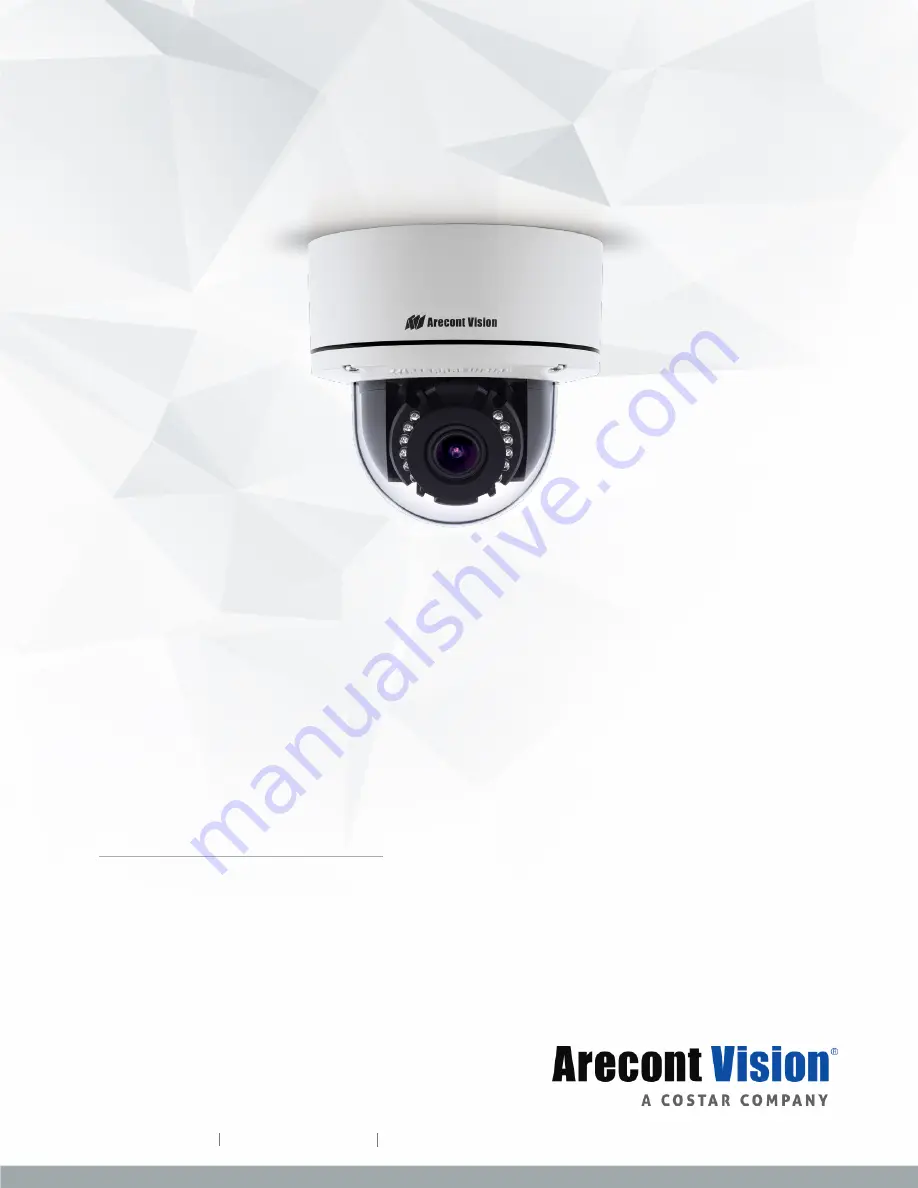
Outdoor Dome
Installation Manual
1080p
5MP
AV02CLD-100
AV05CLD-100
The Costar ARECONT VISION CONTERA is a cutting-edge surveillance system that guarantees top-notch security for your property. Ensure smooth setup and installation with our detailed, user-friendly Installation Manual. Download this manual, absolutely free from our website, to effortlessly set up your surveillance system and maximize its potential.
+1.818.937.0700 www.arecontvision.com [email protected]
Contera
®
Outdoor Dome
Installation Manual
1080p
5MP
AV02CLD-100
AV05CLD-100


