CaterChef 688.320 series, Operation Manual
The CaterChef 688.320 series is a versatile kitchen appliance designed to streamline your cooking process. To ensure you make the most of its features, we offer a comprehensive Operation Manual available for free download on our website. Discover how to maximize your culinary experience with this user-friendly manual.
Share
Download


Reviews:
No comments
Related manuals for 688.320 series

BMVC001
Brand: Bake Max Pages: 7

FoodCycler SWR550
Brand: Sage Pages: 168

ST-CS0160
Brand: Saturn Pages: 11

DJ13E-C1
Brand: Joyoung Pages: 20

PC11-25
Brand: Nesco Pages: 40

YT62001
Brand: Clas Ohlson Pages: 5

element WCU103-01
Brand: Vinotemp Pages: 20

P200W2
Brand: Puregas Pages: 82

KMS 8302
Brand: Kiwi Pages: 16

228024
Brand: PEUGEOT Pages: 23

BarVista BCB100
Brand: Breville Pages: 2

Immersion Circulator
Brand: Sansaire Pages: 11
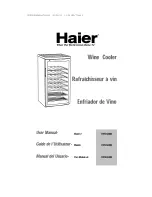
HVF042ABL
Brand: Haier Pages: 44

HVF 042 ABL
Brand: Haier Pages: 23

HVF042ABL
Brand: Haier Pages: 22

BrewMaster HBF05E
Brand: Haier Pages: 72

HBCW100ABB
Brand: Haier Pages: 23
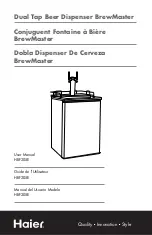
BrewMaster HBF205E
Brand: Haier Pages: 76


