A
UTOMATION
SYSTEM
FOR
SLIDING
DOORS
UERUNGEN
FM-S
YSTEM
S
ISTEMA
RADIOMANDOS
FM
RODEO
S
ERIES
S e r i e s
S é r i e
B a u r e i h e
S e r i e
for door wings weighting
up to
125
kg each
AUTOMATION SYSTEM FOR SLIDING DOORS,
WITH MICROPROCESSOR CONTROL
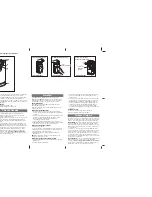
ENTRY
EXIT
CLOSED
EMERGENCY
SELECTION
Documentazione
Tecnica
M71
rev.
3.0
01/2000
©
CAME
CANCELLI
AUTOMATICI
119PM71