


101786-01R5-11/10
Price - $5.00
n
o
n
o
i
t
a
m
r
o
f
n
i
g
n
i
k
e
e
s
n
e
h
W
.
r
o
t
c
a
r
t
n
o
c
g
n
i
t
a
e
h
r
u
o
y
ll
a
c
,
r
e
l
i
o
b
o
t
s
r
i
a
p
e
r
r
o
e
c
i
v
r
e
s
r
o
F
.
l
e
b
a
L
g
n
i
t
a
R
n
o
n
w
o
h
s
s
a
r
e
b
m
u
N
l
a
i
r
e
S
d
n
a
r
e
b
m
u
N
l
e
d
o
M
r
e
l
i
o
B
e
d
i
v
o
r
p
,
r
e
l
i
o
b
r
e
b
m
u
N
l
e
d
o
M
r
e
l
i
o
B
r
e
b
m
u
N
l
a
i
r
e
S
r
e
l
i
o
B
e
t
a
D
n
o
i
t
a
ll
a
t
s
n
I
_
_
_
_
-
_
_
C
P
M
-
_
r
o
t
c
a
r
t
n
o
C
g
n
i
t
a
e
H
e
p
y
T
l
e
u
F
f
o
s
s
e
r
d
d
A
r
e
b
m
u
N
e
n
o
h
P
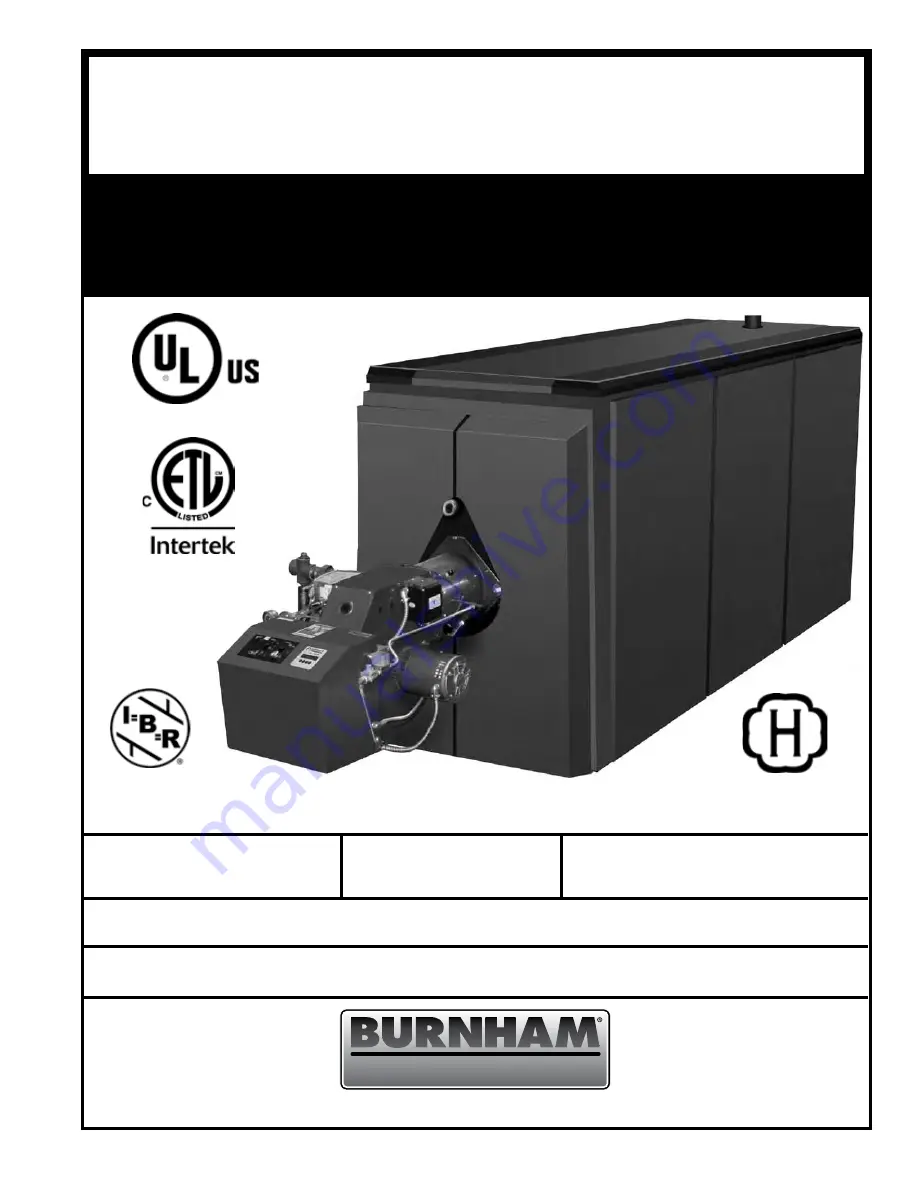
Commercial Boilers
www.burnhamcommercialcastiron.com
D
N
A
G
N
I
T
A
R
E
P
O
,
N
O
I
T
A
L
L
A
T
S
N
I
R
O
F
S
N
O
I
T
C
U
R
T
S
N
I
E
C
I
V
R
E
S
S
S
A
P
-
I
T
L
U
M
™
C
P
M
l
e
d
o
M
R
E
L
I
O
B
N
O
R
I
T
S
A
C
L
A
I
C
R
E
M
M
O
C
3050579
Summary of Contents for MPC
Page 19: ...19 Figure 5 Manual or Hydraulic Draw up Section Assembly ...
Page 28: ...28 Table VII Modular Return Water Mixing Tube RWMT RC ...
Page 29: ...29 Figure 13 Return Water Mixing Tube RC Assembly and Installation ...
Page 78: ...78 Figure 56 MPC Common Bare Boiler Components ...
Page 80: ...80 Figure 56 MPC Common Bare Boiler Components continued ...
Page 82: ...82 Figure 57 MPC Front Center Section Frame Rail Assembly ...
Page 84: ...84 Figure 58 MPC Rear Section Frame Rail Assembly ...
Page 86: ...86 Figure 59 MPC Return Water Mixing Tube RC Assembly ...
Page 88: ...88 Figure 60 MPC Heat Exchanger Insulation Wrapper ...
Page 90: ...90 Figure 61 MPC Internal Wiring Harness Components ...
Page 92: ...92 Figure 62 MPC Jacket Panel Assembly ...
Page 94: ...94 Figure 62 MPC Jacket Panel Assembly continued ...
Page 96: ...96 Figure 63 MPC 2 nd and 3 rd Pass Flueway Baffles ...


