


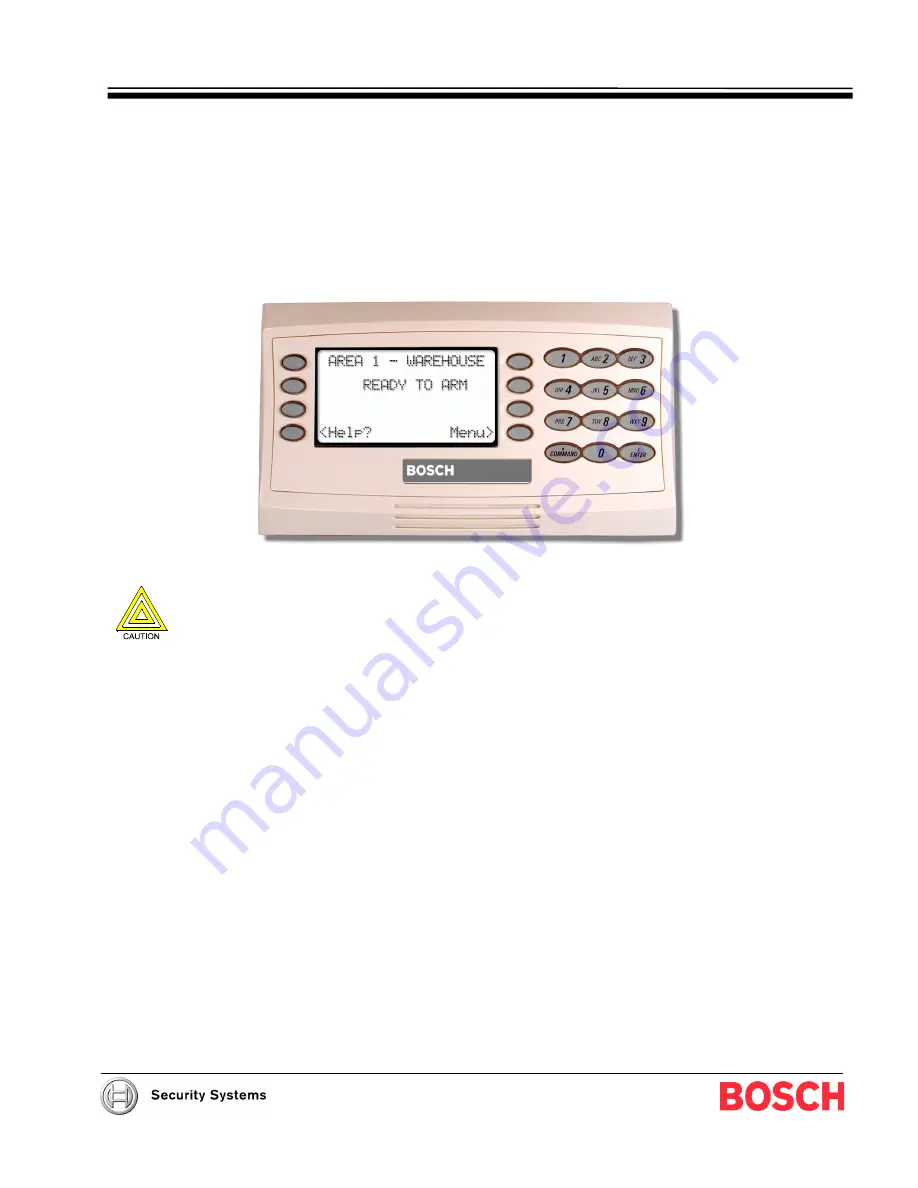
Command Center D1260
Owner’s Manual
This system includes a telephone line seizure feature. The system may be programmed to communicate with a central
monitoring station to report system events. You will not be able to use your phone while the system is communicating
with the central monitoring station. In the unlikely event that the central station is not able to receive the report, your
phone may be unavailable for up to 20 minutes while the panel makes additional communication attempts.
National Security Systems Inc (800)457-1999
Summary of Contents for D1260 Series
Page 2: ...D1260 Owner s Manual 50410C 2003 Bosch Security Systems ...
Page 4: ...Contents D1260 Owner s Manual 50410C 2003 Bosch Security Systems ...
Page 144: ...Appendix Passcode Worksheet D1260 Owner s Manual 50410C 2003 Bosch Security Systems Notes ...
Page 154: ...D1260 Owner s Manual 50410C 2003 Bosch Security Systems Notes ...


