


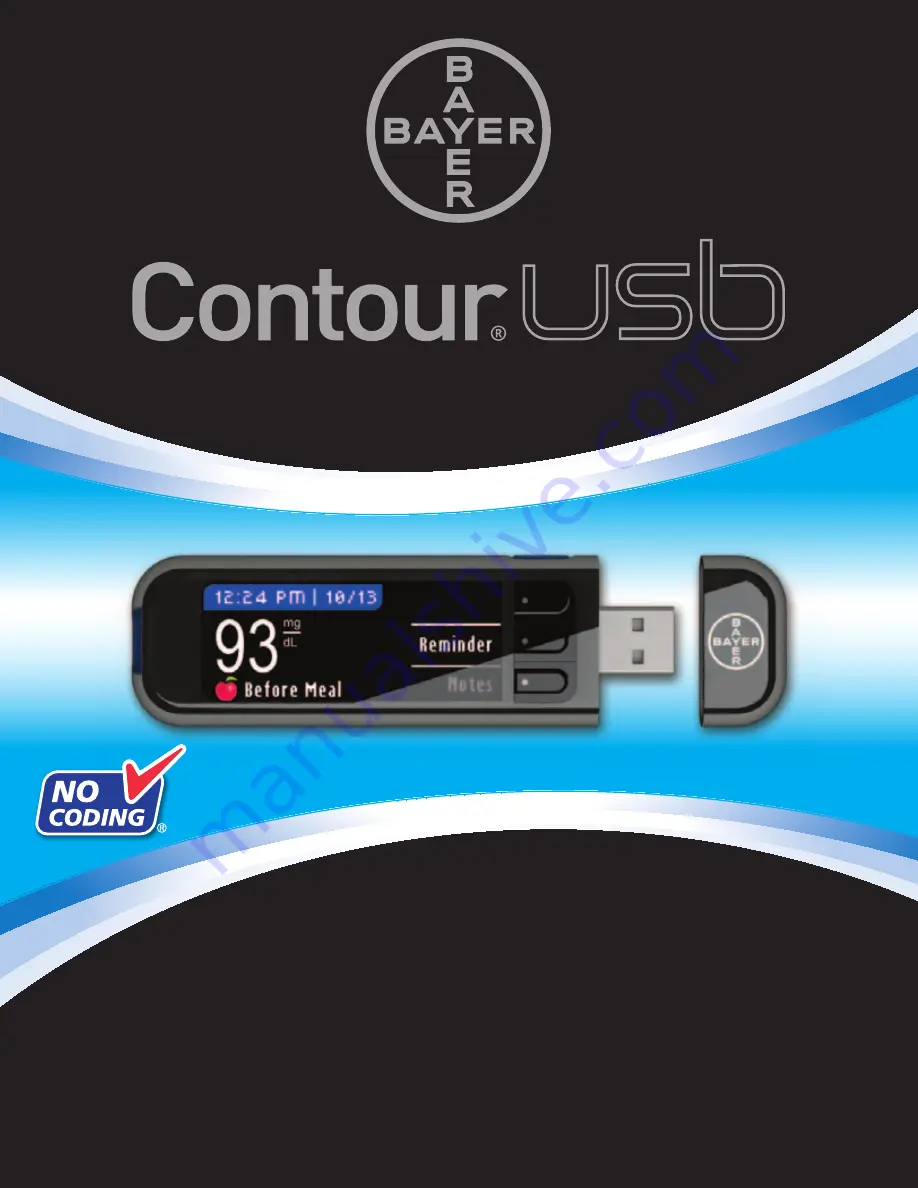
BLOOD GLUCOSE MONITORING SYSTEM
USER GUIDE
USES BAYER’S CONTOUR
®
BLOOD GLUCOSE TEST STRIPS
www.bayerdiabetes.com/us
1600 Sherwin Ave.
Des Plaines, IL 60018
T 847.296.6000
July 27, 2009
Bayer Health Care
Contour USB User Guide - US
474752A15
82286110 Rev. 7/09
N/A
6.0" (H) x 4.5" (W)
N/A
New Layout - Contour USB User Guide - US
Alts#1 3.11.09 - Copy Changes
Alts#2 3.12.09 - Copy Changes
Alts#3 4.14.09 - Screen/Copy Change
Alts#4 5.07.09 - Copy Change
Alts#5 6.02.09 - Copy Changes
Alts#6 6.09.09 - Copy Changes
Alts#7 6.11.09 - Copy Changes/image changes
Alts#8 6.15.09 - Copy Changes
Alts#9 6.17.09 - Copy Changes
Alts#10 7.13.09 - Move type away from trim
Alts#11 7.23.09 - Copy Changes
Alts#12 7.27.09 - Copy Changes
DATE:
CLIENT:
PROJECT NAME:
SCHAWK JOB#:
BAN#:
SKU#:
PAGE SIZE:
UPC CODE:
V-12
ENGLISH
PROCESS CYAN
PROCESS MAGENTA
PROCESS YELLOW
PROCESS BLACK
PMS 877
PMS 300
PMS 072
COLORS
Frutiger, Helvetica,
Zaph Dingbats
FONTS


