

Installation and Use Instructions
7 Day Electronic Timer
(TE103)
These instructions are for your safety. Please read through them
thoroughly before use and retain for future reference.
Parts Supplied
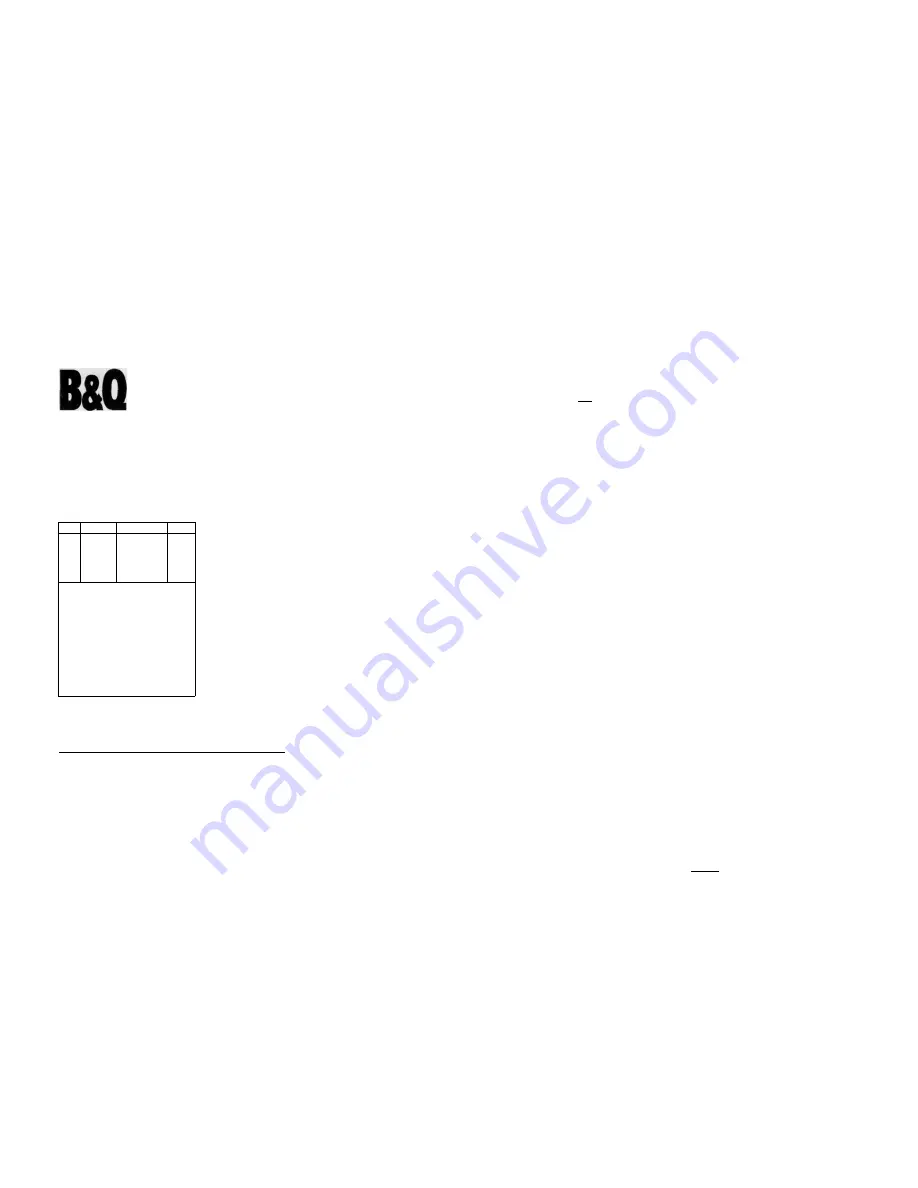
Ref
A
Description
24 Hr/7 Day
Electric
Digital Timer
Illustration
Qty
1
Product Specification:
Contact Rating:
13 Amps Resistive
2 Amps Inductive
220-240V- 50Hz
Min. switching interval: 1 minute
Back-up battery: Rechargeable battery
Programming: Maximum 20 on/off with manual
override
Working temperature: O'C to +55'C
Accuracy/ deviation: within 1 minute each month
Tools Required (not supplied)
:A pointed tool (e.g. a pen) is required for operating the RST and RND buttons. |
Setting the timer
1. Initial Operation
1.1 Plug in the timer for approximately 6 minutes to charge rechargeable battery.
Note:
The timer contains a non-replaceable rechargeable battery. The battery is used to power
the timer memory whilst the timer is unplugged (or if mains power is interrupted) If the
timer is left unplugged for some time, the battery will run down and the current time and
all programmes will be lost. If this occurs, plug in the timer to recharge the battery, The
timer will operate regardless of battery condition so long as it remains plugged in.
1.2 Use a sharp object (e.g. a pencil) to press 'RST' (RESET) key to clear the memory.
2. Setting Current Time
2a Set up the current time before you enter any ON/OFF programs.
2b Press "SET" key for about three seconds. The day of the week will start to flash.
2c Press '->' or "<--' key to set the current day of the week.
2d After the weekday is chosen, press "SET" key to confirm the weekday. The weekday will
stop flashing and the hour will start to flash.
2e Press">" or "<-' key to set the current hour.
2f After the hour is set, press "SET' key to confirm the hour. The hour will stop flashing and
the minute will start to flash.
2g Press">' or '<-' key to set the current minute.
2h After the current time is set, press "SET" key to confirm the current time you have
adjusted.
Note: During current time setting, if you do not press any key within 10 seconds, time setting
mode will cease and you will have to start again from 2a.
3. Setting ON-OFF Programmes
Up to 20 programmes can be set in this timer.
3a Press">" key to enter programming setting mode. The programme number will start to
flash.
3b Press "->" or "<-" key, to select the programme number (between 1 and 20, ON time).
3c Press "SET" key. The weekday indicator will start to flash.
The timer can be set for any of the 7 individual days or one of 8 "Day Groups" (as shown
below):
MO TU WE TH FR
SA SU
MO TU WE TH FR SA
MO WE FR
TU TH SA
MO TU WE
TH FR SA
MO TU WE TH FR SA SU
3d Press *->' or '<-" key to select the weekday or "day group".
3e After the weekday is chosen, press "SET" key to confirm the "week day". The weekday
will stop flashing and the hour will start to flash.
3f Press "->' or "<-' key to set the current hour.
3g After the hour is set, press "SET" key to confirm the hour. The hour will stop flashing and
the minute will start to flash.
3h Press "-> or <-' key to set the minute.
3l Press "SET" to confirm the programme time which you have adjusted.
3j Repeat (3c-3l) to set up the programme OFF time.
3k After the programme is set, press "TIME" key to jump out of the setting mode.
During programme setting, if you do not press any key within 10 seconds, programme setting
mode will cease and you will have to start again from 3a.
If during programme setting, you would like to stop setting programmes, pressing the "TIME"
key will escape the programme setting mode.
Note- 0V3rlapping programmes:
Please note the following in using the timer
Assuming that you have set two programmes, the timer will work as below.
ProgX: ON 9:00 (Monday) (Tuesday) (Wednesday)
OFF 13:00 (Monday) (Tuesday) (Wednesday)
Prog Y: ON 11:00 (Tuesday)
OFF 12:30 (Tuesday)
Monday after 9:00 (ON) (Prog X) after 13:00 (OFF) (Prog X)
Tuesday after 9:00 (ON) (Prog X) after 12:30 (OFF) (Prog Y)
Wednesday after 9:00 (ON) (Prog X) after 13:00 (OFF) (Prog X)
4. Manual Override
The "OVER" button is a manual override switch. The timer status can be changed by
pressing the "OVER" button.
To override program execution status, simply press "OVER" key to switch the output
status in the sequence of
AUTO O F F - > ON-> AUTO ON ->OFF
If the present timer status is AUTO ON and you would like to change it to AUTO OFF, just
press the OVER" button to change the status to AUTO OFF. The timer will be in AUTO OFF
status until the next ON starting command.
If the present timer status is AUTO OFF and you would like to change it to AUTO ON, just
press the OVER" button to change the status to AUTO ON. The tinner will be in AUTO ON
status until the next OFF starting command.
The LCD displays the output status at all times as shown below
AUTO OFF: The timer is currently in OFF status and will be switched on under control of
the programme.
AUTO ON : The timer is currently in ON status and will be switched off under control of
the programme.
ON : The unit is in permanent ON status, regardless of programme.
OFF : The unit is in permanent OFF status, regardless of programme.
5. Indicator Light
There is a red indicator light on the left side of the top next to the TIME button. The indicator
lights up whenever the timer output is switched ON.
6. Program Reset (RST button)
Pressing the "RST" button will clear all preset programs and the current time setting.
B&Q plc. Chandlers Ford, Hampshire, SO53 3YX.
Visit us at www.diy.com
180402


