Axminster ujk 106843, Manual
Get the free manual for the Axminster UJK 106843 on our website. This comprehensive manual is available for immediate download and provides detailed instructions to help you get the most out of your product. Don't miss the opportunity to access this essential guide from manualshive.com.
Share
Download


Reviews:
No comments
Related manuals for ujk 106843

P1
Brand: Oasser Pages: 29

Signature Series
Brand: Balcrank Pages: 12
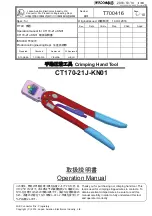
CT170-21J-KN01
Brand: JAE Pages: 11

YT-82902
Brand: YATO Pages: 80

6-1136
Brand: Carlyle Tools Pages: 16

MR050SD
Brand: Harrington Pages: 2

YT-82015
Brand: YATO Pages: 112

RDP601
Brand: Far Tools Pages: 17

ComfortCut 30
Brand: Gardena Pages: 14
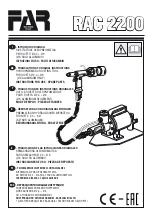
RAC 2200
Brand: FAR Pages: 56

GS-202
Brand: Galaxy Pages: 11

HG-201D
Brand: Master Appliance Pages: 2

CAMPY UT-CN200
Brand: CAMPAGNOLO Pages: 2

SKF 1162
Brand: Lincoln Pages: 12

TKA111
Brand: Yokota Pages: 8

R9PLUS
Brand: Leigh Pages: 20

SF3EX
Brand: Trelawny Pages: 16

GS690CH
Brand: Max Pages: 58


