Avision FL1503B, User Manual
The Avision FL1503B User Manual is an essential companion for maximizing the potential of your scanner. Easily download the comprehensive manual for free on our website, empowering you to effortlessly set up, troubleshoot, and operate your scanner. Unlock every feature and optimize your scanning experience with our user-friendly and informative guide.
Share
Download


Reviews:
No comments
Related manuals for FL1503B

199
Brand: Keithley Pages: 188

LC20
Brand: Quins Pages: 14

20-162
Brand: Radio Shack Pages: 88

PowerLook 1100
Brand: UMAX Technologies Pages: 16

RS320
Brand: Allflex Pages: 44

T-Scan
Brand: Leica Geosystems Pages: 139

ScanStation P16
Brand: Leica Geosystems Pages: 142

PS970H
Brand: QPIX Pages: 2

WLS8400ER
Brand: Wasp Pages: 4

PRO-71
Brand: Radio Shack Pages: 44

7409-K312
Brand: NCR Pages: 9
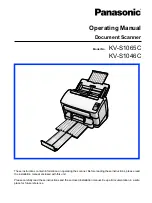
KV-S1046C
Brand: Panasonic Pages: 52

DS3608
Brand: Zebra Pages: 11

DOCUMATE DocuMate 262i
Brand: Xerox Pages: 2

CT
Brand: GE Pages: 2

S1200
Brand: Sceptre Pages: 4

22410002
Brand: Magtek Pages: 38

MAGELLAN 3410VSi
Brand: Datalogic Pages: 32


