


FUNCTION SETTINGS
1.
To change & set BAUD Rating, Parity & Print Mode
Press
[ON/OFF]
to turn on the scale on. This display will show
--------.
As soon as
you see --------, press
[PRINT]
and the display will show
b xxx BAU
value (BAUD
Rate). Press
[UNIT]
to select 1200, 2400, 4800 or 9600.
Press
[ZERO]
to enter Parity mode, the display will show
P XXX PAR
. Press
[UNIT]
to select
odd, even or none
(
odd
stands for 7 data bits with odd parity,
even
stands
for 7 data bits with even parity,
none
stands for 7 data bits without parity).
Press
[ZERO]
to enter Print mode. The display will show
n xxx Mod
. Press
[UNIT]
to select
ON, OFF, KEY or STB
(
OFF
stands for serial data output disabled,
KEY
stands for demand mode by pressing
[PRINT]
,
STB
stands for automatic print when
scale is stable and
ON
stands for continuous print. Press
[ZERO]
again to return to
weighing mode.
2. To activate and deactivate weighing units
Press
[ON/OFF]
to turn on the scale on. The display will show digits and then
--------. As soon as you see
--------
press
[UNIT]
to enter unit selection mode. The
display will show
ON X
(X stands for the units i.e. g or oz). Press
[ZERO
] to select
an unit and press
[UNIT]
to select ON (to activate the selected unit) or OFF (to
de-activate the selected unit). Press
[ZERO
] until you return to weighing mode.
2.
To change & set the Zero, Tare, Overload & Back Light settings
Press
[ON/OFF]
to turn on the scale on. The display will show digits and then
--------. As soon as you see
--------
press
[PCS]
. Following the table below, use the
[ZERO
] button to enter each setting and
[UNIT]
button
to change the value in each
setting.
Setting (shown as it is
seen on the display)
What setting you are
changing
What you can choose
from
ZRD X.X
Zero Track Value
0.0, 0.2, 0.4, 0.6, 0.8, 1.0,
1.5 & 2.0
ZRT X.X
Zero Track Time
0.5, 1.0, 1.5, 2.0, 2.5, 3.0,
3.5 & 4.0
RZD X.X
Zero Value
0.8, 1.8, 2.8 & 3.8
FIL X
Filter Range
0, 1, 2, 3, 4, 5, 6 & 7
PZR XX
Set percentage for zero
range when the scale is
first turned on
1, 2, 3, 4, 5, 8, 10 & 20
TZR XX
Set percentage of zero
range
3, 4, 5 & 10
TTR XXX
Set percentage of tare
range
50 or 100
OUR XX
Overload Protection
Mode
2, 5, 10 9d
b2 XX
Activate or deactivate
beep when buttons are
pressed
ON or OFF
ZT XX
Unite tare & zero function
ON or OFF
A XXX
Auto-power off settings
3, 5, 10mins or OFF
L XXX
Back Light settings
AUTO, OFF or ON
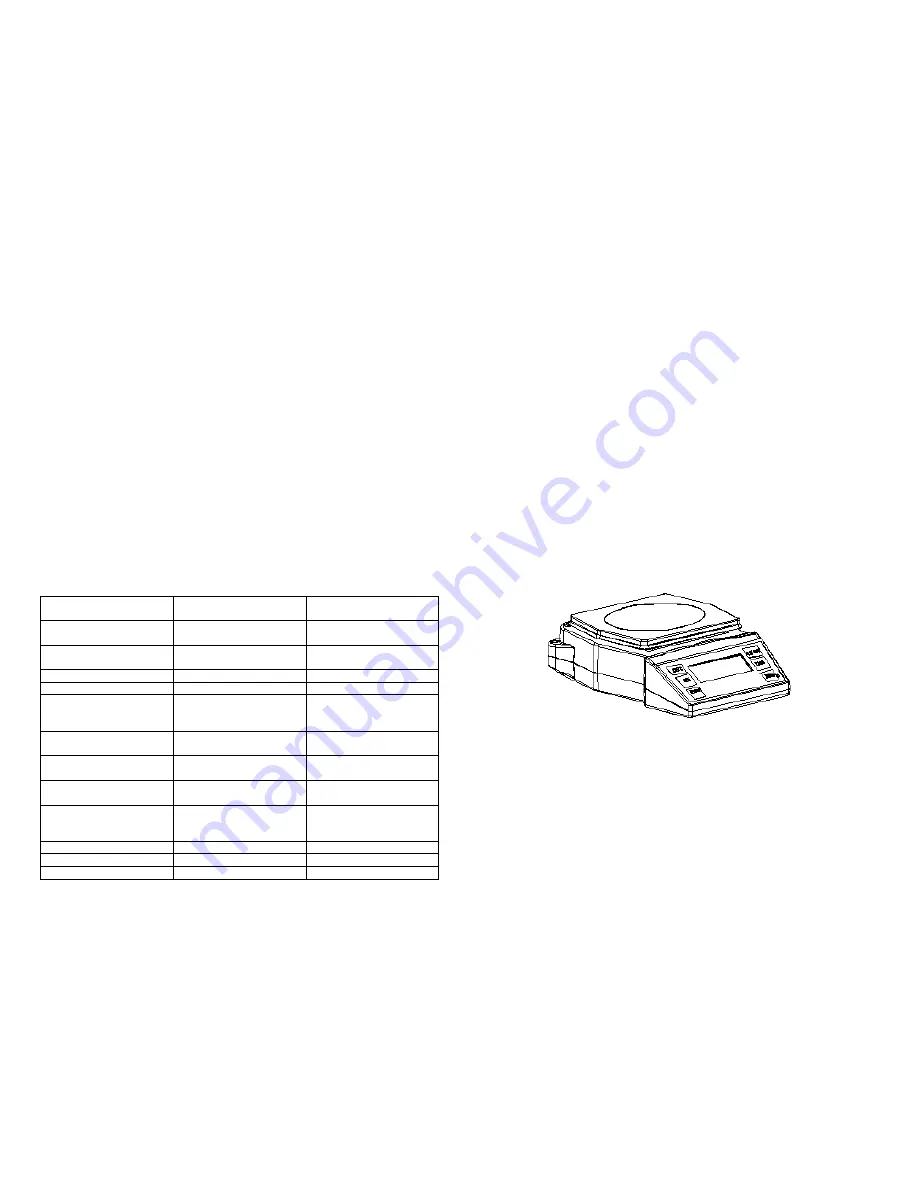
COMPACT SCALE
/
BALANCE
INSTRUCTION MANUAL


