


INSTRUCTION MANUAL FOR TRACKBALL (HAA310)
Images and instructions are for reference only and subject to change. © 2022 AtGames.
1
Tools Needed
P.1
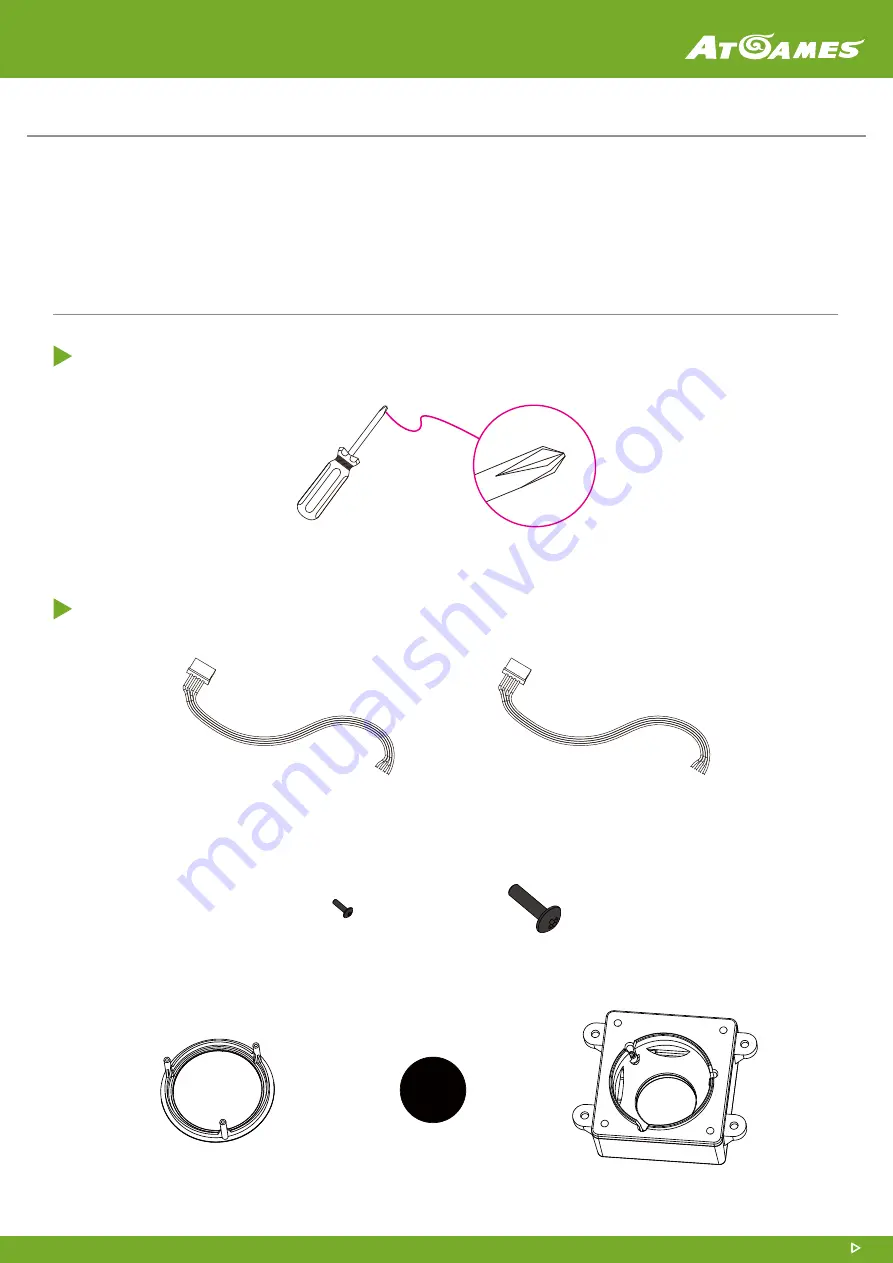
Package Includes
P.1
How to Install Trackball onto ALU
P.2
How to Install Trackball onto Quadplay
P.5
Trackball Rim
Trackball
Trackball Case
#SA Screw x 3
#SB Screw x 4
Blue Cable
(for ALU 1.0 version)
Red Cable
(for ALU 1.1 version and Quadplay)
Package includes:
Tools Needed:
A Phillips-head Screwdriver.


