background image

DM750-2MP Digital-Integrated Microscope

Introduction

This manual applies to the DM750-2MP digital-integrated microscope and accessories. The information in this manual is 

provided to help you familiarize yourself with the assembly and use of the products. Please read thoroughly before using 

the products, and keep this manual with the product for reference.

v0.9.20221026

Summary of Contents for DM750-2MP

Page 1: ...50 2MP digital integrated microscope and accessories The information in this manual is provided to help you familiarize yourself with the assembly and use of the products Please read thoroughly before using the products and keep this manual with the product for reference v0 9 20221026 ...

Page 2: ...o the instrument or injury to yourself or others Only use the provided power adapter or authorized replacement Incompatible power adapters can cause damage to the instrument If you should lose the included power adapter please contact AmScope for information about a replacement Do not dismantle Dismantling can result in damage to the instrument and potential exposure to dangerous materials or elec...

Page 3: ...HDMI Port 8 Power Port 8 The 3D Attachment 9 Operation 10 Focusing 10 Magnification 10 Zoom Dial 10 Optical Magnification 11 Monitor Magnification 11 Illumination 12 Software 13 Virtual Keyboard 13 The Control Panel 13 Measurement Tools 15 Calibration 16 Calibration Tool 16 Profiles 16 Units 16 Line and H Calibration 16 Calibration by Circle 16 ...

Page 4: ...DM750 2MP User Guide Page 4 ...

Page 5: ...307 color Sensor Type CMOS Sensor Optical Format 1 2 8 Integrated Reduction 0 35X Active Pixels 2M 1920 x 1080 Pixel Size 2 9µm x 2 9µm Active Sensor Area 5 57mm x 3 13mm Shutter electronic rolling shutter Monitor Specifications Display Size 11 6 Monitor Magnification 46X Displayed Magnification 12 9X 92X Native Resolution 1920 x 1080 Aspect Ratio 16 9 ...

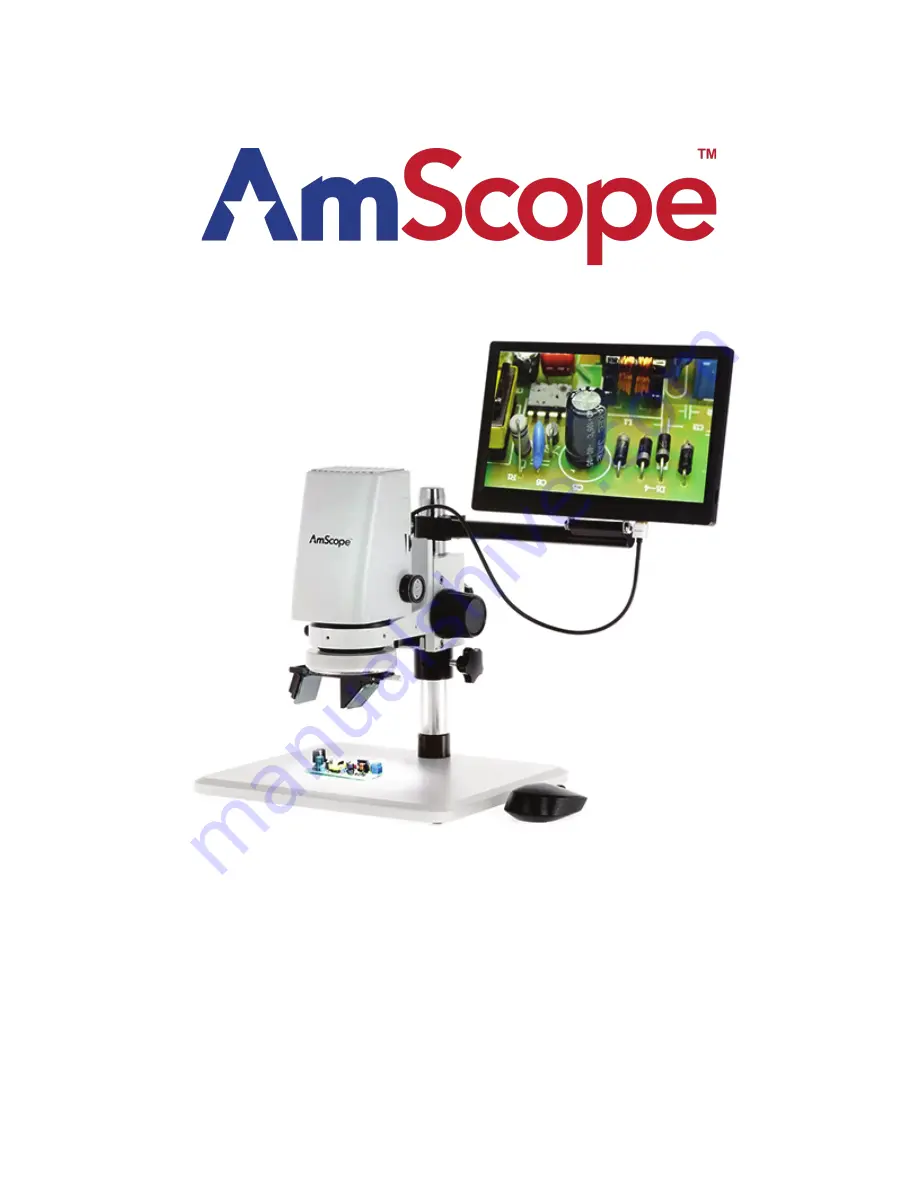
Page 6: ...e One USB wireless mouse One ring light adapter One ring light One AC power adapter One base plate for table stand One pillar for table stand One focusing block The DM750 2MP HDM11 outfit also includes One monitor One arm bracket for monitor Two thumb screws One AC adapter for monitor One HDMI cable ...

Page 7: ...A mounts The arm s mounting bracket only uses the lower 2 holes Use the included thumb screws to secure the monitor in place Attach one end of the included HDMI cable to the microscope s HDMI port and the other end to the monitor s HDMI port Attach DC plug of the the monitor s AC power adapter to the monitor s power port then plug the AC adapter into a compatible AC outlet The monitor s power butt...

Page 8: ...the power switch on the underside of the mouse and move it to the ON position Storage Devices An external storage device is required to save photos and other files This microscope is compatible with various devices including thumb drives and card readers Compatible storage devices will be automatically detected when attached HDMI Port The HDMI port can be used to display video on compatible monito...

Page 9: ... freely The 3D attachment can be used to alter the angle of view allowing you to view an object from oblique angles without moving the object The 3D attachment consists of a mounting ring and a slider The slider can be positioned for normal viewing or 3D viewing The open position removes the slider s mirrors from the optical path allowing you to view normal ly The engaged position places a mirror ...

Page 10: ...will decrease tension Magnification Zoom Dial The zoom dial controls the magnification of the microscope by adjusting the internal zoom mechanism The dial can be rotated in a continuous movement from the 0 7X setting to the 5X setting Key magnifications have detents mechanical catches which allow the dial to click into place This allows you to set magnifications more precisely when performing meas...

Page 11: ...ue to its association with the image sensor However it should be used when calculating total system magnification as described in the following section about monitor magnification Monitor Magnification Since the image displayed on the monitor is larger than the camera s sensor the monitor is considered to have its own magnification referred to as monitor magnification The magnification factor is c...

Page 12: ...imultaneously pulling downward on the left and right sides When reattaching be sure to align the two electrical contact on the top of the ring light with the pins on the underside of the microscope head The ring light s intensity is controlled by a wheel on the right side of the microscope Rotating the wheel upward will increase the intensity and rotating downward will decrease intensity ...

Page 13: ...camera s sensitivity Exposure time is used to increase or decrease the image brightness by adjust ing the duration over which the image is captured Enable Auto Exposure for automated control of exposure settings Enable Manual Exposure to manually adjust exposure settings Color settings are used to manually adjust the proportional Red Green and Blue levels of the RGB image Enable Auto White Balance...

Page 14: ...e purpose of com paring with the live image Click and hold the comparison image to adjust its position Freezes the live image Prefix is used for automatic file naming The prefix will be followed by a nu meric sequence Format selects the file type to be used when saving images Available options are JPG and BMP Naming determines whether file names will be generated automatically using the user defin...

Page 15: ...rallel to the first Perpendicular Lines draw perpendicular lines Angle measure an angle Polygon draw a polygon 3 Point Arc draw an arc 3 Point Circle draw a circle Concentric Circles draw concentric circles Circle to Circle measure the distance between the centers of two circles Circle to Point measure the distance from the center of a circle to an arbitrary point Circle to Line measure the distan...

Page 16: ...le graduations as possible and should be parallel to the ruler s edge to improve the preci sion Move the cursor along the image of the ruler until it has spanned an adequate number of graduations then click the left mouse button again to create the second anchor point A popup window will be displayed Enter a name for the profile the length of the measurement and the current magnification If you ar...

Reviews: