


Installing the Si 4000 Modem
P/N 215629
-1-
February 2010
Installing the Si 4000 Modem
Congratulations on your purchase of the Si 4000 Modem, the compact, portable subscriber
unit that provides a wireless high-speed connection in almost any environment. With 'plug
and play' operation, configuration is simple and in a matter of minutes you can begin to
receive broadband service.
Before you begin, make sure you have the User name and password (provided by your ISP/
operator).
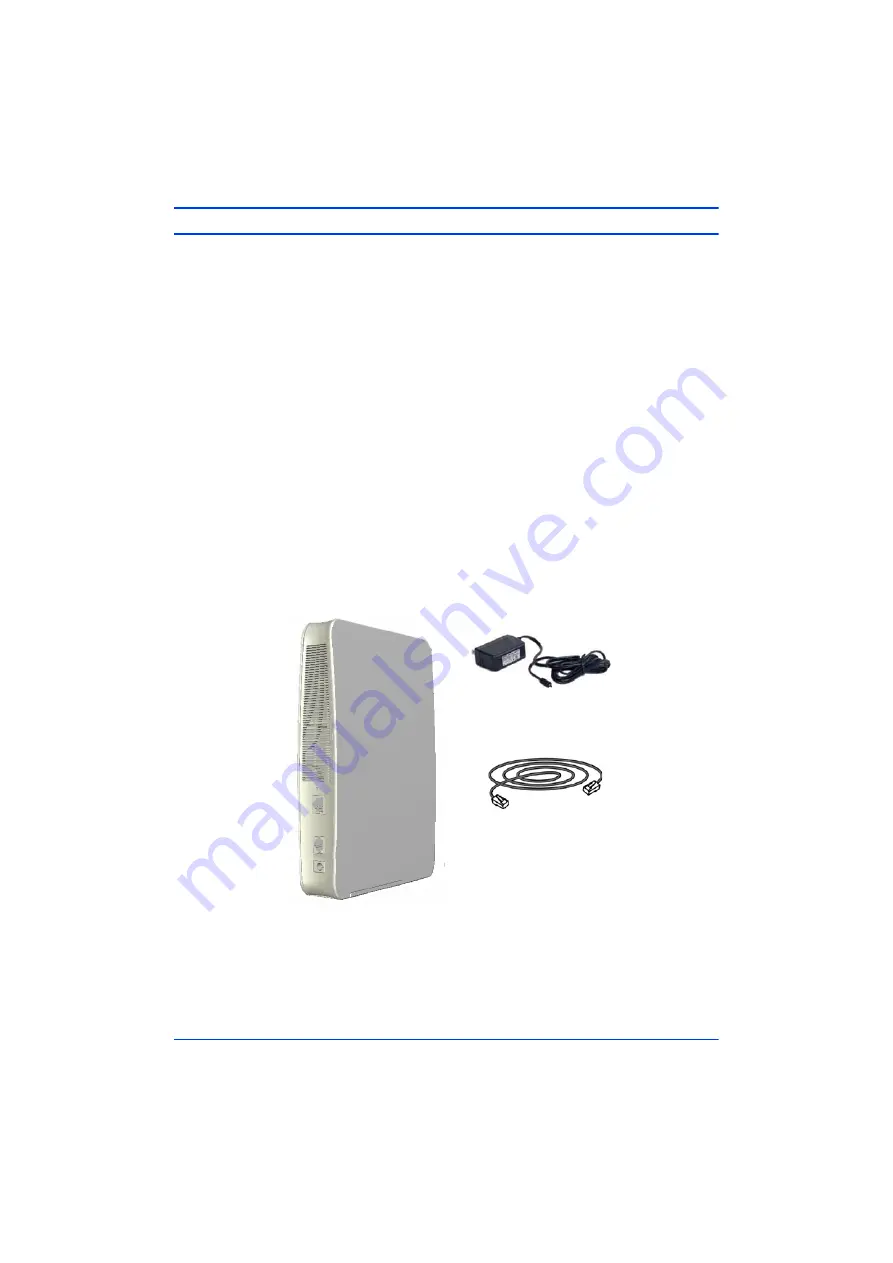
Package Content
•
Si 4000 Modem (1)
•
AC power adapter (2)
•
Data cable (1.5m) (3)
•
This Quick Installation Guide
If any of the items are missing or damaged, contact your WiMAX service provider.
Figure 1: Package Contents
Power Adapter (2)
Data Cable (3)
Si 4000 Modem (1)


