


Original Instructions
This guide contains the following topics:
•
•
•
“Hardware components” on page 5
•
“Loading labels and ribbon” on page 8
•
“Starting up and shutting down” on page 16
•
“Opening Diagnostics” on page 17
•
“Initializing the device” on page 19
•
“Performing a print-and-apply test” on page 20
•
“Using the printer touchscreen” on page 23
•
“Running a labeling protocol” on page 25
•
“Cleaning the printer components” on page 27
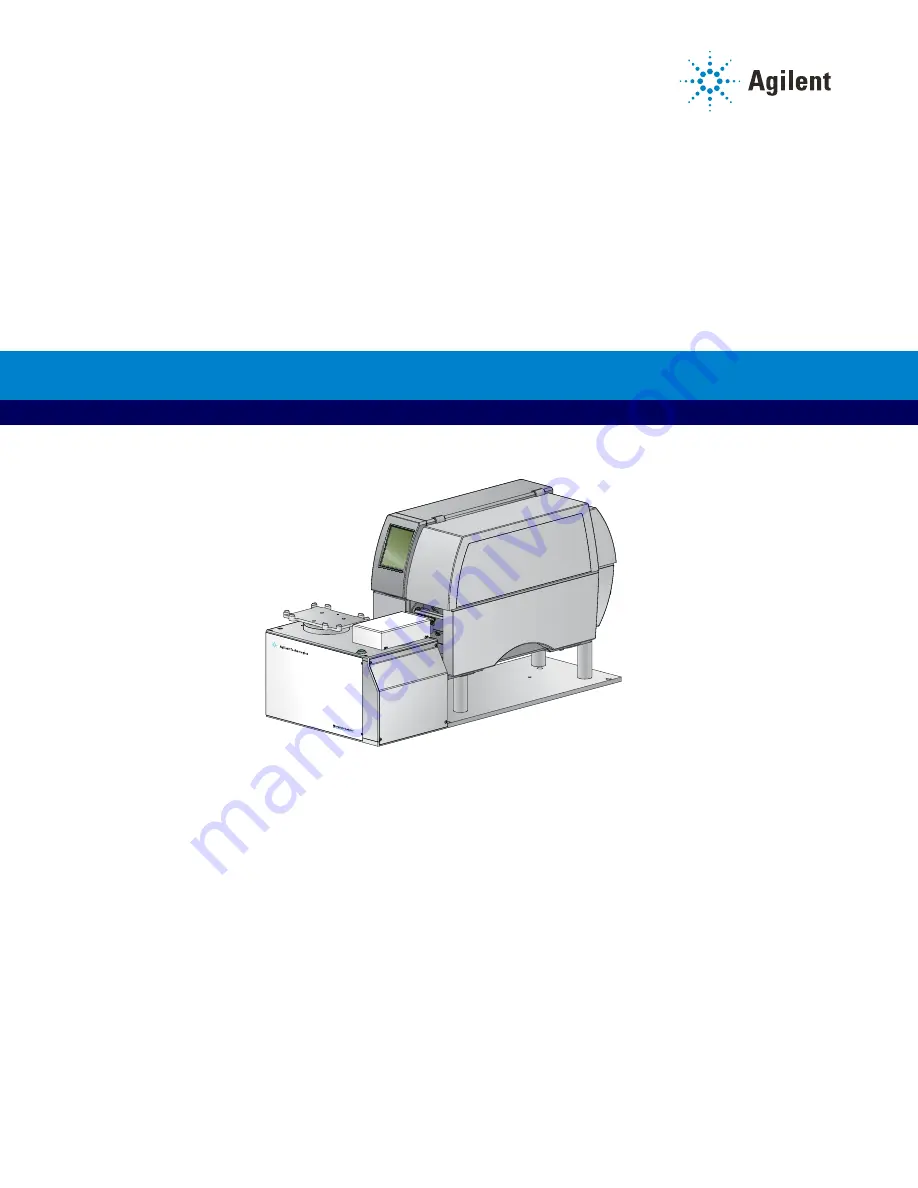
G5581A Microplate Labeler
Quick Guide


