background image

Instruction Manual

SAVE THIS MANUAL FOR FUTURE REFERENCE.

Questions?

 Contact Customer Support at 

(877) 221-1252 or visit www.

AcuRite

.com.

CONTENTS

Unpacking Instructions ........... 2

Package Contents .................. 2

Product Registration ............... 2

Features & Benefits: 5-in-1 ....... 3

Features: Display Unit ............ 4

Back of Display Unit ............... 6

Setup .................................... 7

5-in-1 Sensor Setup ................ 7

Display Unit Setup ................. 8

Set the Time, Date & Units ...... 9

Backlight Settings ................... 9

Placement Guidelines ............10

5-in-1 Sensor Installation ........11

Using the Weather Center .....12

Rainfall Tracking ...................13

Troubleshooting ....................14

Care & Maintenance .............16

Calibration ...........................16

Specifications ........................18

FCC Information ...................18

Customer Support .................19

Warranty..............................19

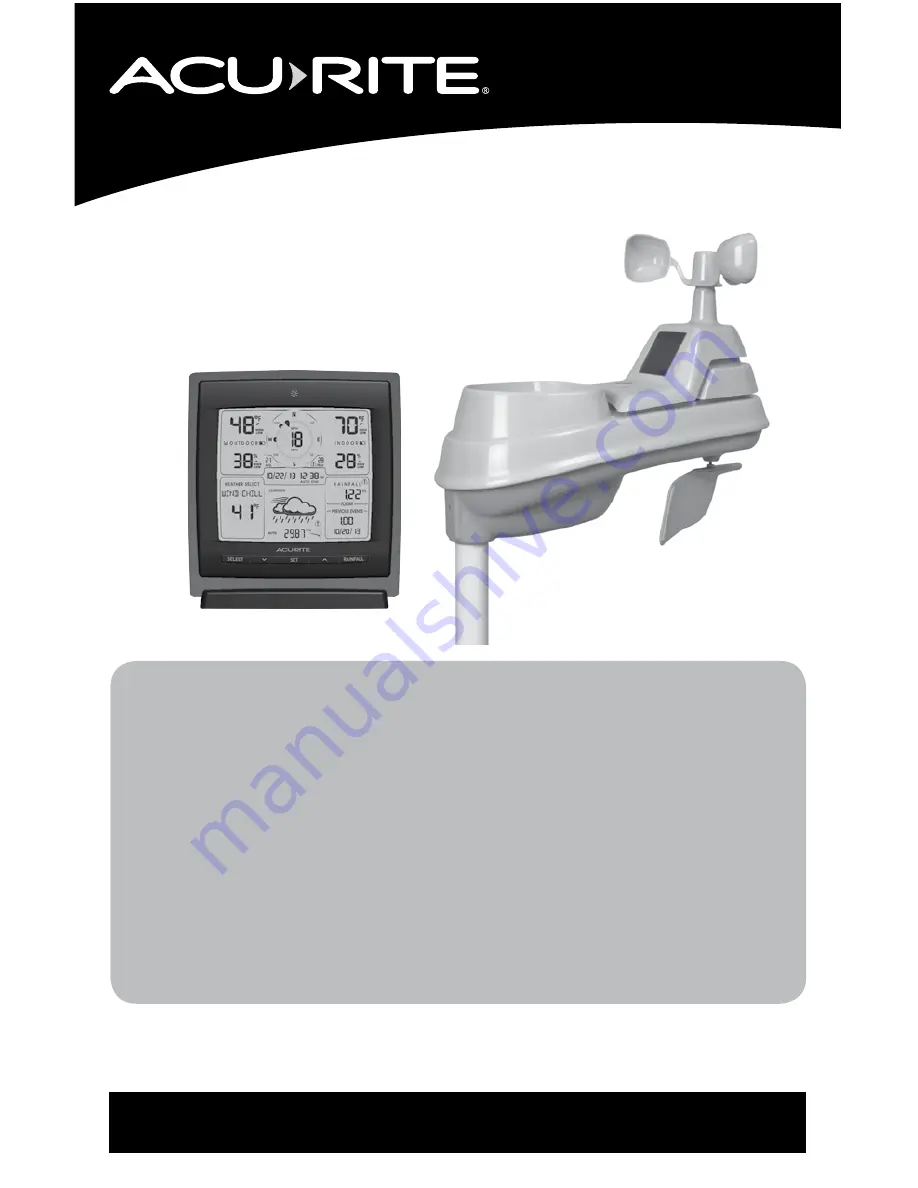
Professional Weather Center

models 01506/01524

Summary of Contents for 1506

Page 1: ... 5 in 1 3 Features Display Unit 4 Back of Display Unit 6 Setup 7 5 in 1 Sensor Setup 7 Display Unit Setup 8 Set the Time Date Units 9 Backlight Settings 9 Placement Guidelines 10 5 in 1 Sensor Installation 11 Using the Weather Center 12 Rainfall Tracking 13 Troubleshooting 14 Care Maintenance 16 Calibration 16 Specifications 18 FCC Information 18 Customer Support 19 Warranty 19 Professional Weathe...

Page 2: ...CD screen prior to using this product Locate the tab and peel off to remove Package Contents 1 Display unit with tabletop stand 2 5 in 1 sensor 3 Sensor mounting bracket 4 Mounting hardware 5 Snap in debris filter for rain collector 6 Power adapter 7 Instruction Manual PRODUCT REGISTRATION Register online to receive 1 year warranty protection www AcuRite com IMPORTANT PRODUCT MUST BE REGISTERED TO...

Page 3: ...heating resulting in more accurate temperature measurement 3 A B C Switch ID code that must match display s A B C switch to ensure units synchronize 4 Battery Compartment 5 Temperature Humidity Sensors internal 6 Mounting Bracket 7 Wind Speed Anemometer 8 Wind Direction Vane 9 Mounting Bracket 10 Mounting Hardware Includes anchors screws Qty Diameter Length 5 4 3 4 1 4 1 2 1 6 1 2 11 Debris Filter...

Page 4: ...4 Features Benefits Display Unit 1 2 3 4 5 6 7 8 9 10 23 19 17 15 16 14 22 21 20 28 30 31 24 25 26 18 27 11 12 13 29 ...

Page 5: ...n Press to change the Weather Select category data being display 12 V SET T Buttons for setup preferences and access to historical records 13 RAINFALL Button Press to display historical rainfall data 14 Date Stamp for Previous Rainfall Data 15 15 Previous Rainfall Data 16 Storm Alert Warning Icon 17 Current Rainfall Rainfall recorded since 12 00am 18 Auto Dim Indicator 19 Heavy Rainfall Warning Ic...

Page 6: ...y Compartment 4 Removable Tabletop Stand 5 CLEAR RECORD RESET Button Press to clear record currently being viewed Press AND HOLD for full reset to factory defaults 6 A B C Switch ID code that must match 5 in 1 sensor s A B C switch to ensure units synchronize 7 Power adapter 8 Battery Compartment Cover not shown 1 3 2 4 6 5 7 ...

Page 7: ...ine or lithium batteries for the best product performance Heavy duty or rechargeable batteries are not recommended The 5 in 1 sensor requires lithium batteries in low temperature conditions Cold temperatures can cause alkaline batteries to function improperly Use lithium batteries in the 5 in 1 sensor for temperatures below 4ºF 20ºC 1 Slide off the battery compartment cover 2 Insert 4 x AA batteri...

Page 8: ...ne standard DO NOT use rechargeable batteries DO NOT recharge non rechargeable batteries DO NOT short circuit the supply terminals Display Unit Setup AcuRite recommends high quality alkaline batteries for the best product performance Heavy duty or rechargeable batteries are not recommended Set the A B C Switch The A B C switch is located inside the battery compartment It can be set to A B or C How...

Page 9: ...T MODE if no buttons are pressed for 20 seconds Enter setup mode at any time by pressing the SET button Display Backlight Settings This weather station s display features three different lighting settings High 100 brightness Medium 60 brightness and Low 30 brightness Using battery power alone the backlight is available momentarily for 10 seconds by pressing the button When display is powered with ...

Page 10: ...s away from large metallic items thick walls metal surfaces or other objects that may limit wireless communication PREVENT WIRELESS INTERFERENCE Place both units at least 3 feet 9 m away from electronic devices TV computer microwave radio etc LOCATE AWAY FROM HEAT SOURCES Position sensor away from heaters air conditioners chimneys exhaust vents asphalt and concrete surfaces that radiate heat LOCAT...

Page 11: ...nsures the cell receives as much sun as possible and orients wind direction 5 in 1 Sensor Installation 1 Fasten mounting base included to a post or pole not included using the 4 longer screws included in the hardware bag 2 Insert the mounting base into the hole on the bottom of the sensor 3 Make sure the arrows on the top of the sensor are pointed in the proper direction and the bubble level is ce...

Page 12: ...s listed above and press the CLEAR RECORD RESET button located on the back of the unit in the bat tery compartment Dashes display to confirm the record has been cleared Barometric Pressure Subtle variations in barometric pressure greatly affect the weather This weather station displays the current pressure with an arrow icon to indicate the direction the pressure is trending FALLING STEADY or RISI...

Page 13: ...ng order PREVIOUS RAINFALL 1 PREVIOUS RAINFALL 2 PREVIOUS RAINFALL 3 CURRENT MONTH TOTAL RAINFALL PREVIOUS MONTH TOTAL RAINFALL 2 MONTHS AGO TOTAL RAINFALL CURRENT YEAR TOTAL RAINFALL PREVIOUS YEAR TOTAL RAINFALL ALL TIME TOTAL RAINFALL date shown is start date of the all time total the date the display was powered on Previous rainfall is the amount of rain recorded from 12 00am to 11 59pm on the ...

Page 14: ... unit 4 Let the units sit within a couple feet of each other for about 20 minutes to gain a strong connection Outdoor temperature is flashing or showing dashes Flashing of the outdoor temperature may be an indication of wireless interference Make sure the A B C switch in the battery compartments of both the display unit and sensor are switched to the same letter You may choose A B or C but both un...

Page 15: ...t hear it you may need to clean inside the sensor Video available at www acurite com 5in1 Inaccurate wind readings What is wind reading being compared to Pro weather stations are typically mounted at 30 ft high or more Make sure to compare data using a sensor positioned at the same mounting height Check location of the sensor Ensure it s mounted a minimum of 5 ft in the air with no obstructions ar...

Page 16: ...ctor Cup Remove and empty rain collector debris filter The debris filter is located in the rain col lector funnel Remove from the top by gently squeezing and pulling out Clean the Wind Vane Anemometer Remove foreign matter from the outside of the sensor for free movement of the wind vane and anemometer If needed use a small amount of spray lubricant clear silicone or graphite powder on the anemome...

Page 17: ...o drip into the rain gauge You should hear the internal buckets tip and see water drain through the rain gauge 4 A few seconds after each bucket tip the display unit displays rainfall in approximately 0 01 or more increments 5 The cup of water should take more than 20 minutes to empty a quicker period will result in inaccurate calibration Try to simulate a normal steady rainfall When cup is empty ...

Page 18: ...th the limits for a Class B digital device pursuant to Part 15 of the FCC rules These limits are designed to provide reasonable protection against harmful interference in a residential installation This equip ment generates uses and can radiate radio frequency energy and if not installed and used in accordance with the instructions may cause harmful interference to radio communications However the...

Page 19: ...ies are hereby expressly disclaimed including without limitation the implied warranty of merchantability and the implied warranty of fitness for a particular purpose Chaney expressly disclaims all liability for special consequential or incidental damages whether arising in tort or by contract from any breach of this warranty Some states do not allow the exclusion or limitation of incidental or con...

Page 20: ...ive owners AcuRite uses patented technology Visit www AcuRite com patents for details 01524 INST 081414 It s More than Accurate it s AcuRite offers an extensive assortment of precision instruments designed to provide you with information you can depend on to Plan your day with confidence www AcuRite com Weather Stations Temperature Humidity Weather Alert Radio Kitchen Thermometers Timers Clocks ...

Reviews: