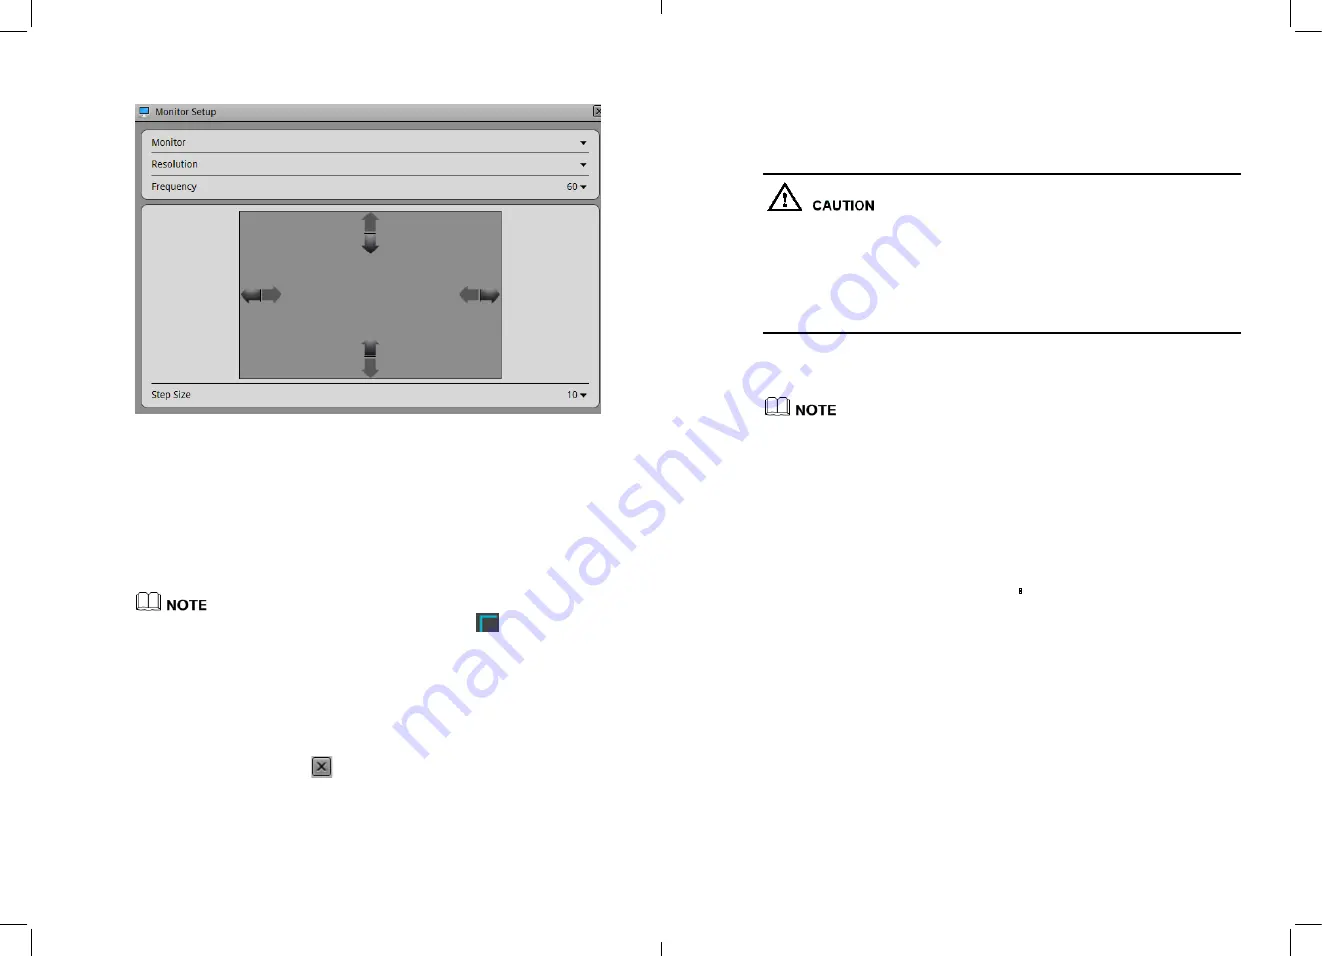
Figure 4-9
Adjust displayer
Step 2
Choose the type of resolution in the resolution of the drop-down box.
Device will automatically switch to the selected resolution and show the dialog for Yes
or Cancel.
z
If no operate in 10 seconds, displayer will back to previous resolution.
z
If select Yes then will switch to the selected resolution.
z
If select
cancel
display will not save the configuration and back to previous
resolution.
Step 3
Adjust display.
If displayer couldn’t show the full screen (at the corners can’t see
) then we need to
adjust the displayer (we advise to auto adjust first)
1.
Click Adjustment button at lower right corner.
2.
In the step of the drop-down box to choose the adjustment step.
Step: The moving distance when adjust screen each times , the greater number the
more moving distance, you can select the larger step sizes to adjust sketchy, and
then select the smaller step tuning.
3.
Use UP, DOWN, LEFTRIGHT button to adjust the screen.
Step 4
Click the configuration interface
to close.
Exist displayer interface
Back to Login interface
13
4.9
Add Network cameras
This NVR allow to connect maximum16 pcs network cameras. Recording baud rate
totally is 24Mbps and live video totally baud rate is 24Mbps.
z
NVR maximum support to connect 16 pcs D1 resolution with average bard rate is
1.5Mbps network camera, If total baud rate more than 24Mbps it may cause NVR
to lose video and not run stable.
z
When Add HD IP camera, it can be added by reduction the number of channel or
the camera baud rate.
z
Detail Specifications please refer to 2 Specifications
Add Network camera
Method1: Add the camera by manually.
Discover the network camera we can discover by broad cast, IP segment search, and pointed
IP search. Network camera have to be pointed IP first and stay with a same sub network
segment.
Method2: Add camera by POE ports .
4.10
Login
Login to the equipment using the following steps
φ
Step 1
In the login screen shown in Figure 4-10, enter a user name, password.
14


