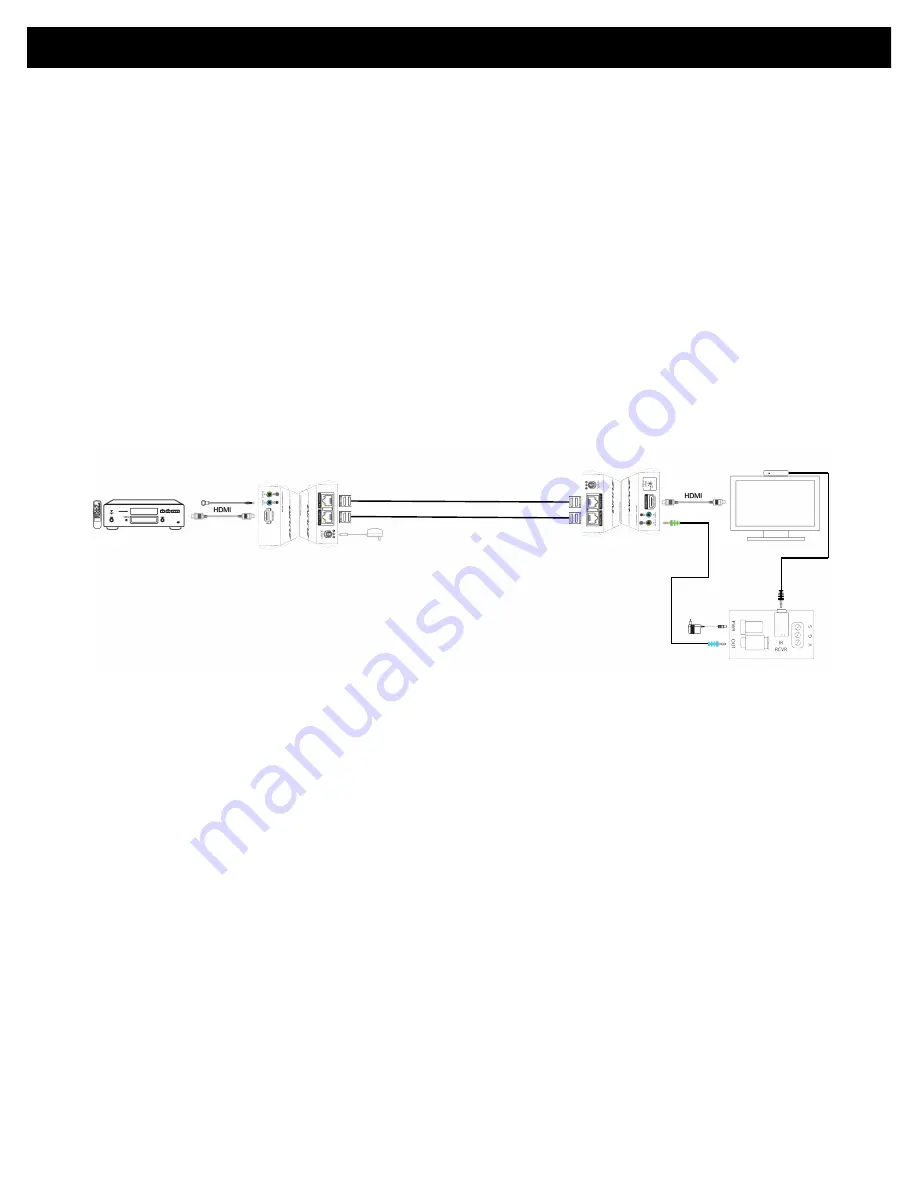
Transmission Range up to 130 Feet at 1080p
Two CAT5/6 cables
35M35MIR
IR Receiver
IR Connecing Block
HE2BIR-TX
HE2BIR-RX
IR Blaster
Diagram Using 3
rd
Party IR Equipment
-‐
In this example you may need to use a CFL friendly IR receiver or simply want a
specific IR r
eceiver style
based on your installation
application.
Use the 3
rd
party IR receiver with there connecting block and power supply. Connect
the IR output of that block to our Model: 35M35MIR cable then plug into the Green
IR Receiving input of the HE2BIR/HE1BIR Receiver.
Use the IR Blaster or compatible
IR emitter plugged into the blaster port of the HE2BIR/HE1BIR Transmitter for
source control.
NOTE: This layout is generally best instead of plugging 3
rd
party IR Receiver directly
into HE2BIR/HE1BIR Receiver. The HE2BIR
/HE1BIR Receiver is based on a 5 volt
system and some IR Receivers are 12 volts. Also some IR Receivers are not pinned
the same as the HE2BIR/HE1BIR IR Receiver included with kit.
IR Trouble Shooting Check Points(Video Working)
(IR Not Working At A
ll)
-‐
Reference IR Diagrams (1
-‐
4)
-‐
For basic IR set up applications (See Diagram # For Reference) make sure
smaller size IR
Blaster is plugged into the Blaster port of the HE2BIR
/HE1BIR
Transmitter
.
-‐
If using IR Blaster do not place directly over equipment IR receiving window.
This may over saturate the equipment (source) IR window and cause
instability or not even work at all.
-‐
For basic IR set up applications make sure larger IR Receiver is plugged
into
HE2BIR/HE1BIR Receiver.
-‐
Move IR Receiver away for TV and test to see if TV is causing to much
interference and locking up IR Receiver. If so use CFL friendly type IR
Receiver.
-‐
Disconnect HDMI cables from the HE2BIR/HE1BIR Transmitter and
Receiver. See if this corrects problem. If so then there may be a problem with
interference for example from a cable box or satellite receiver coaxial input.
IR NOTES CONTINUED


