background image

4

 | zSpace 300 Windows 8.1 Configuration

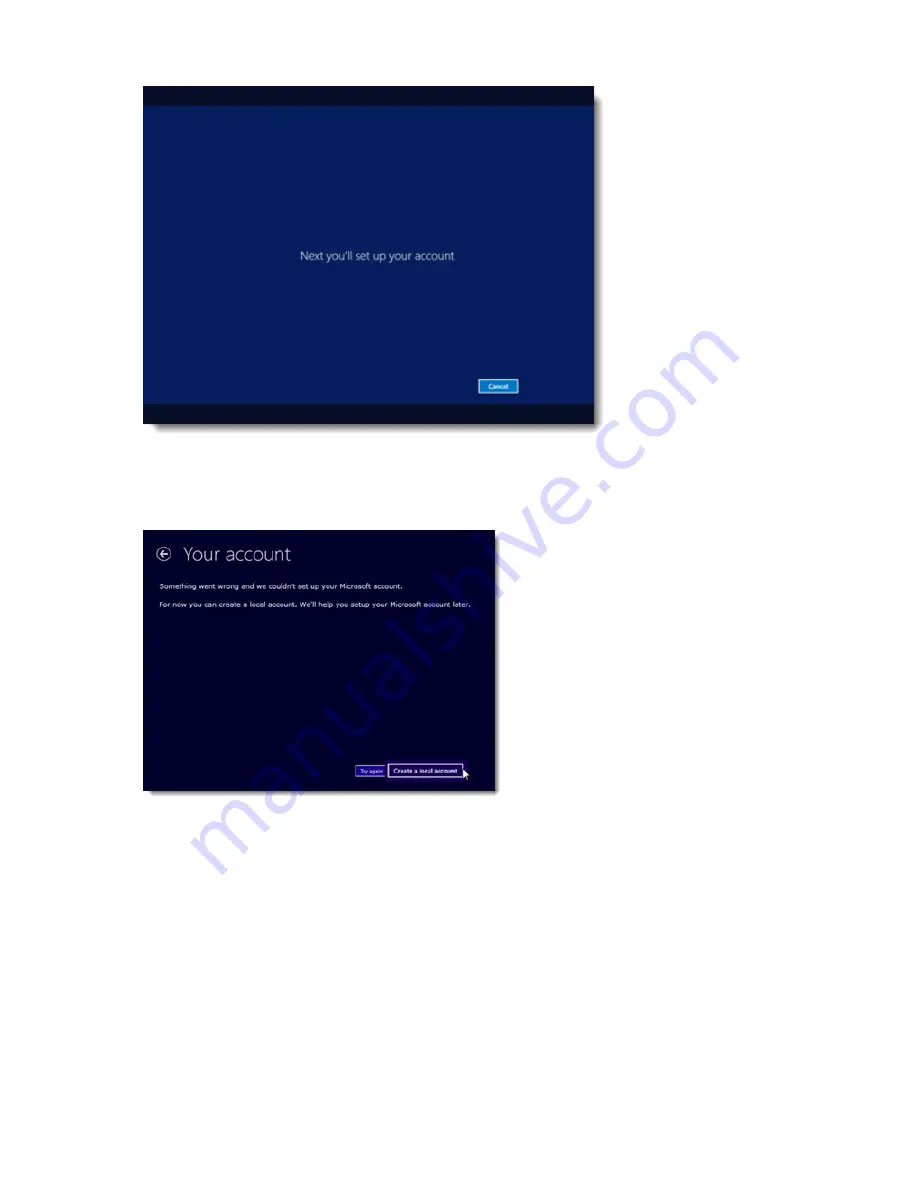
Figure 2: Account Setup Splash Screen

3.

Click to select 

Create a local account

.

Note: 

 Don't worry about the error message, this is an expected part of the configuration process.

Figure 3: Your Account

4.

Enter an account name and click 

Finish

 to continue.

Important: 

 Do not enter a password for this account.

Summary of Contents for 300

Page 1: ...zSpace 300 Windows 8 1 Configuration ...

Page 2: ......

Page 3: ...t plug the RJ 45 wired network connection into to your zSpace 300 until the initial configuration is completed If the network cable is connected the steps listed here will differ in several ways and this document does not cover those differences Once you have completed these initial installation steps you may plug in your wired network connection or connect to a wireless network from the desktop o...

Page 4: ... Screen 3 Click to select Create a local account Note Don t worry about the error message this is an expected part of the configuration process Figure 3 Your Account 4 Enter an account name and click Finish to continue Important Do not enter a password for this account ...

Page 5: ...nfiguration 5 Figure 4 Create Local Account 5 Click anywhere in the lock screen to continue Figure 5 Windows 8 1 Lock Screen 6 Click to select the local user account created in Step 4 Important Do not select the zSpace account ...

Page 6: ...ion script running in the background is indicated by the active console showing in the taskbar Do not interrupt this process When the script is completed about 10 seconds the operating system reboots and you are automatically logged in The zSpace wallpaper is a visual indication that basic configuration is successfully completed 8 Click the Windows Start Menu button in the lower left corner of the...

Page 7: ...e desktop Chrome shortcut 2 When the default browser selection dialog prompts choose to make Chrome the default browser Optional Delete the Local Account The local account you created to complete the initial configuration process is no longer needed Use the following steps to delete that account from the system 1 Click the Windows Start Menu button in the lower left corner of the taskbar and click...

Page 8: ......

Reviews: