AZT-9
22
ZPrAE Sp. z o.o.
In case of an Ethernet connection the configuration requires an IP address of the
device and a port number, and the TCP connection option to be selected.
If a traditional external dial-up modem is used select type of dialling (tone or pulse)
and enter relevant start-up sequence, telephone number of the modem and select Modem
option. Transmission speed is by default set to 115200 bps. Other speed is also possible
but it needs to be agreed in advance. Change of speed is possible only in software
maintenance mode.
After selecting all the transmission parameters press CONFIRM to save the device
configuration. Additionally, it is possible to create a shortcut to such configured connection
e.g. in case of several devices using the same TCP connection a shortcut (icon) for AZT-9
Bay No. 1 and AZT-9 Bay No. 2 can be created.
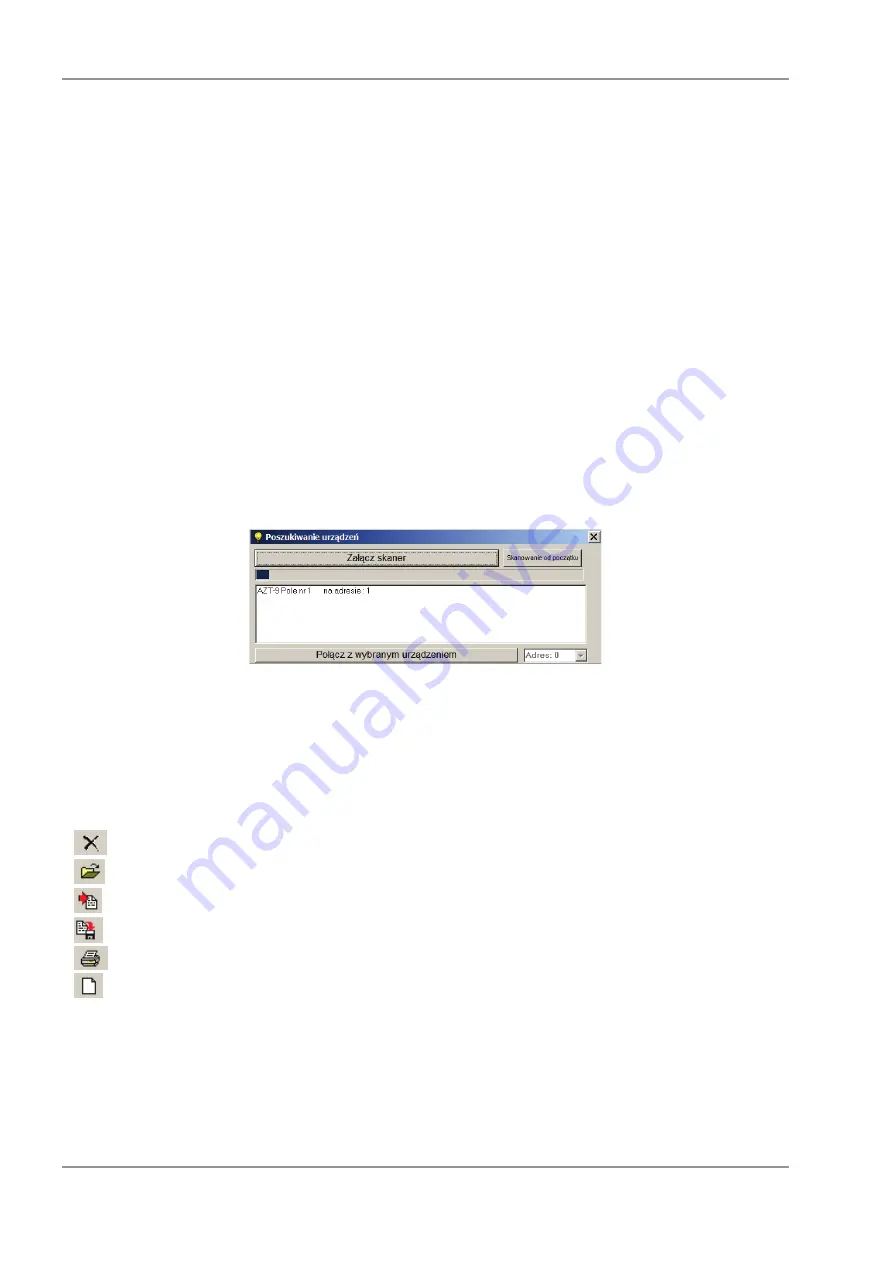
To initiate the connection press the START button which can be found in the group
of the main buttons of the program. The software will then search for available devices on
the transmission channel; select INITIATE SCANNING to begin. Other devices may use
the same connection; therefore it is necessary to select the device to connect to. If there is
one device on the channel the software displays the name of the device it is assigned to
(e.g. AZT-9 Bay No. 1 under address No. 1), and if there are more devices it displays a
corresponding number of device names. Next, highlight the right device and press
CONNECT TO THE SELECTED DEVICE. The software initiates communication with the
selected device and closes the selection window.
Fig. 5.3. Device scanner window.
In case of correct operation, i.e. after connection to the device and uninterrupted
data transfer the round indicator in the top bar of the main window will flash yellow. In case
of a transmission error the indicator will turn red.
The top part of the main window contains program icons:
-
- close the program,
-
- open a recorded data file,
-
- save events to a *.ZP6 file,
-
- save events to a *.TXT text file,
-
- print events (preview),
-
- clear event tables.
Below the icons there are five large program buttons:
-
START (STOP)
– connect to (disconnect from) a device,
-
Settings
– change device settings, preview device status,
-
Disturbance recorder
– access disturbance recorder,
-
Save events to a file
– save a file with current events to the default folder.


