45
Entering the RAID BIOS Setup
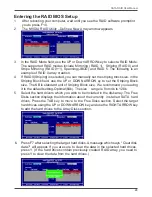
1. After rebooting your computer, wait until you see the RAID software promptint
you to press F10.
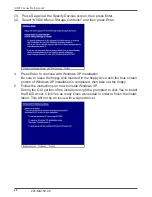
2. The NVIDIA RAID Utility –Define a New Array window appears
3. In the RAID Mode field, use the UP or Down ARROW key to select a RAID Mode.
The supported RAID modes include Mirroring (RAID 1), Striping (RAID 0) and
Stripe Mirroring (RAID 0+1), Spanning(JBOD) and RAID 5. The following is an
example of RAID 0 array creation.
4. If RAID 0(Striping) is selected, you can manually set the striping block size. in the
Striping Block field, use the UP or DOWN ARROW ey to set the Striping Block
size. The KB is standard unit of Striping Block size. We recommend you leaving
it to the default setting-Optimal(64k). The size range is from 4k to 128k.
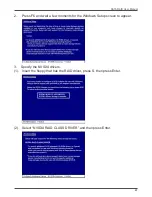
5. Select the hard drivers which you wish to be included in the disk array. The Free
Disks section displays the information about the currently installed SATA hard
drives. Press the TAB key to move to the Free Disks section. Select the target
hard drives using the UP or DOWN ARROW key and use the RIGHT ARROW key
to add the hard drives to the Array Disks section.
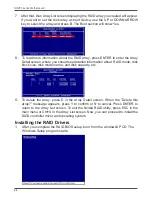
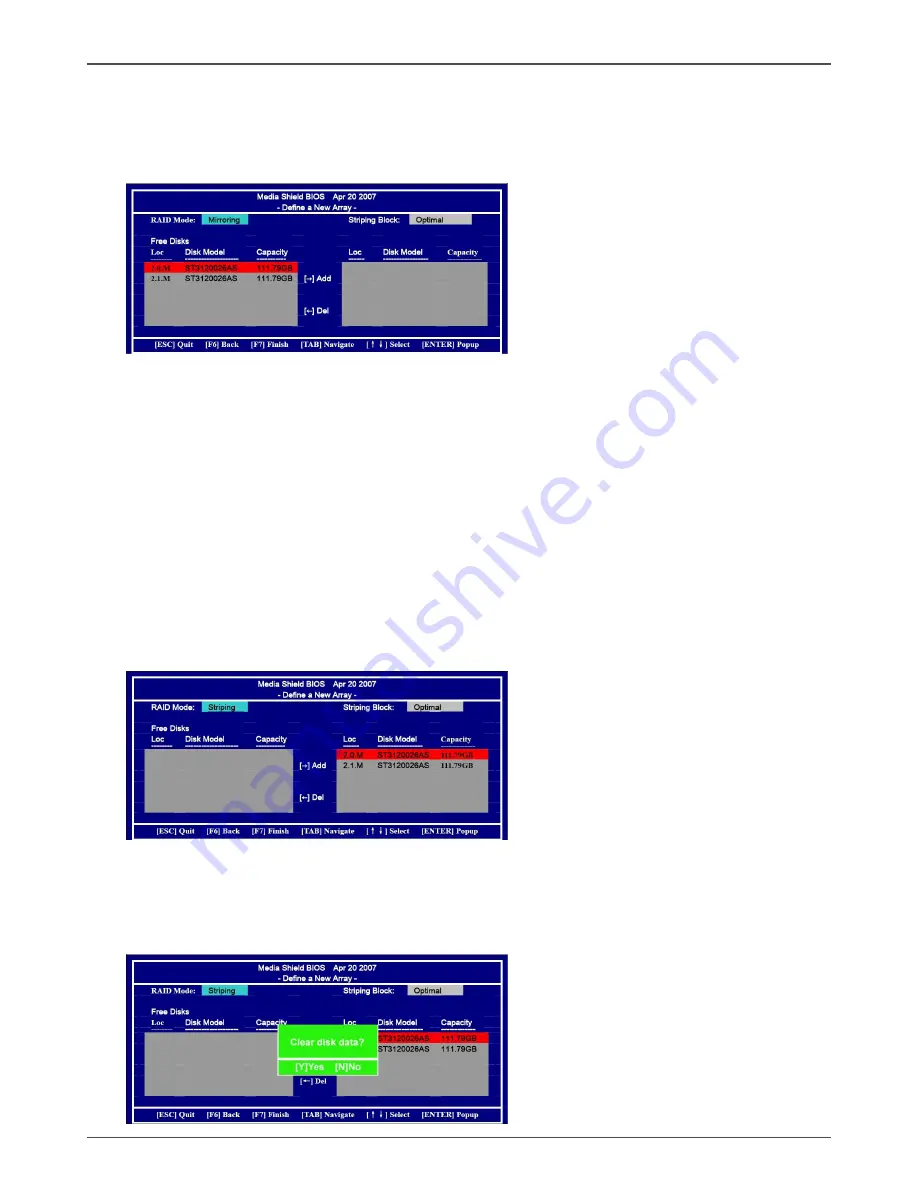
6. Press F7 after selecting the target hard disks. A message which says “Clear disk
data?” will appear. If you are sure to clear the data in the selected hard drives,
press Y. (If the hard drives contain previously created RAID array, you need to
press Y to clear the data from the hard drives.)
SATA RAID User Manual
Summary of Contents for IONITX-N series
Page 1: ......
Page 29: ...28 IONITX series Motherboard 2 Follow the steps below to install Nvidia chipset driver ...
Page 30: ...29 Installing Drivers and Software 3 Follow the below for HDA sound driver installing ...
Page 31: ...30 IONITX series Motherboard 4 Follow the below for Nvidia HDMI Audio driver installing ...
Page 50: ......

