background image

tuning. 

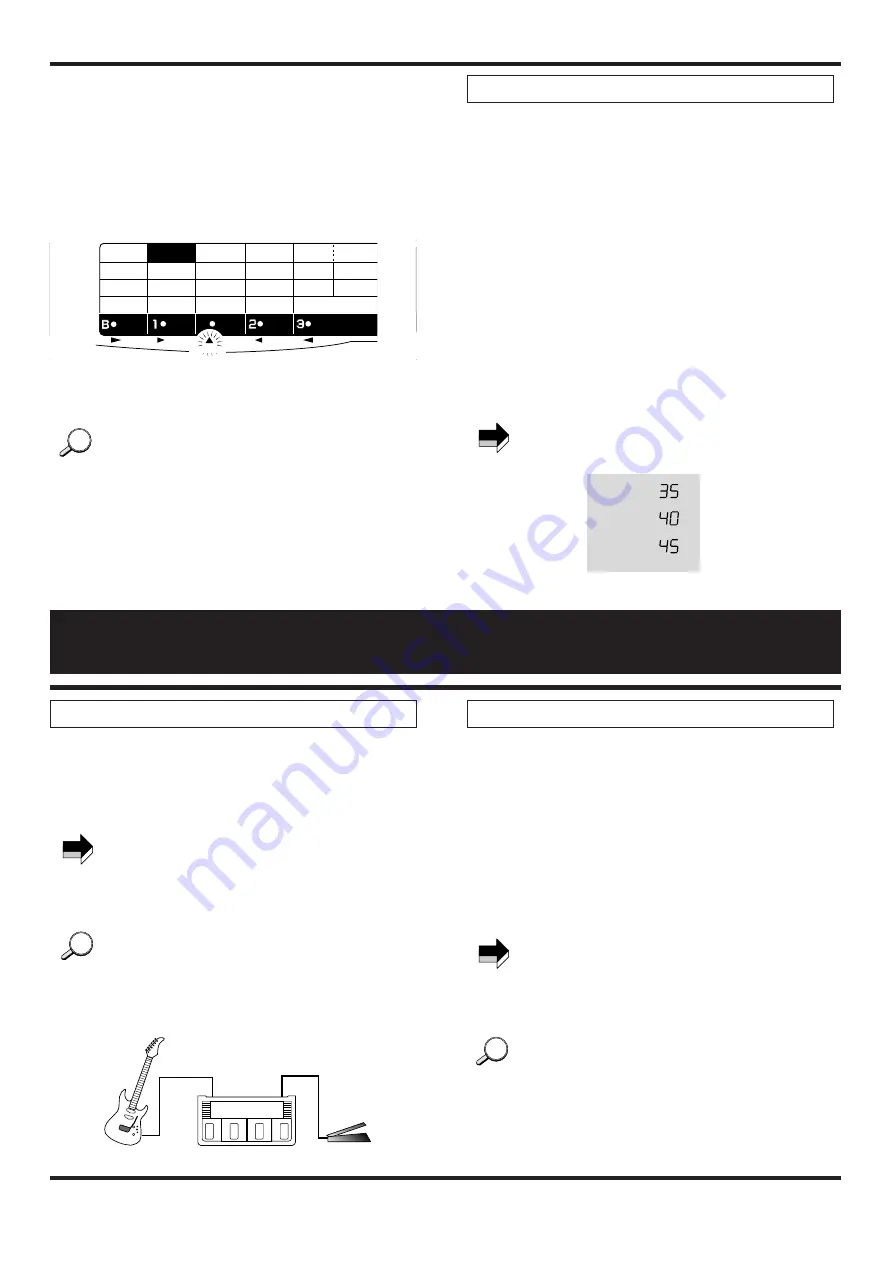
While the tuner function is being used, the module cursor
indicators serve as a fine tuning meter. When the pitch is
correct, the EQ indicator lights. If the pitch is too high, the
REV/DLY indicator lights, and if it is too low, the
COMP&WAH indicator lights. Watch the indicators while
fine tuning your instrument. 

4. To return to the Play mode, press one of the pedals 1 -

3 to select a patch. 

To return to the previously selected patch, simply press
the BANK pedal.  

The reference frequency of the integrated guitar tuner can
be adjusted for the reference note A. 

1. In the Play mode, press the pedal whose number is

shown on the right side of the display (i.e. the pedal that
was used to select the current patch), to activate the
bypass or mute mode. The tuner indicator lights up.

2. Press one of the VALUE 

+

-

keys. 

3. The current reference frequency is shown for a brief

duration on the display. 

4. While the reference frequency is shown, use the

VALUE 

+

-

keys to adjust the frequency. 

The adjustment range is 435 to 445 Hz. This is shown on
the display as "35"– "45". 

The default reference frequency setting that is
established when the 1010 is turned on is 440 Hz. 

435Hz :

440Hz :

445Hz :

NOTE

Guitar Tuner Calibration

HINT

HINT

PARM

1

SENS

0-10

ATTACK

RHYTHM
c OD

OD

ge DRIVE

E Master

r LEAD

AL T

9

10
11
12
13
14
15
16

0-10

AMP SIM ON

GAIN

1-16

TONE

0-10

ZNR

0-5

HIGH

0-(5)-10

PRESENCE

0-(5)-10

MID

0-(5)-10

LOW

0-(5)-10

DEPTH

0-10

1:CHO 3:DBL

3:DLY

2:FLG

1:HALL
2:ROOM

RATE

TUNER

1-20

FEEDBACK

0-10

TIME
1-10

TONE

0-10

TIME

0-42(

×

10mS)

FEEDBACK

0-10

MIX

0-10

TONE-WAH

0-10-P1-P5

PATCH LEVEL

0-30

PARM

2

PARM

3

PARM

4

COMP

WAH

T COLOR

CHO

FLG

DIST

EQ

REVERB

DELAY

DIST COLOR

1-16

TUNER

6

Using a Foot Pedal

1.Connect the FP01 to the CONTROL IN jack of the

1010. 

2.Operate the FP01 while using the 1010 in Play mode. 

The volume adjustment made with the foot pedal is
independent from the patch level setting of the individual
patches. The control tap is located between the EQ and
the CHO/FLG module. This allows changing the volume
without reducing reverb or delay intensity. 

If wah control is selected in the COMP&WAH module,
this will be activated automatically, and volume control is
disabled. 

1. Connect the FP01 to the CONTROL IN jack of the

1010. 

2. Select a patch from the COMP&WAH module which

uses pedal wah.

For details on how to select a patch, please refer to page 4.

3. Operate the FP01 while using the 1010 in Play mode.

The pedal now controls pedal wah. 

To be able to use wah, set the COMP&WAH module to
ON in Edit mode and set PARAM3 to any setting between
P1 and P5. (For details, please refer to the Edit mode
explanation starting on page 7 and the explanation of
effect types and parameters starting on page 9.) 

If wah is enabled in the patch, a dot appears in the lower
right corner of the display. 

Use the EXP. OUT jack of the FP01 for connection to the
CONTROL IN jack of the 1010. 
Use the stereo cable supplied with the FP01 for making
the connection. 

HINT

HINT

NOTE

Using the wah effect of the 1010 as pedal wah

HINT

HINT

NOTE

Controlling the volume

INPUT

CONTROL IN

FP01

Guitar

1010

Summary of Contents for Player 1010

Page 1: ...r FP01 pedal wah and volume control are possible for further enhanced playability Operation Manual ADVANCED GUITAR EFFECTS PROCESSOR ZOOM PLAYER Contents Panel Description 1 Top Panel 1 Rear Panel 2 Connections 2 Getting Familiar With Some Basic Terms 3 Using the Patches Play Mode 4 Panel Display in Play Mode 4 Selecting a Patch 4 Adjusting the Patch Level 5 Bypassing the Effects 5 Muting the Outp...

Page 2: ...e bypass tuner mode 10 BANK pedal In Play mode Selects the next higher bank In Edit mode Switches the effect module COMP WAH on and off 11 Pedals 1 3 In Play mode The pedals serve to select a patch In Edit mode The pedals serve to switch the effect modules DISTORTION CHO FLG and REV DLY on and off 1 Panel Description Top Panel PARM 1 SENS 0 10 ATTACK 1 RHYTHM 2 Classic OD 3 Valve OD 4 Vintage DRIV...

Page 3: ...r with amplifier simulation For details regarding distortion color please refer to the table of effect types on page 9 3 To control volume or wah with the foot pedal FP01 connect the pedal to the CONTROL IN jack of the 1010 For details regarding use of the foot pedal please refer to page 6 4 After all other connections are completed plug in the supplied AC adapter This activates the unit Make sure...

Page 4: ...e 1010 has two memory areas or groups where patches are stored the USER group for patches that can be altered and stored by the user and the PRESET group for factory defined read only patches There are 12 patches in the USER group and 30 patches in the PRESET group for a total of 42 patches Bank The 1010 calls up patches in sets of three and the foot pedals serve to switch between patches Each set...

Page 5: ...nly 0 PRESET PRESET group only A or 0 BOTH USER group and PRESET group 2 Select the bank with the BANK pedal A bank is a group of three patches There are four banks named A through d in the USER group and 10 banks 0 9 in the PRESET group When wishing to continuously select patches from both groups choose the BOTH setting With each push of the BANK pedal the next higher bank is selected The bank di...

Page 6: ...same as when directly plugging the guitar into the amplifier 3 To return to the Play mode press one of the pedals 1 3 to select a patch To return to the previously selected patch simply press the BANK pedal You can temporarily mute the entire output from the 1010 which is useful for example when wishing to tune an instrument on stage 1 To mute the output in the Play mode press the pedal 1 3 whose ...

Page 7: ... 1 HALL 2 ROOM RATE TUNER 1 20 FEEDBACK 0 10 TIME 1 10 TONE 0 10 TIME 0 42 10mS FEEDBACK 0 10 MIX 0 10 TONE WAH 0 10 P1 P5 PATCH LEVEL 0 30 PARM 2 PARM 3 PARM 4 COMP WAH T COLOR CHO FLG DIST EQ REVERB DELAY DIST COLOR 1 16 TUNER 6 Using a Foot Pedal 1 Connect the FP01 to the CONTROL IN jack of the 1010 2 Operate the FP01 while using the 1010 in Play mode The volume adjustment made with the foot pe...

Page 8: ...dicator 3 Parameter value The value of the parameter currently selected for editing is shown on the display 1 Press the EDIT key to activate the Edit mode 2 Use the MODULE SELECT key to select the effect module you wish to edit Editing a Patch Panel display in Edit mode NOTE Activating Edit Mode 7 Creating a Patch Edit Mode INPUT Patch COMP WAH 1 COMPRESSOR WAH 1 EQUALIZER AMP SIM 1 CHORUS 2 FLANG...

Page 9: ... 1 DISTORTION Pedal 2 CHO FLG Pedal 3 REV DLY The effect module ON OFF setting can also be stored as part of a patch If an edited patch is not stored the change will be lost when another patch is selected To preserve a setting store the patch as described below 1 Press the STORE key in the Edit mode This activates the store standby condition Storing is possible also in the Play mode 2 Choose the b...

Page 10: ... with a microphone When using the unit with a guitar amplifier choose settings 1 8 When monitoring via an audio speaker or headphones use settings 9 16 This module also comprises ZNR Zoom Noise Reduction Adjust it to match the connected guitar This effect gives a dry cool sound with subdued bass and accentuated highs It is well suited for blues or rhythm backing PARAMETER 1 COLOR 1 16 PARAMETER 2 ...

Page 11: ...tortion This gives hard distortion sound similar to driving a large amp to full level PARAMETER 1 COLOR 1 16 PARAMETER 2 GAIN 1 16 PARAMETER 3 TONE 0 10 PARAMETER 4 ZNR 0 5 Description 1 COLOR To select normal drive distortion set this parameter to 5 To add the amp simulator effect use 13 This gives a vintage type fuzz sound The TONE parameter can be used to vary the character PARAMETER 1 COLOR 1 ...

Page 12: ...fect sound with periodically changing pitch is added to the direct sound for rich ambience PARAMETER 1 EFFECT TYPE 1 3 PARAMETER 2 DEPTH 0 10 PARAMETER 3 RATE 1 20 PARAMETER 4 FEEDBACK 0 10 Description 1 EFFECT TYPE Selects the effect type To use the chorus effect set the parameter to 1 2 DEPTH Determines the modulation depth 3 RATE Determines the modulation rate 4 FEEDBACK Determines the signal l...

Page 13: ... 3 TONE 0 10 PARAMETER 4 MIX 0 10 Description 1 EFFECT TYPE To use the room effect set the parameter to 2 This is a conventional digital delay effect with a delay time of up to 420 milliseconds PARAMETER 1 EFFECT TYPE 1 3 PARAMETER 2 TIME X10mS 0 42 PARAMETER 3 FEEDBACK 0 10 PARAMETER 4 MIX 0 10 Description 1 EFFECT TYPE Selects the effect type To use the delay effect set the parameter to 3 2 TIME...

Page 14: ...r Mountain New York Night Half WAH METAL T EQ HALL COMP Classic OD EQ CHO ROOM WAH DRIVE Master EQ DBL DELAY c Master s Sound American ROCK with DLY SPACY Arpeggio DRIVE Master EQ DBL COMP RHYTHM EQ DELAY EQ FLG DELAY d Classic FUZZ THE CRUNCH WAH CLEAN FUZZ EQ ROOM COMP Valve OD EQ ROOM COMP WAH EQ CHO HALL 0 Studio BALLAD Studio LEAD Studio FUNK DRIVE Master EQ DBL HALL COMP DRIVE Master EQ CHO ...

Page 15: ... bit 128 times oversampling converter Sampling frequency 31 25 kHz Inputs Guitar input Phone jack Mono x 1 nominal input level 20 dBm input impedance 470 kÍ Outputs Line Phone jack Mono x 1 nominal output level 5 dBm output impedance 1 kÍ or less Control connectors Foot pedal input for volume wah control Display 2 character 7 segment LED display Power supply 9 V DC 300 mA from supplied AC adapter ...

Page 16: ... in damage to the unit Connecting cables to input and output jacks You should always turn off the power to the 1010 and all other equipment before connecting or disconnecting any cables Also make sure to disconnect all cables and the AC adapter before moving the 1010 Usage Precautions Electrical interference The 1010 uses digital circuitry that may cause interference and noise if placed too close ...

Reviews: