Installation and user manual
-
English
Electric cleaner
Original instructions
H0491600_REVH - 2020/11 -
EC11--
More documents on:
www.zodiac.com
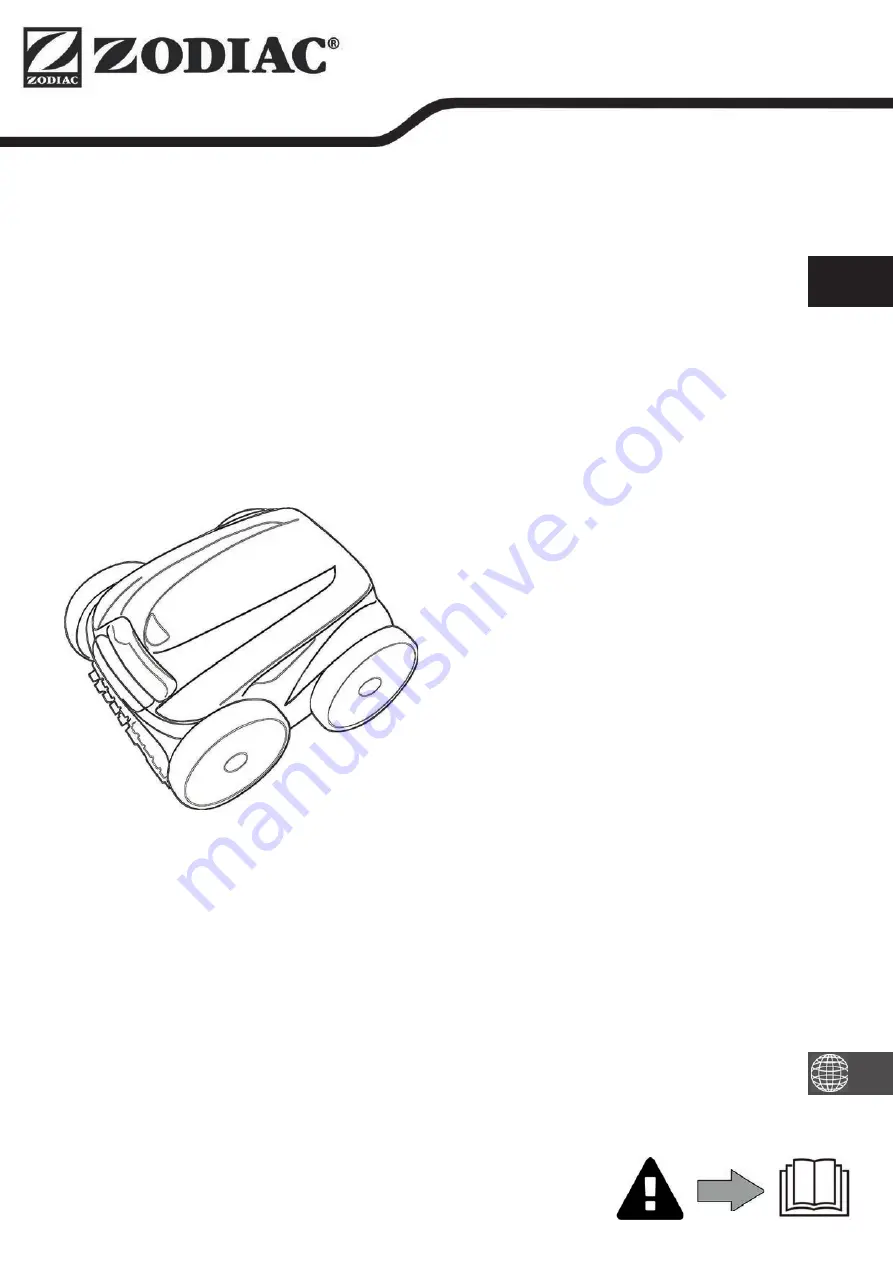
Vortex™
EN
Page 1: ...Installation and user manual English Electric cleaner Original instructions H0491600_REVH 2020 11 EC11 More documents on www zodiac com Vortex EN...
Page 2: ......
Page 3: ...from a person responsible for their safety Children must be supervised to ensure that they do not play with the appliance This appliance can be used by children under 8 and adults with impaired physi...
Page 4: ...y Do not perform maintenance or servicing operations on the appliance with wet hands or if the appliance is wet Before connecting the appliance to the power supply check that the connection unit or so...
Page 5: ...nding on the model 14 2 8 I Removing the cleaner from the water 15 2 9 I Good practices after each cleaning operation 16 Maintenance 17 3 1 I Cleaning the cleaner 17 3 2 I Clean the filter as soon as...
Page 6: ...0 RV 55xx RV 56xx A Cleaner floating cable Front driving wheels 2WD Front rear driving wheels 4WD B Control box C Caddy kit D Base for control box E Kinetic remote control F Kinetic remote control Rem...
Page 7: ...Vortex PS 400 RV 45xx RV 5500 RV 5600 Control box power supply 220 240 VAC 50 Hz Cleaner power supply voltage 30 VDC Maximum power input 150 W Cable length 15 m 18 m 21 m 25 m Cleaner weight without...
Page 8: ...res Minimum Control box Caddy Cleaner Floating cable Plug Power cord 1 4 I Pool preparation This product is intended to be used in pools which are permanently installed Do not use it in pools which ma...
Page 9: ...ise the cleaner s movements and reduce tangling in the cable Place the cleaner vertically into the water see image Move it slightly in all directions so that the air contained in the cleaner escapes s...
Page 10: ...not be installed in a floodable area keep it at least 3 5 metres away from the edge of the pool and avoid exposing it to direct sunlight Place the control box near the socket Unscrew the protective c...
Page 11: ...5200 OV 5300 OV 5330 OV 5345 OV 5390 RV CA52 RV 5300 OV 5410 OV 5430 OV 5460 RV 5380 RV 5450 RV AQ54 RV CA54 VortexTM PS 400 RV 5400 RV 5470 RV 5500 RV 5600 Start Stop the appliance Control indicator...
Page 12: ...ing time appears on the screen for example depending on the model The cleaning cycle can be selected at any time before the appliance starts or while it is operating The new cycle will be launched ins...
Page 13: ...be saved for approximately 2 minutes if the power supply is disconnected 2 6 1 Setting the time DAY Press for 3 seconds The days of the week then the LEDs start to flash Select the day with or Press...
Page 14: ...ED and the current date and time flash to remind you Press to start programming Select the day with or Press to confirm HOURS The hours start to flash Select the hour with or Press to confirm MINUTES...
Page 15: ...he water depending on the model Press The cleaner moves toward the wall and climbs up to the waterline 2 7 4 Synchronising the remote control with the control box By default the remote control is alre...
Page 16: ...ll release the button The cleaner moves towards the wall see image Or just briefly press the button When facing the right wall release the button The cleaner moves towards the wall see image to move i...
Page 17: ...cable to reduce tangling The appliance s behaviour is strongly impacted by the tangling of the cable A cable that is correctly untangled will guarantee better coverage of the pool Untangle the cable a...
Page 18: ...You are encouraged to change the filter and the brushes every 2 years to preserve the integrity of the appliance and guarantee optimum performance 3 2 I Clean the filter as soon as the appliance is ou...
Page 19: ...intaining the propeller Loosen the screw on the grid see figure Remove the grid see figure Remove the flow guide carefully see figure To remove the propeller wear gloves and hold the end of the propel...
Page 20: ...which they are fastened then remove the brushes Position the new brushes Fit the side without tabs under the brush holder see image Roll the brush around its support slide the tabs into the attachment...
Page 21: ...20 3 5 I Changing the tyres Remove the worn tyres Position the new tyres EN...
Page 22: ...d eye and they make the walls slippery and prevent the appliance from climbing Carry out shock chlorination and slightly reduce the pH Do not leave the appliance in the water during shock treatment Th...
Page 23: ...ror code Er 10 Check that the cleaner is correctly connected to the control box If necessary unplug it and reconnect it following the appropriate procedure Er 02 Er 03 Er 05 Er 06 Check that there is...
Page 24: ...diagnostic menu depending on the model Stopping the appliance if a cleaning cycle is in progress To access the menu AV 350 50 GV 3520 OV 3500 OV 3505 OV 3510 RV 4550 RV 4560 VortexTM 305 VortexTM 4 PL...
Page 25: ...ty of their respec tive owners Votre revendeur Your retailer Mod le appareil Appliance model Num ro de s rie Serial number Pour plus d informations enregistrement produit et support client For more in...