Instructi ons for installati on and use
English
More documents on:
www.zodiac-poolcare.com
EN
H0575900.A - 2016/12 -
EP31--
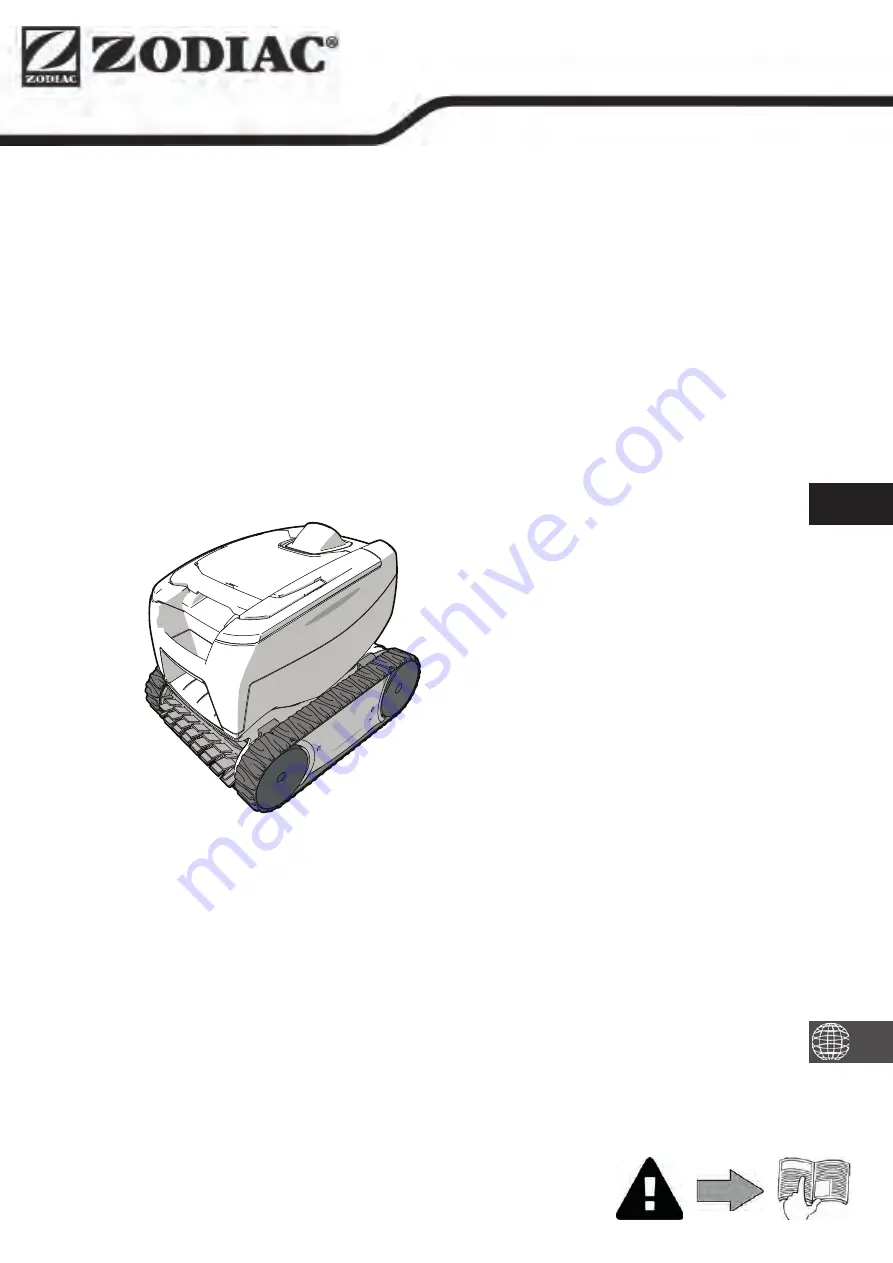
TornaX
Page 1: ...Instructions for installation and use English More documents on www zodiac poolcare com EN H0575900 A 2016 12 EP31 TornaX...
Page 2: ...Notes...
Page 3: ...which it is installed Before carrying out any operations check that The voltage indicated on the appliance information plate corresponds to the mains voltage The power grid is adapted to the power req...
Page 4: ...e connaissance de cette notice d installation et d utilisation ainsi que du livret s curit et garantie livr avec l appareil sous peine de dommages mat riels de blessures graves voire mortelles ainsi q...
Page 5: ...debris lter 60 very ne debris lter E Standard ap brush Tile brush depending on the model Tile brush F Caddy kit Supplied Available as an option Symbol Designation Starting Stopping the appliance Bott...
Page 6: ...Transparent window depending on the model Floating cable External ow guide Front wheels Rear wheels Cartridges 1 2 3 Product conformity This appliance has been designed and built according to the fol...
Page 7: ...5 Installation 2 1 I Set up 3 5 meters Minimum Control box Base Cleaner Floating cable Plug Power cord 2 2 I Attachment to the base EN...
Page 8: ...y be dismantled A permanent pool is built into the ground or on the ground and cannot be easily dismantled and stored The appliance must operate in pool water with the following properties Water tempe...
Page 9: ...socket Unscrew the protective cap see image Connect the oating cable to the control box and lock it in place by turning the ring only in the clockwise direction to prevent damage to the oating cable...
Page 10: ...Launching the cleaning cycle Press and release the LED lights up The appliance starts the cleaning cycle in bottom only or bottom walls mode depending on the model Tip to improve cleaning performance...
Page 11: ...pool When the cleaner is within arm s reach pick it up by the handle and lift it gently out of the pool so that the water it contains drains into the pool see image Place the cleaner on the ground or...
Page 12: ...every 2 years to preserve the integrity of the appliance and guarantee optimum performance 4 1 I Cleaning the lter The cleaner s performance may be reduced if the lter is full or dirty Clean the lter...
Page 13: ...ewdriver in the anti clockwise direction see image Upon rst removal you will notice that the internal ow guide is securely tightened which is why we recommend inserting Once the internal ow guide has...
Page 14: ...indicators appear as shown in image To remove the worn brush remove the tabs from the holes in which they are xed see image To t the new brush start by tting the side without tabs under the brush hold...
Page 15: ...ck to separate it from the wheel see image Then remove the track from the cleaner To install the new track position the inside of the track on the rst wheel s grooves Stretch the track around the seco...
Page 16: ...eaner does not move on start up Check that the outlet to which the control box is connected is receiving a power supply Check that the cleaning cycle has been launched and that the light is on If the...
Page 17: ...aise the tracks to check that there are no external elements jammed in a housing Cleaner operating outside the pool Make sure you start the cleaner when it is in the water see 3 3 Immersing the cleane...
Page 18: ...49180 St Barth l my d Anjou cedex S A S U au capital de 1 267 140 SIREN 395 068 679 RCS PARIS Votre revendeur Your retailer Mod le appareil Appliance model Num ro de s rie Serial number Trouvez plus d...