Installation and user manual
-
English
Electric cleaner
Original instructions
H0655700.
C
- 202
1
/
03
EC1102A
More documents on:
www.zodiac.com
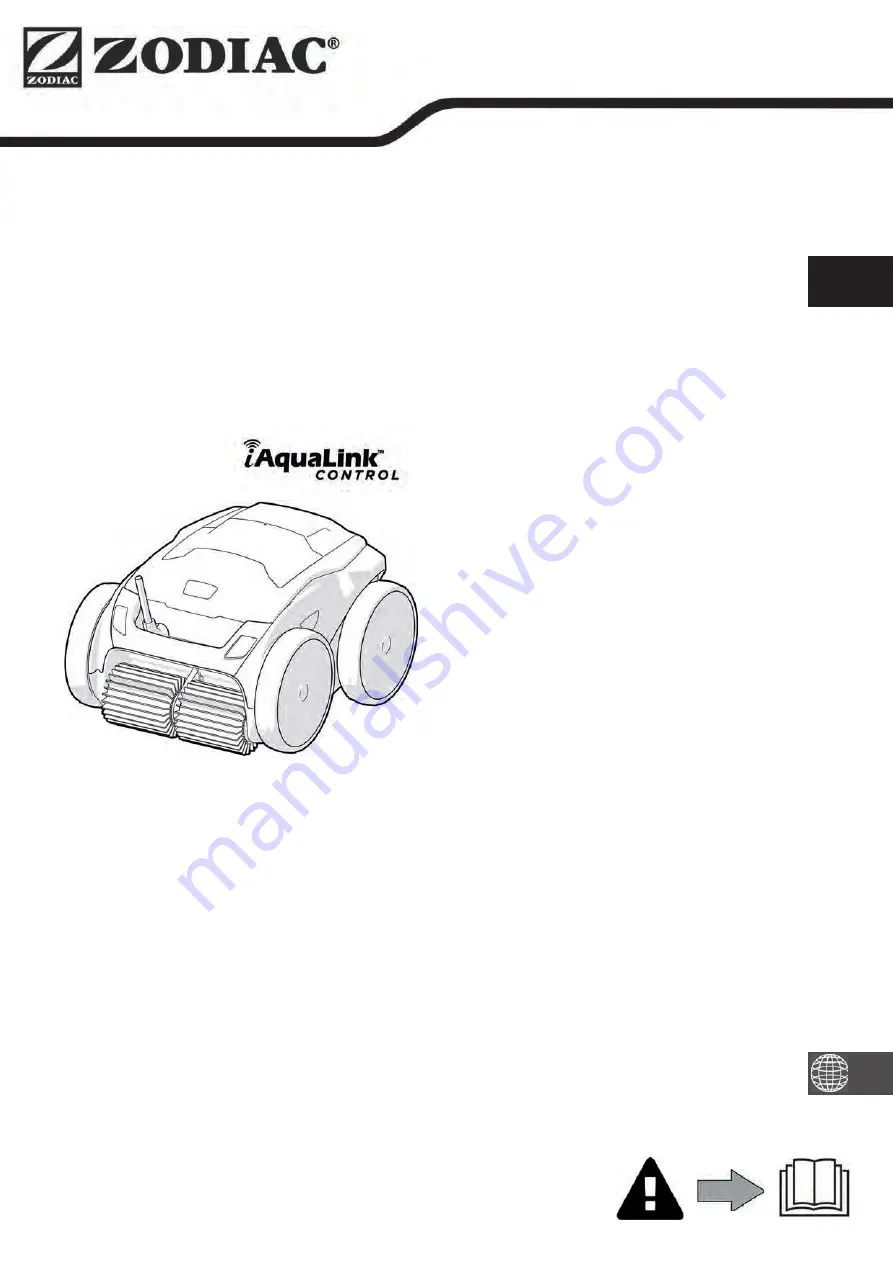
ALPHA™ iQ
EN
Page 1: ...Installation and user manual English Electric cleaner Original instructions H0655700 C 2021 03 EC1102A More documents on www zodiac com ALPHA iQ EN...
Page 2: ......
Page 3: ...from a person responsible for their safety Children must be supervised to ensure that they do not play with the appliance This appliance can be used by children under 8 and adults with impaired physi...
Page 4: ...be connected is in good condition and shows no signs of damage or rust In stormy weather disconnect the appliance from the power supply to prevent it from suffering lightning damage SPECIFIC FEATURES...
Page 5: ...le 15 3 2 I First time cleaner configuration 15 3 3 I Functions available in the app 17 3 4 I Control using the app 18 Maintenance 20 4 1 I Cleaning the cleaner 20 4 2 I Clean the filter as soon as th...
Page 6: ...iQ Bio RA 68 iQ RA 69 iQ A Cleaner floating cable B Control box C Caddy kit D Very fine debris single filter 60 Large debris single filter 200 Fine debris single filter 100 Very large debris single fi...
Page 7: ...ner weight 10 2 kg Suction width 270 mm Maximum operating depth 4 m Power supply protection rating IPX5 Cleaner protection rating IPX8 Frequency bands 2 412GHz 2 484GHz Radiofrequency emission power 2...
Page 8: ...Link app 3 5 metres Minimum Control box Caddy Cleaner Floating cable Plug Power cord Remote control iAquaLink Wi Fi 1 4 I Pool preparation This product is intended to be used in pools which are perman...
Page 9: ...ee image This will optimise the cleaner s movements and reduce tangling in the cable Place the cleaner vertically into the water see image Move it slightly in all directions so that the air contained...
Page 10: ...not be installed in a floodable area keep it at least 3 5 metres away from the edge of the pool and avoid exposing it to direct sunlight Place the control box near the socket Unscrew the protective c...
Page 11: ...et up the iAquaLink connection Bluetooth connection status Wi Fi connection status Lift System remove from pool mode Choose a cleaning mode Bottom only mode Smart Mode optimised cleaning of the bottom...
Page 12: ...At the end of this cycle the optimal cleaning time is calculated Do not interrupt the first SMART cycle This optimal time is then saved and becomes the default cleaning time for the subsequent cycles...
Page 13: ...STEM automated function The Lift System function was designed to facilitate removing the cleaner from the water It may be activated at any time during or at the end of a cleaning cycle If necessary pr...
Page 14: ...by pressing Bring the cleaner to the edge of the pool by gently pulling on the floating cable When possible pick up the cleaner by the handle and lift it gently out of the pool so that the water it c...
Page 15: ...able to reduce tangling The appliance s behaviour is strongly impacted by the tangling of the cable A cable that is correctly untangled will guarantee better coverage of the pool Untangle the cable an...
Page 16: ...ore you install the app you must Connect the control box to a power outlet Immerse the cleaner in the pool Use a Wi Fi enabled smartphone or tablet Use a Wi Fi network with a reasonably strong signal...
Page 17: ...our Wi Fi password The LED flashes during the pairing process A message is displayed on the screen to confirm that the Wi Fi connection has been made between the control box and the home router The LE...
Page 18: ...mode Bottom only mode Smart Mode optimised cleaning of the bottom walls and water line Intensive Bottom Walls and Water line Mode Water line only mode Reduce or increase the cleaning time 15 minutes F...
Page 19: ...s surface or measured by another appliance 3 4 2 Lift System function for helping to remove the cleaner from the water Only activate the Lift System function if the cleaner is in view From the app pre...
Page 20: ...y the troubleshooting solutions see 5 2 I User alerts Select Clear Error if you think you have solved the problem or select OK if you want to leave the cleaner in error mode and troubleshoot the probl...
Page 21: ...re encouraged to change the filter and the brushes every 2 years to preserve the integrity of the appliance and guarantee optimum performance 4 2 I Clean the filter as soon as the appliance is out of...
Page 22: ...aintaining the propeller Loosen the screw on the grid see figure Remove the grid see figure Remove the flow guide carefully see figure To remove the propeller wear gloves and hold the end of the prope...
Page 23: ...ich they are fastened then remove the brushes Position the new brushes Fit the side without tabs under the brush holder see image Roll the brush around its support slide the tabs into the attachment h...
Page 24: ...23 4 5 I Changing the tyres Remove the worn tyres Position the new tyres...
Page 25: ...filter is blocked clean it with an acid solution spirit vinegar for example Replace the filter if necessary The tyres are worn replace them Even though the water seems clear microscopic algae are pres...
Page 26: ...ting the brushes from rotating freely Check that nothing is interfering with the cable connection area Rotate each wheel by a quarter of a turn in the same direction until it rotates smoothly If this...
Page 27: ...ppears in the My appliances list Appliance not plugged in or not connected to the home Wi Fi network If the dot is red when the control box is plugged in and if the Bluetooth Wi Fi icons are lit up re...
Page 28: ...nnection lost Weak Wi Fi signal The control box is too far from the home Wi Fi router Check the internet connection the network may be down Ensure that you have a sufficiently strong Wi Fi signal Ther...
Page 29: ...ing this operation A software update is in progress Wait for the update to complete Do not disconnect the power cable from the cleaner during an update There may be several reasons for a weak Wi Fi si...
Page 30: ...the button see image to start the installation using the iAquaLink app A message is displayed during the update see picture a cleaning cycle cannot be started until the update is finished The update...
Page 31: ...ty of their respec tive owners Votre revendeur Your retailer Mod le appareil Appliance model Num ro de s rie Serial number Pour plus d informations enregistrement produit et support client For more in...