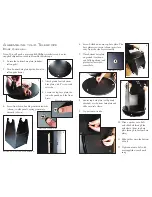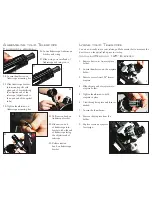
13. Screw the handle onto the outside surface of the
front brace.
14. Screw accessory tray onto outside surface of side
panel that includes two additional screw holes.
A
SSEMBLING
YOUR
T
ELESCOPE
B
ASE
A
SSEMBLY
(
CONTINUED
)
13
14
T
ENSION
S
PRING
A
SSEMBLY
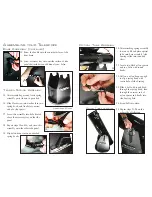
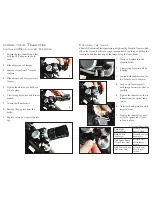
15. After assembling mount, locate spring
assembly parts (shown in parts list).
16. Slide black screw into washer, then into
spring hook, and finally into narrow
end of nylon spacer.
17. Screw this assembly into hole located
above the accessory tray on the side
panel.
18. Repeat steps 15 and 16, and screw this
assembly onto the other side panel.
19. Slip nylon hoops into non-attached
spring hooks.
16
17
19
O
PTICAL
T
UBE
A
SSEMBLY
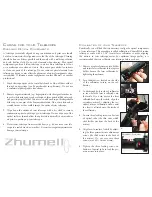
20. After attaching spring assembly
to mount, lift and place optical
tube onto base assembly (side
bearings slide into rounded
slots).
21. Locate two black nylon spacers
and two bolts with round
knobs.
22. Pull on a nylon hoop enough
to align spring hook with
center hole of side bearing.
23. Slide a bolt with round knob
through the spring hook, then
through the narrow end of
nylon spacer, and finally into
side bearing hole.
24. Screw bolt into place.
25. Repeat steps 21-24 on the
other side of telescope.
A
SSEMBLED
M
OUNT
22
23
20
O
PTICAL
T
UBE
AND
M
OUNT
Summary of Contents for Dobsonian
Page 1: ...DOBSONIAN TELESCOPES...

