9
see below)
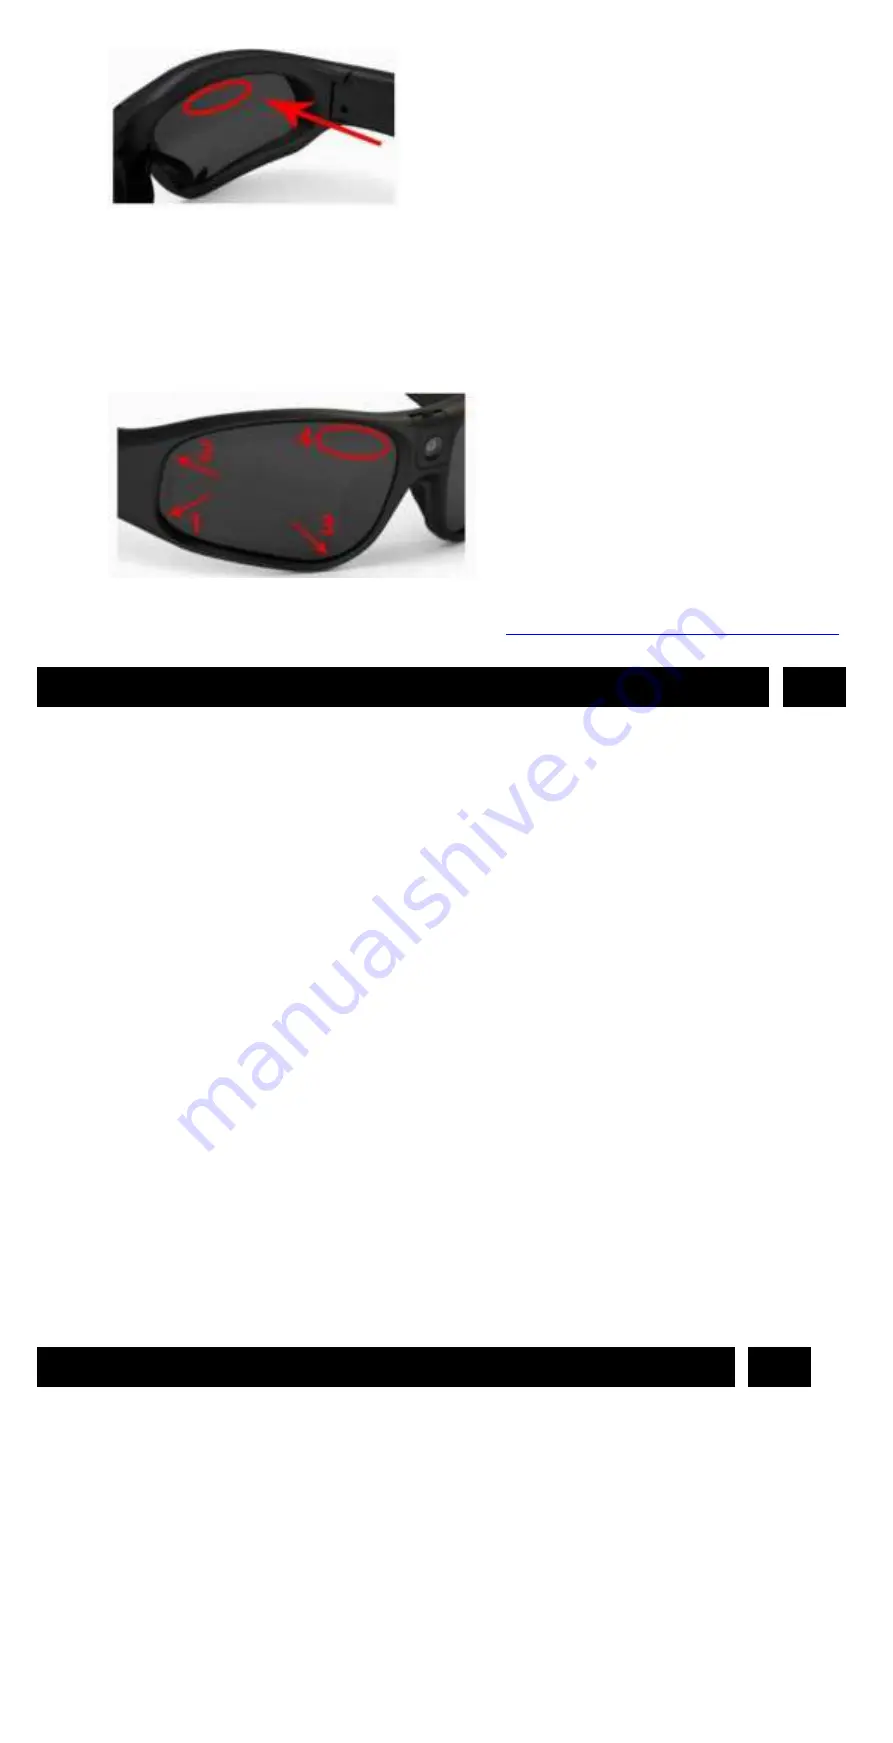
To insert the lens,
insert the lens into the glasses frame starting with area 1, then 2, and 3; then
firmly push down on area 4 until you feel the lens click into place.
(See below)
How to change the Lenses video link, FYI:
Power Supply and Low Battery Hinting
EN
Note:
This device can record during wall charging or power bank charging.
After connecting the power ready, the red LED lights on. Press “ON/OFF”
button for 1 second, the glasses enters into standby mode, shortly press
again to record automatically.
1. For optimum use of the power supply and battery health, DO NOT charge
over 12 hours!
2. To maximize the storage capacity of the battery, continue to charge for 30
minutes to 1 hour after the red LED light goes off after every charge.
3. You can charge the battery by using the Type-C USB2.0 HS cable
provided or power adapter. Usually a full charge will take about 1.5 hours.
4. The red LED will turn on when starting charging and it will turn off when
the battery is fully charged.
5. If the camera has not been used for a long time, recharge it before using.
6. For a fast recharge and best product protection charge, keep the battery
in the ‘power-off’ mode and take out the memory card.
7. Low battery hinting: When the battery low, both the green LED and blue
LED flashing speed status begins changed from flashing slowly into flashing
fast during recording.
WiFi Operation
EN
1. WI-FI
PAIRING
This section explains how to turn on the WiFi signal of the glasses so you
can connect your iOS/Android device to it and use the glasses APP.
1.1.
While
the
glasses
is
power
on,
press
the
WiFi
button(next
to
the
power
button)
for
1
second.
The
glasses
vibrates once
and
yellow
LED
flashes,
that
indicates
WiFi
is
turned
on.
To
turn
off
WiFi,
press
the
WiFi
button
once
again)
1.2. Turn to your iOS/Android device WiFi settings and connect to the WiFi
Summary of Contents for Lark zShades-2K
Page 1: ...zShades 2K USER MANUAL...


