10
3.3 INSTALLING A MICRO SD CARD
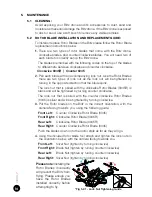
• Remove the top shell cover of the Blitz drone
by lifting the top shell cover off from the
section marked “Open”.
• Insert the Micro SD Card (Micro SD Card not
included) into the Micro SD card slot with the
text facing the back of the drone.
(Refer to Fig
3.3.1)
• Push the Micro SD card down until a click is
heard and the card locks into place.
• Replace the top shell cover ensuring that it is
securely clipped into position.
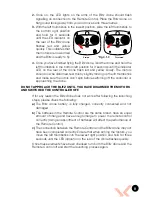
3.4 REMOTE CONTROL
• Ensure that the Remote Control power switch is in the OFF (down) position.
(Refer to Fig 2.2.2 on page 8 - number 5)
• Remove the battery cover.
• Insert 4 x AA batteries (AA Batteries not included) making sure that they are
in the orientation specified.
• Do not mix new and old batteries or different types of batteries.
4. FLIGHT SAFETY
Before flying your Blitz drone make sure that you are in a safe setting.
CASA restrictions regarding flying drones require the drone be no closer than
5.5kms from any airport or airfield whilst flying. Drones should also not be flown
over populated areas or any closer than 30 metres from vehicles people or
animals.
It is also required that you check your surroundings before taking off making
sure there are no obstacles or dangers in the area, including overhead power
lines and bodies of water. If there are hazards present in your intended area of
flight, please consider an alternative location.
Be sure that you do not turn the controller off before disarming the motors of the
Blitz drone. The Blitz drone is equipped with a lost signal protection system that
keeps the rotor blades spinning when the signal to the drone is lost to avoid a
hard crash. Switching off the controller will activate the lost signal protection and
cause the rotor blades to spin.
4.1 FLYING YOUR BLITZ DRONE
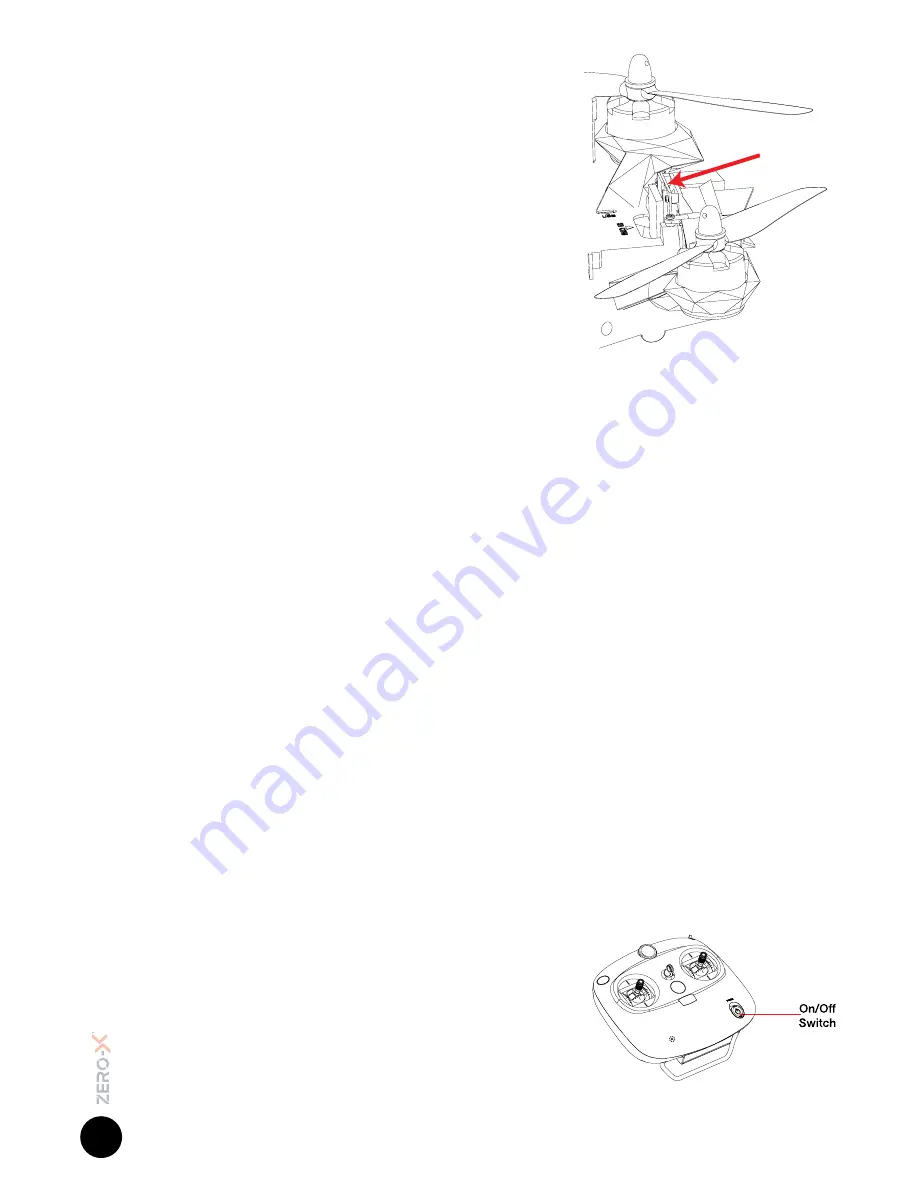
1.
After installing a fully charged battery and
installing 4 x AA batteries (AA batteries
not included) into the remote control and
conducting a complete check of your
surroundings, turn the Power Switch (5) on
the Blitz remote to the ON position.
(Refer to
Fig 2.2.2 on page 8 - number 5)
* Micro SD Card not included
*Fig 3.3.1
*Fig 4.1.1


