Clock Setup (Continued)
P A G E 2 6
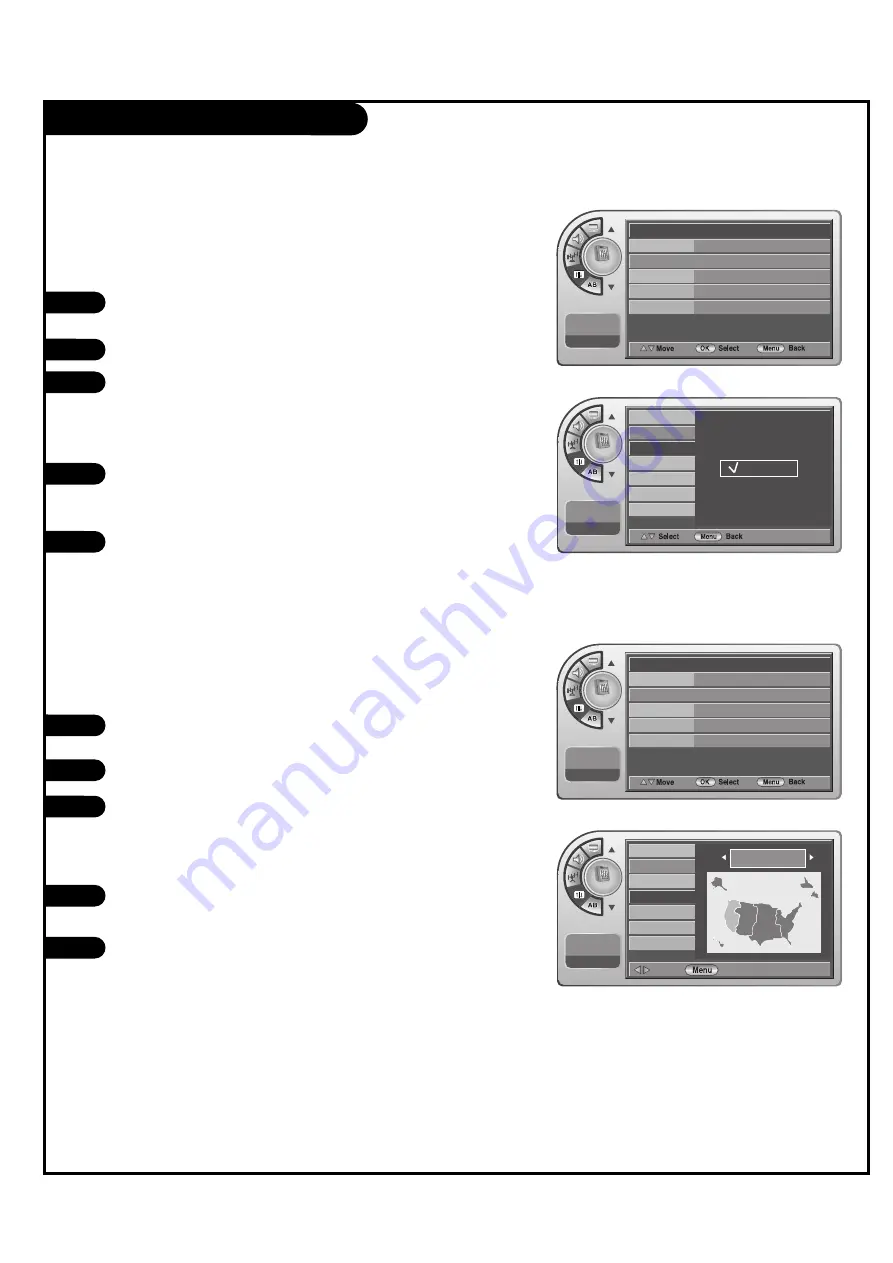
Press the
MENU
button and then use the
D
/
E
ADJ
button
to highlight the Setup menu.
Press the
OK (Enter)
button to highlight Time.
Press the
OK (Enter)
button to highlight Clock. Manual or
Auto will appear on the menu next to clock. Select Auto
on the submenu with the Down arrow and press the
OK
(Enter)
button.
Use the ADJ Up/Down/Left/Right arrows to highlight and
set the Daylight Savings options: On=Yes or Off=No for
your local area.
When finished, press Menu repeatedly to remove the
menus.
1
2
3
4
5
Installer can elect to use Daylight Savings to adjust the clock time.
This is operated from the Automatic Time Settings.
Installer can set the Time Zone.
Daylight Saving
Time Zone Settings
1
2
Press the
MENU
button and then use the
D
/
E
ADJ
button
to highlight the Setup menu.
Press the
OK (Enter)
button to highlight Time.
Press the
OK (Enter)
button to highlight Clock. Manual or
Auto will appear on the menu next to clock. Select Auto
on the submenu with the Down arrow and press the
OK
(Enter)
button.
Use the ADJ Up/Down/Left/Right arrows to highlight and
set the Time Zone for your local area.
When finished, press Menu repeatedly to remove the
menus.
3
4
5
Setup
Time
G
V-Chip
PC
Menu Language
Menu Transparency
Set ID
11:20 PM
Sep.11, 2006
Setup
11:20 PM
Sep.11, 2006
Clock
Manual Clock
Daylight Saving
Time Zone
On Timer
Off Timer
Auto Off
No
Yes
Setup
Select
Back
11:20 PM
Sep.11, 2006
Clock
Manual Clock
Daylight Saving
Time Zone
On Timer
Off Timer
Auto Off
Pacific
Setup
Time
G
V-Chip
PC
Menu Language
English
Transparent
96
Menu Transparency
Set ID
11:20 PM
Sep.11, 2006
English
Transparent
96


