6
7
RENAMING A SOURCE DEVICE
Click on the
display icon, enter a new name and click on Save Changes. This name is used by Voice Services
when controlling specific sinks- be careful when naming these if you intend to use voice control to make sure they
are pronounceable.
Names must be 13 characters or less and cannot be blank, start with or end with a space, certain special characters are
also not allowed. Custom names are displayed in the source menu in a CEC enabled TV* and used for voice services.
*where supported.
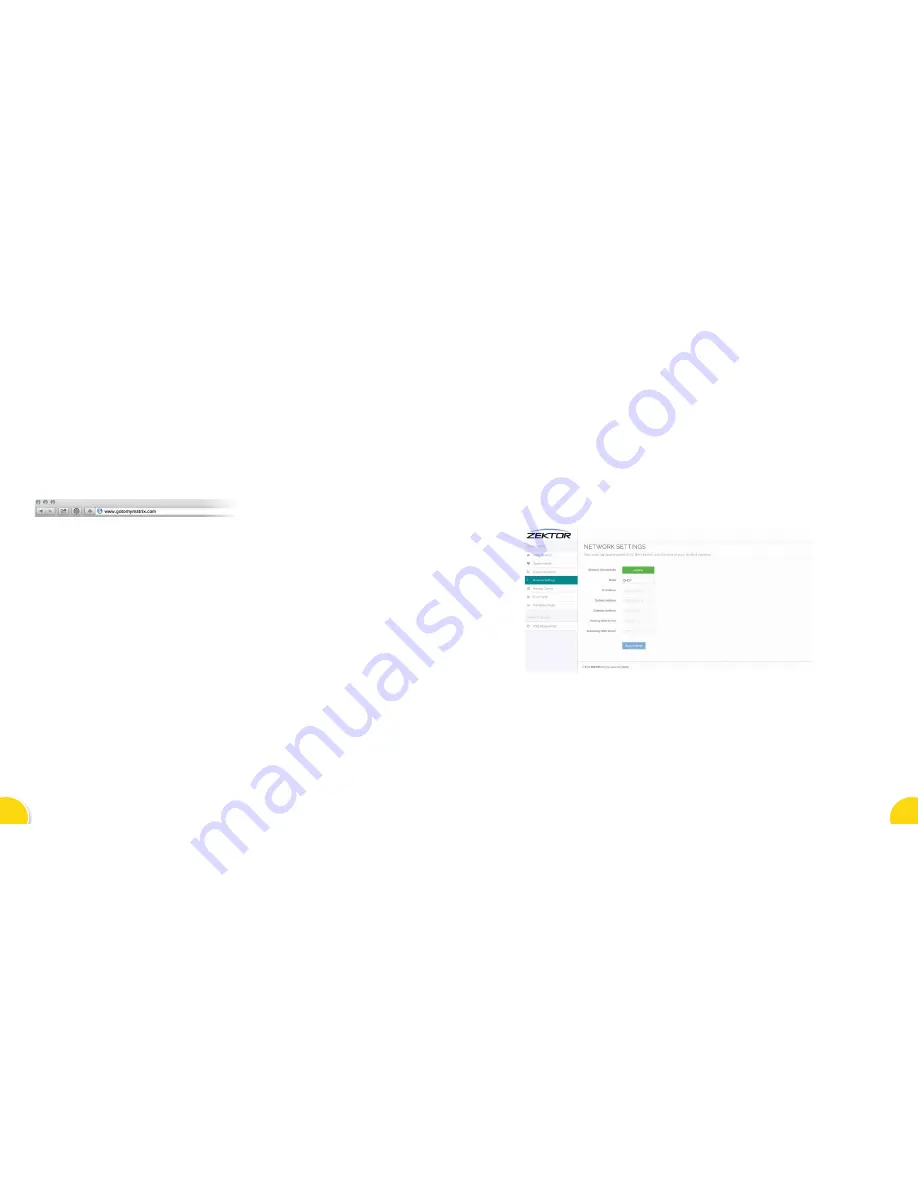
CONFIGURING NETWORK SETTINGS
By default, the matrix is set to retrieve an IP address via DHCP, you must connect the system to a router or server that
has DHCP enabled. Once initially configured you can modify this setting and switch to a static IP address.
You must ensure that the new settings are correct before saving them as you will no longer be able to access the
matrix if they are incorrect. In order for the internet based functions to operate such as the cloud based monitoring
and gotomymatrix.com facility you must provide at least one valid DNS address. We recommend using the Google
Public DNS address 8.8.8.8 for Primary DNS and 8.8.4.4 for Secondary DNS
DIAGNOSTICS & SETTINGS
Within the web interface you can also check the hardware health under the
System Health tab. Here you will
find the system status, power, connectivity and temperature. You will also find a HDBaseT link quality test which will
indicate if the HDBaseT link is stable over a sustained period of time.
Under the
Routing Control tab you will find useful options to create custom IR profiles and disable HDMI-CEC
support. Backlight options for the front LEDs can be accessed under the
Front Panel tab.
Additional setup information can be found under 'Documentation & Guides' on the installer monitoring portal.
CONNECT TO THE WEB INTERFACE
To setup your matrix you need to use the built in web interface. Firstly check your system is connected correctly by
ensuring the network LED is lit green on the front of the matrix.
The web interface can be accessed from any locally connected device via Wi-Fi or a fixed wire connection. You can
access the web interface from a mobile, tablet, laptop or desktop PC. Many of the controls in the user interface (UI)
are drag and drop friendly.
GOTOMYMATRIX.COM
You can easily access the web interface by visiting www.gotomymatrix.com into any web browser, on any device,
this will locate the matrix automatically on your local network. (An Android app version is also available)
VIDEO ROUTING
The home page of the UI displays the current routing - devices in blue are active, we have detected they are
powered up*. Select an input with a single click/press and the outputs that this input is routed to will be highlighted.
Press again the same input to restore the normal display.
To change the routing of the matrix, drag the input and drop it on the output you want to send that video to. Once
routing is successful a green success message will display at the top of the screen. If for some reason this routing
cannot be done a red error message will be shown explaining the reason.
You can also change the routing by click on the
display icon (or
when in user mode) on the output and then
selecting the input from the drop down list. You do not need to click to save changes, the change is immediate.
*Due to certain HDMI limitations this may not be 100% accurate at all times
ACCESS THE ADMIN SETTINGS
Some options are hidden to the user so to access the admin settings go to the
‘Cloud Connection’ link on the left
hand nav, then click on the ‘[Admin]’ link at the foot of the page.The default password in ‘admin’.
LINK MONITORING PORTAL
Keep your system up to date and get notified automatically if a problem occurs by linking your monitoring account,
simply insert your Installer ID in the box under the
Cloud Connection tab and it will link to your account. (If you do
not have a monitoring account please contact your sales manager)
RENAMING SINKS
Click on the
display icon, enter a new name and click on Save Changes. This name is purely cosmetic and only
used within the web interface. Names must be 13 characters or less and cannot be blank, start with or end with a
space, certain special characters are also not allowed..


