8
Calibrate the Sensor
A calibration is a measuring process in which a calibration object is meas‐
ured. Thus, the measuring system is adjusted and its dimensional consis‐
tency is ensured. During this process, the software determines geometrical
parameters, for example position and orientation of each camera, based
on the recorded camera images. Furthermore, the software determines
the image characteristics of the camera lenses and of the camera chip.
These settings are the computation basis of the software. From the points
of the calibration object in the 2D camera image, the software computes
the 3D coordinates of the points.
The software then calculates the 3D coordinates back again into the 2D
camera images. For the position of the reference points, this results in the
reference point deviation (intersection error).
Generally, each measuring volume (MV) has its own calibration object. The
table in section 4.1 informs you about which calibration object is required
for your measuring volume.
For the GOM Scan 1 measuring volumes, different calibration objects are
available.
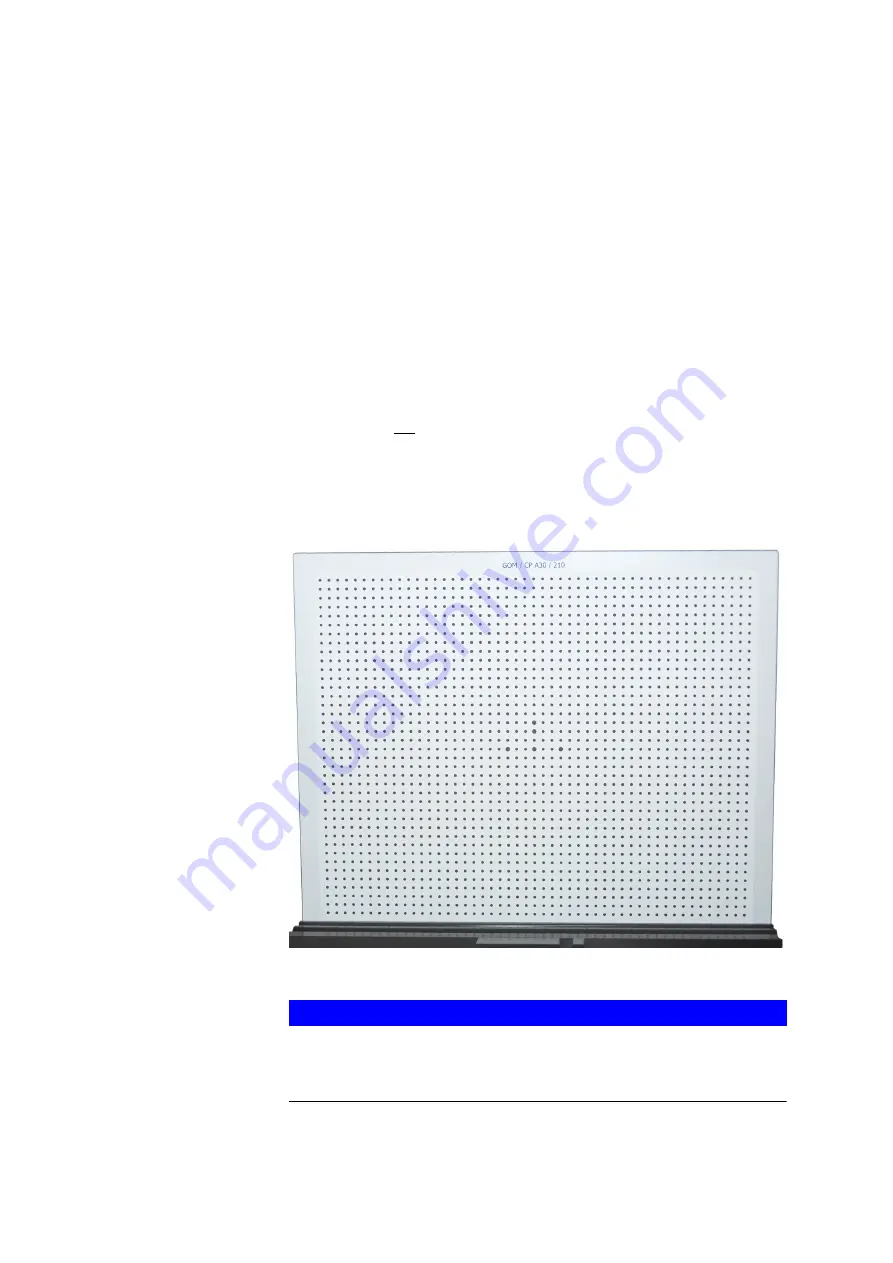
The corresponding holding device enables different tilting and tipping of
the calibration panel during the calibration procedure.
Fig. 5: Calibration panel CPA30/210 with holding device
NOTICE
Inappropriate calibration objects can affect the measuring accuracy.
▶
For calibrating, only use the calibration object which is intended for
the measuring volume!
0000002121_003_EN_01-09-2021
Page 15 (24)


