background image


HDbridge™ Module Configuration Manual


Page 5 

www.zeevee.com

               Rev 1.0 

 
Changing Modulation Standards 

 
Cable STD, HRC, and IRC channel plan considerations: Most cable services program their channel placements using 
a  Standard  (STD)  channel  lineup.  In  increasingly  rare  cases,  HRC  or  IRC  channel  placements  are  used.  The 
modulator  can  be  reprogrammed  to  use  these  standards  by  entering  the  following  channel  numbers  using  the 
channel programming procedure: 


STD 

Channel 205 

HRC 

Channel 206 

ORC 

Channel 207 


Restoring Factory Defaults 

 
Remove the power. Depress and hold the reset button in the back of the unit. Reapply power. The LED will flash 
blue/yellow for approximately 20 cycles, followed by a fast blue blink (approx. 20 cycles). Once the LED is a 

solid 

yellow,

 release the reset button. The unit will then restore all factory defaults and go through a full reboot. 

 
Advanced Configuration Using WebManager 

 
For  advanced  configuration  settings  and/or  remote  access  to  the  system,  the  HDbridge  modules  utilize  the 
WebManager,  a  web  interface  available  over  an  Ethernet  connection  either  directly  to  a  PC  or  through  a 
switch/LAN  connection.  You  will  need  a  standard  patch  cable,  not  a  cross-over  cable.  PCs  that  are  connected 
directly to the units do not require an internet connection. 
 
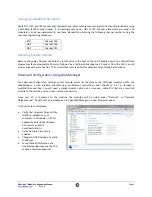
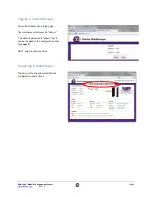
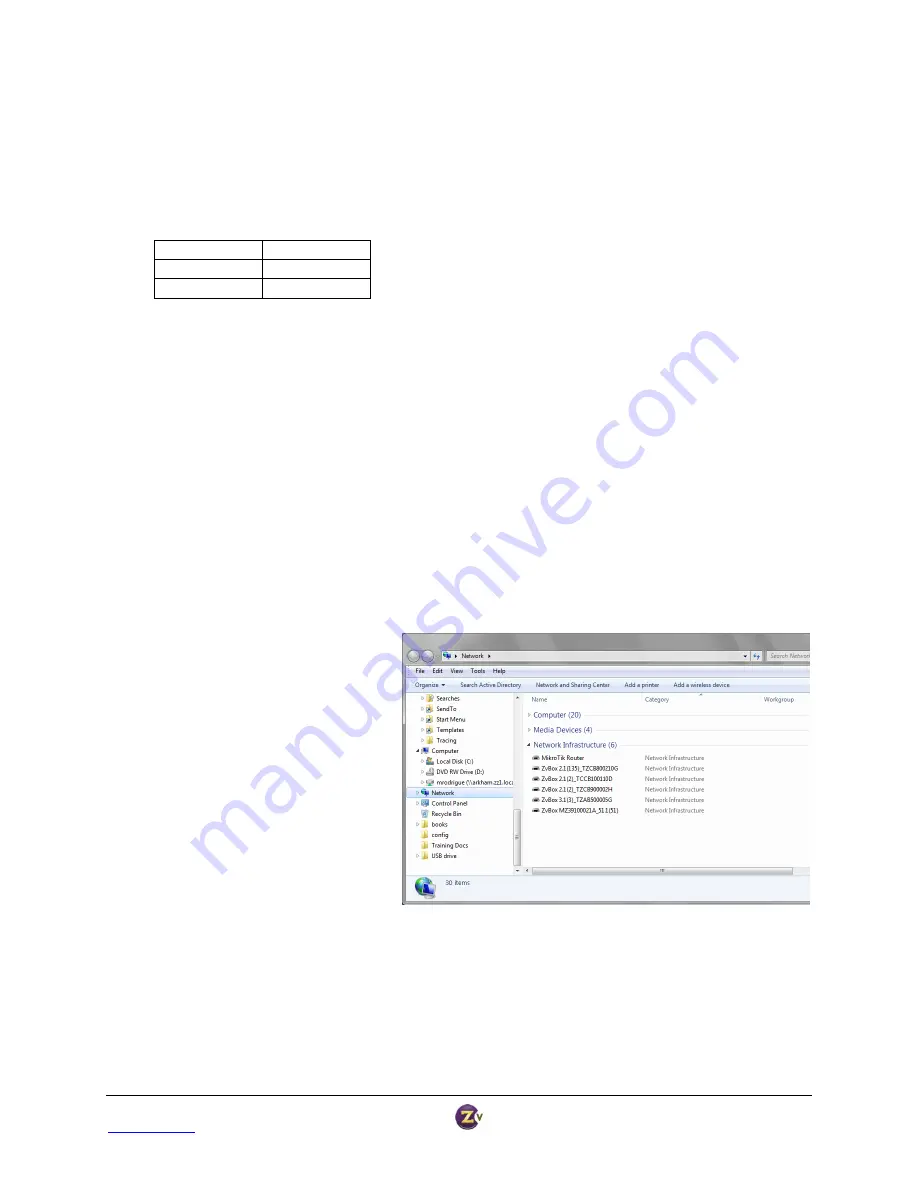
Once  your  PC  is  connected  to  the  module,  the  modules  will  be  listed  under  “Network”  or  “Network 
Neighborhood.” Double-click on a module icon to open WebManager in a new browser window. 


If the units are not displayed: 


Verify that Universal Plug and Play 
(UPnP) is installed on your 
computer. In Windows 7, UPnP is 
enabled by default but Windows 
XP users may need to 
download/install it. 


Verify Network Discovery is 
enabled. 


Change to DHCP instead of a static 
IP address. 


For additional information and 
troubleshooting steps see the FAQ 
section on www.zeevee.com. 


Summary of Contents for HDbridge

Page 1: ...Deploying Digital Signage Page 1 The Case for Coax HDbridge Advanced Configuration Manual...

Page 2: ...annel via the Front Panel Button 4 Changing Modulation Standards 5 Restoring Factory Defaults 5 Advanced Configuration Using WebManager 5 Logging in to WebManager 6 Navigating in WebManager 6 Summary...

Page 3: ...4db Power for 8 modules RF output of each module is 25db Not Provided Component cables Digital Audio cables optical or spdif Ethernet 8 way RF combiner RF amplifier Component cables Digital Audio cabl...

Page 4: ...e changed using just the front panel button no PC or Ethernet connection is required When using the Front Panel Button for configuration RF and HDTV channels are linked for example RF channel 50 will...

Page 5: ...ctory defaults and go through a full reboot Advanced Configuration Using WebManager For advanced configuration settings and or remote access to the system the HDbridge modules utilize the WebManager a...

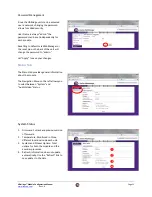
Page 6: ...nager You will be directed to a login page The Username will always be admin The default password is admin but it can be changed in the configuration tool see page 8 NOTE Login is case sensitive Navig...

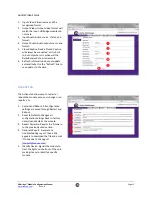
Page 7: ...hows general information about the module 1 Serial number and current channel settings 2 General status information 3 Messages showing any errors or warnings WebManager has discovered Configuration Ta...

Page 8: ...ule should use for broadcast By default they are linked so if the RF Channel is 2 the HDTV channel will default to 2 1 2 Long and Short channel names may be displayed by the HDTV 3 Hit Apply to save y...

Page 9: ...3 RF Cable Plan Allows for changing between QAM 256 and QAM 64 as well as STD HRC and IRC 4 Hit Apply to save your changes For advanced channel settings 1 Click the Advanced Configuration link to dis...

Page 10: ...es for the custom idle screen must have a resolution of 1280x720 or less Images with a resolution of 700x500 or less will bounce around the TV screen otherwise the image will be fixed in the center of...

Page 11: ...top box instead of the HDTV tuner 5 Hit Apply to save your changes IMPORTANT NOTE Advanced Option changes for MPEG encoding are rarely needed It is strongly recommended that you avoid making changes u...

Page 12: ...will change the password to admin Hit Apply to save your changes Status Tab The Status tab provides general information about the module The Navigation Menu on the left allows you to select between Sy...

Page 13: ...automatically Use the Refresh link to see updates to the data Actions Tab The Actions tab allows you to restart or reboot the module save your changes run reports etc 1 Restart and Reboot All configu...

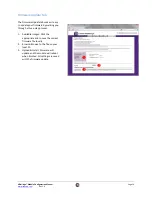
Page 14: ...o update your firmware by walking you through a three step process 1 Available Images Click the appropriate link to save the correct firmware file locally 2 Browse Browse to the file on your local PC...

Page 15: ...This message is displayed on the screen when the video source resolution exceeds the capability of your HDbridge module Set the video source to the appropriate resolution No Audio Verify that digital...

Reviews: