rate earth in compliance with current regula-
tions, consulting a qualified electrician.
The manufacturer declines all responsibility if
the above safety precautions are not observed.
This appliance complies with the E.E.C. Direc-
tives.
Door reversibility
Warning!
Before carrying out any
operations, remove the plug from the
power socket.
Important!
To carry out the following
operations, we suggest that another person will
keep a firm hold on the appliance doors during
the door reversing procedure.
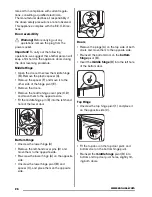
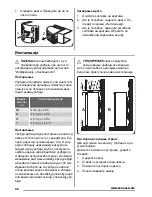
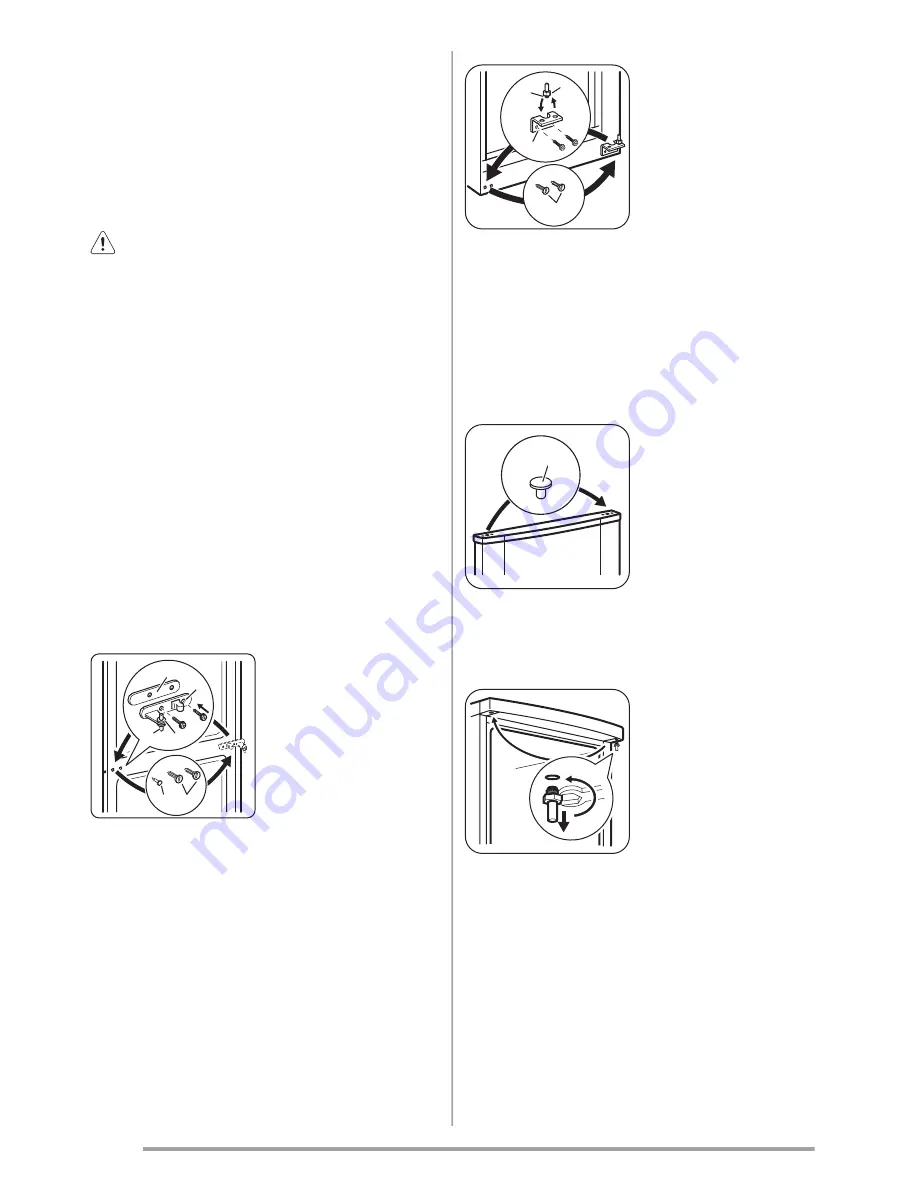
Middle Hinge
• Open the doors. Unscrew the middle hinge
(B). Remove the plastic spacer (A).
• Remove the spacer (F) and move it to the
other side of the hinge pivot (E).
• Remove the doors.
• Remove the middle hinge cover pins (C,D)
and move them to the opposite side.
• Fit the middle hinge pin (E) into the left-hand
hole of the lower door.
D
C
E
F
A
B
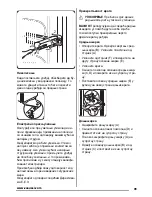
Bottom Hinge
• Unscrew the lower hinge (A)
• Remove the left-hand cover pins (D) and
move them to the opposite side.
• Re-screw the lower hinge (A) on the opposite
side.
• Unscrew the lower hinge pivot (B) and
spacer (C), and place them on the opposite
side.
D
A
B
C
Doors
• Remove the plugs (A) on the top side of both
doors and move them to the opposite side.
• Re-insert the bottom door on the
bottom
hinge
pivot (B).
• Insert the
middle hinge
(B) into the left hole
of the bottom door.
A
Top Hinge
• Unscrew the top hinge pivot (1) and place it
on the opposite side (2).
2
1
• Fit the top door on the top door pivot, and
bottom door on the bottom hinge pivot.
• Re-insert the
middle hinge
pivot (B) into
bottom and top door pivot holes, slightly tilt-
ing both doors.
26
www.zanussi.com
Summary of Contents for ZRB936PW2
Page 69: ...69 www zanussi com ...
Page 70: ...70 www zanussi com ...
Page 71: ...71 www zanussi com ...

