


2
Parte 1ª - ISTRUZIONI PER L’INSTALLAZIONE .................................... 5
1 - GENERALITÀ .............................................................................................................. 5
2 - COMPONENTI ............................................................................................................. 5
3 - AVVERTENZE PER LA SICUREZZA ......................................................................... 5
4 - INSTALLAZIONE ........................................................................................................ 6
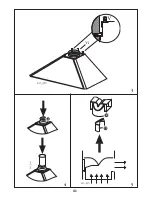
4.1 - Montaggio della staffa di supporto. Fondale ......................................................... 6
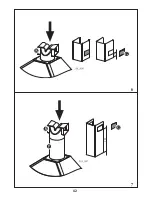
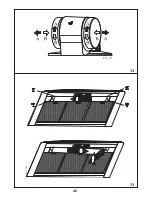
4.2 - Montaggio del corpo cappa (fig. 3) ........................................................................ 6
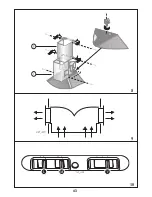
4.3 - Connessione elettrica e controllo funzionale ......................................................... 7
4.4 - Connessione aspirante o filtrante .......................................................................... 7
4.5 - Montaggio del camino telescopico (fig. 8) ............................................................. 7
Parte 2ª - ISTRUZIONI PER L’USO E LA MANUTENZIONE .................. 8
1 - AVVERTENZE PER LA SICUREZZA ......................................................................... 8
2 - USO ............................................................................................................................. 8
3 - MANUTENZIONE ........................................................................................................ 8
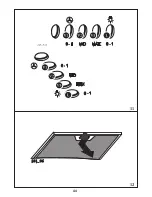
3.1 - Filtri antigrasso metallici ........................................................................................ 8
3.2 - Filtri in fibra sintetica .............................................................................................. 9
3.3 - Filtro al carbone attivo ........................................................................................... 9
3.4 - Illuminazione ......................................................................................................... 9
3.5 - Pulizia .................................................................................................................... 9
Part 1a INSTALLATION INSTRUCTIONS ............................................. 10
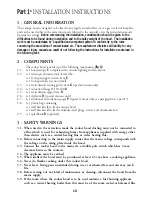
1 - GENERAL INFORMATION ....................................................................................... 10
2 - COMPONENTS ......................................................................................................... 10
3 - SAFETY WARNINGS ................................................................................................ 10
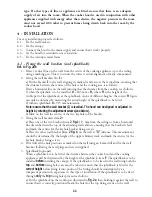
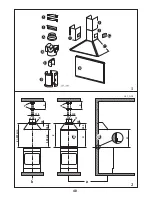
4 - INSTALLATION ......................................................................................................... 11
4.1 - Fixing the wall brackets (and splashback). .......................................................... 11
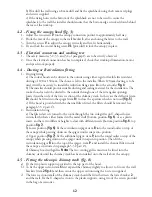
4.2 - Fixing the canopy hood (fig. 3) ............................................................................ 12
4.3 - Electrical connection and working test ................................................................ 12
4.4 - Ducting or Recirculation fitting ............................................................................. 12
4.5 - Fitting the telescopic chimney stack (fig. 8) ......................................................... 12
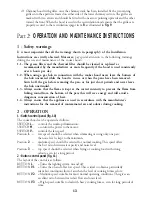
Part 2a OPERATION AND MAINTENANCE INSTRUCTIONS .............. 13
1 - Safety warnings ....................................................................................................... 13
2 - OPERATION .............................................................................................................. 13
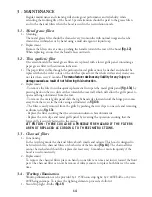
3 - MAINTENANCE ........................................................................................................ 14
3.1 - Metal grease filters .............................................................................................. 14
3.2 - Thin synthetic filter .............................................................................................. 14
3.3 - Charcoal filters .................................................................................................... 14
3.4 - Worktop illumination ............................................................................................ 14
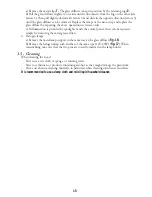
3.5 - Cleaning .............................................................................................................. 15
1ère Partie INSTRUCTIONS POUR L’INSTALLATION ........................ 16
1 - GENERALITES ......................................................................................................... 16
Summary of Contents for ZHC 915
Page 11: ...40 b a 2 1 2 1 243_A02 X 115 140 d 915 min 650 min 265 40 X 115 140 d H 265 40 H B B 1 2...
Page 12: ...41 3 4 5...
Page 13: ...42 222 6 7...
Page 14: ...43 10 9 8...
Page 15: ...44 11 12...
Page 16: ...45 13 a c b...
Page 17: ...46 14 15...
Page 18: ...47 16 17...