background image


53 

Q  Can I include all Z-Wave devices from the network by ZRC-

100 and no need to click the PROG button for each device? 

A    Yes! ZRC-100 provides a useful function which is “Re-scan 

Devices” that allows rediscovering all Z-Wave devices from the 
network. 


Please refer to user manual with below steps: 

i)


Assume all Z-Wave devices have been added by gateway. 

ii)


ZRC-100 should act as a secondary controller [step of B11.1]. 

iii)


Execute the “Re-scan Devices” function [step of C3]. 


ZRC-100 will rediscover Z-Wave devices from the network, 
discovered devices will be re-assigned to their default 
categories (Devices, Comforts and Sensors), and names will 
be re-assigned with default naming in ascending order. 


- This action may take up to 0.5-1 hour depends on how 


  many devices are in your network, and it will wipe out 


  all previously stored device names!  


- Please make sure batteries are full before proceed! 


iv)


Now, all Z-Wave devices will appear on the Device, Comfort 
and Sensor categories. You can rename your device 
individually if needed.  

 
Q  Can I use 2 or more ZRC-100 controllers in my house at one 

time?


A  You can use multiple ZRC-100 around your house by assigning 

one remote to be the primary remote and have an additional 
secondary controller.  

 
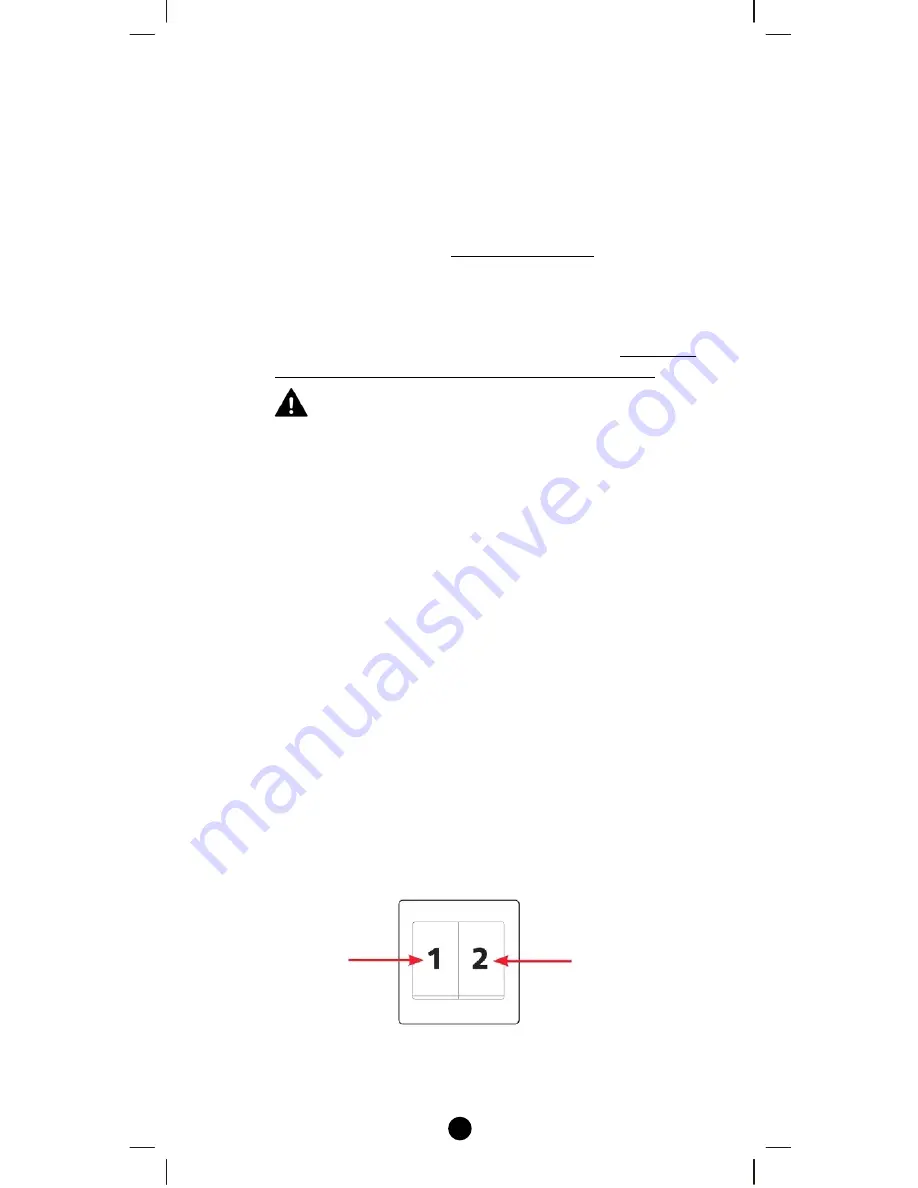
Q  What is multi-channel device?


A  The multi-channel command class used to control one or more end 

points in a given device that supports this command class.  


There are several kinds of multi-channel products in the market 
such as Z-Wave wall switch / dimmer and power strip. It is able to 
control the end-point individually. 
 

z


Z-Wave wall switch / dimmer 


Multi-Channel Device  
End Point 1 

Multi-Channel Device  
End Point 2 

Summary of Contents for ZRC-100

Page 1: ...1 ZRC 100 Z Wave Remote Controller...

Page 2: ...Comfort Sensor Configure 25 Shortcut Key 27 Z Wave Advanced Setup 29 Learning Mode 29 Configure Association 31 Change Device Configuration 37 Resetting Your Network 39 System Settings 40 About ZRC 10...

Page 3: ...3 TECHNICAL SPECIFICATIONS 55 CHECKING THE ACCESSORIES 56 FCC NOTICE 56 WARNINGS 56 CAUTION 57...

Page 4: ...y Z Wave enabled devices binary switches dimmers thermostats secured door locks binary or multi level sensors Users can control their Z Wave enabled devices individually or through Scene control Scene...

Page 5: ...r can be used to include or delete modules from a network It is recommended that you mark the primary controller for each network for ease in modifying your network Secondary Controller A controller c...

Page 6: ...ease carefully read through the following sections of this user manual and store for future reference Before using the ZRC 100 please install the batteries 4xAAA batteries are required for operation R...

Page 7: ...on Keys Keys Functions Short cut keys for 1 Device and scene control 2 Short cut to user selected control menu Back to previous screen 4 way directional keys for setup and control OK key for confirmat...

Page 8: ...rt A4 Sensor A5 All Off A6 Devices List A2 1 Scenes List A3 1 Comforts List A4 1 Sensors List A5 1 or Press c ord keys to select control category Press BACK key to go back to previous page Press and h...

Page 9: ...9 1 Shortcut Key B10 1 Learning Mode B11 1 Select Scene B5 1 Scene Configure B7 1 Comfort Configure B8 1 Config Assoc B11 2 Configuration B11 3 Reset to Default B11 4 LCD Contrast B12 1 B L Brightness...

Page 10: ...of controllable End point EP device sensor 128 items listed on the Device and Sensor page Total number of thermostats 6 thermostats listed on the Comfort page Total number of scenes 12 scenes listed...

Page 11: ...nds to go back to the root menu at any setup operation screen Add Delete Devices Adding Device to the Network Step Setup Key LCD Indication 1 Press and hold ef keys simultaneously for 3 seconds under...

Page 12: ...work only the primary controller or inclusion controller can add or include devices into its network If ZRC 100 is configured as a secondary controller it will report Error if users attempt to use ZRC...

Page 13: ...he primary controller or inclusion controller can delete or exclude devices into its network If ZRC 100 is configured as a secondary controller it will report Error if users attempt to use ZRC 100 to...

Page 14: ...off the device 3 To operate dimmer and motorized curtain Press and hold the f key until reach to your desired level and release the key to open the curtain or to increase the dimmer intensity Press a...

Page 15: ...ontroller timed event or specific conditions For example a user prefers to set the dimmer to a low intensity level and close the motorized curtain when he watch movie He can define a scene to control...

Page 16: ...5 Adjust the target device on off or dim level with its program button to the desired level Setup Add Device Delete Device Add to Scene OK to Enter Setup Add Device Delete Device Add to Scene OK to E...

Page 17: ...y LCD Indication 1 Press and hold ef keys simultaneously for 3 seconds under the Home page 2 Select Remove from Scene and press key 3 Select a Scene which you want to delete the device from Scene and...

Page 18: ...s done you can trigger the desired scene via scene control function on ZRC 100 Step Setup Key LCD Indication 1 Select Scene and press key to confirm A corresponding Scene Control page will be displaye...

Page 19: ...and press key to confirm A corresponding Comfort Control page will be displayed 2 Select your Thermostat and press key to entry the Thermostat control page 3 Use ef keys to switch the operation mode s...

Page 20: ...A corresponding Sensor page will be displayed Device Configure It is allow to Move Rename Delete the device after added into the network under the Device Configure function Step Setup Key LCD Indicat...

Page 21: ...target position and press to save the setting 6 Select your action e g Rename and press key Setup Remove fr Scene Device Config Scene Config OK to Enter Device Configure Dimmer 002 Dimmer 004 OK to E...

Page 22: ...e selected device or Press e key to cancel it and go back to previous page Note 1 ZRC 100 supports up to 16 characters in a row for the device name Note 2 This process will only remove the devices EPs...

Page 23: ...for 3 seconds under the Home page 2 Select Scene Configure and press key 3 Select your Scene and press key 4 Select your action e g Move and press key Home Device Scene Comfort OK to Enter Setup Add D...

Page 24: ...change your character and ef keys to select character position press to save the setting 8 Select your action e g Clear and press key Move Scene 1 Scene 2 Scene 3 OK to Save Edit Move Rename Clear OK...

Page 25: ...emote controller and the Scene information mapping from gateway primary controller is unsuccessful Comfort Sensor Configure It is allow to Move Rename Delete the device after added into the network un...

Page 26: ...tion e g Rename and press key 7 Use cdkeys to change your character and ef keys to select character position press to save the setting Comfort configure Thermostat003 OK to Enter Edit Move Rename Dele...

Page 27: ...nly remove the devices EPs from its catalogue but will not exclude it from the network Shortcut key ZRC 100 provides a shortcut key which can jump to your target Comfort Sensor device or turn On Off y...

Page 28: ...key then press key 6 Press key to turn On your Device or Scene at any page or Press and hold key to turn Off your Device or Scene at any page Press your shortcut key can jump to your target Comfort Se...

Page 29: ...e Z Wave network Step Setup Key LCD Indication 1 Place the two controllers close to each other 2 Press and hold ef keys simultaneously for 3 seconds under the Home page 3 Select Advanced Setup and pre...

Page 30: ...ne Controller Configuration Command and Association Command If scenes are copied to a secondary controller using the replication function those scenes cannot be modified using the Scene Controller Con...

Page 31: ...n Association Group Step Setup Key LCD Indication 1 Press and hold ef keys simultaneously for 3 seconds under the Home page 2 Select Advanced Setup and press key 3 Select Config Assoc and press key 4...

Page 32: ...ight switch 7 Press the program EP button on the primary device e g door sensor It will turn on the light switch when the door is open Add Assoc Assoc ID 1 255 000 OK to Save Add Assoc Assoc ID 1 255...

Page 33: ...keys simultaneously for 3 seconds under the Home page 2 Select Advanced Setup and press key 3 Select Config Assoc and press key 4 Select Remove Assoc and press key Home Device Scene Comfort OK to Ent...

Page 34: ...ndary device e g light switch 7 Press the program EP button on the primary device e g door sensor Remove Assoc Assoc ID 1 255 000 OK to Save Remove Assoc Assoc ID 1 255 001 OK to Save Remove Assoc Pre...

Page 35: ...neously for 3 seconds under the Home page 2 Select Advanced Setup and press key 3 Select Config Assoc and press key 4 Select Delete Assoc and press key Home Device Scene Comfort OK to Enter Setup Add...

Page 36: ...utton on the primary device e g door sensor Note 1 This process will only remove the group devices EPs from its assigned association group but will not exclude it from the network Delete Assoc Assoc I...

Page 37: ...d ef keys simultaneously for 3 seconds under the Home page 2 Select Advanced Setup and press key 3 Select Configuration and press key 4 Use cdkeys to change your parameter number and ef keys to select...

Page 38: ...mber position press to save the setting Parameter value from 2147483648 to 2147483647 32bits value 6 Press the program button on the target device Configuration Parameter Value 0000000000 OK to Save C...

Page 39: ...nced Setup and press key 3 Select Reset to Default and press key 4 Press f key to confirm to reset to factory default or Press e key to cancel it and go back to previous page Home Device Scene Comfort...

Page 40: ...s Step Setup Key LCD Indication 1 Press and hold ef keys simultaneously for 3 seconds under the Home page 2 Select System Settings and press key Home Device Scene Comfort OK to Enter Setup Add Device...

Page 41: ...age then select Sleep Timer and press key 8 Press ef keys to adjust the sleep timer Note 1 The batteries service life will be shortened if the sleep timer set to higher value System Settings LCD Contr...

Page 42: ...econds under the Home page 2 Select About and press key It will show the firmware version on the screen Home Device Scene Comfort OK to Enter Setup Add Device Delete Device Add to Scene OK to Enter Se...

Page 43: ...p Key LCD Indication 1 Press and hold cb keys simultaneously for 3 seconds under the Home page 2 Select Rediscover N W and press key 3 The remote is updating the network information The LCD will displ...

Page 44: ...Sensors and names will be re assigned with default naming in ascending order which is implemented by the function of Re scan Devices To implement this function your ZRC 100 is needed to follow below s...

Page 45: ...LCD will display OK and go back to previous page when it is completed This action may take up to 0 5 1 hour depends on how many devices are in your network and it will wipe out all previously stored...

Page 46: ...key 3 The remote is checking the dead node The LCD will display OK and go back to previous page when it is completed Home Device Scene Comfort OK to Enter Network Setup Rediscover N W Delete Dead Node...

Page 47: ...he Z Wave protocol version and the supported Z Wave command version of this controller Manufacturer command class To get the manufacture ID product type ID and the product ID of this controller Scene...

Page 48: ...a Secondary Controller Copying Network Information to a Secondary Controller You can add a secondary controller to your network and copy all of your primary controller s network information to the sec...

Page 49: ...after this action Original ZRC 100 primary controller will still keep in a primary controller after this action Create a Primary Controller Transferring Only Network Information to a New Primary Cont...

Page 50: ...y the Learning mode if this is a another ZRC 100 Please refer to the target controller user manual for more information Target primary controller will act as a primary controller after this action Ori...

Page 51: ...d reduce the range by up to 25 to 30 MAINTENANCE 1 Do not expose your remote to dust strong sunlight humidity high temperatures or mechanical shocks 2 Do not use old and new batteries together as old...

Page 52: ...what should I do for my ZRC 100 How to copy my scenes settings to my ZRC 100 A Your ZRC 100 can act as a secondary controller with network information about other devices and scenes setting acquired...

Page 53: ...1 hour depends on how many devices are in your network and it will wipe out all previously stored device names Please make sure batteries are full before proceed iv Now all Z Wave devices will appear...

Page 54: ...ve setup information from your primary remote onto a new secondary remote Q Where can I keep up to date with the latest Z Wave products for my house A You can keep up to date by visiting the www remot...

Page 55: ...t Power Dry cell AAA x 4pcs Temperature operation 0 40 storage 20 60 Dimension LxWxT 161mm x 52mm x 15mm Weight 75g Batteries excluded Z Wave device type Basic Device Class BASIC_TYPE_CONTROLLER Gener...

Page 56: ...d operation WARNINGS Changes or modifications not expressly approved by the party responsible for compliance could void the user s authority to operate the equipment RISK OF FIRE RISK OF ELECTRICAL SH...

Page 57: ...in a hazardous condition For these reasons we recommend the following z Do not include Z Wave devices to control electric heaters or other appliances which may present a hazardous condition due to an...

Reviews: