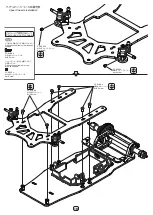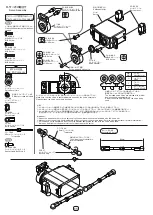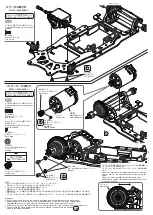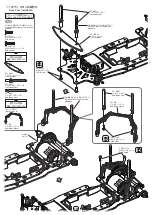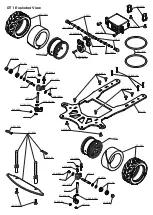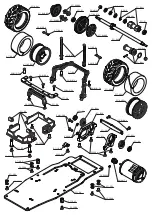
袋 #9 の内容
Bag #9 Contents
袋 #9 の内容
Bag #9 Contents
このページで使用するパーツ
Parts used on this page
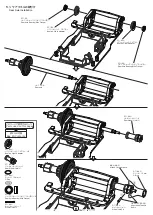
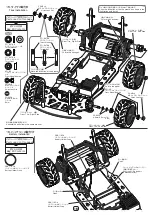
15. タイヤの取付け
Tires Installation
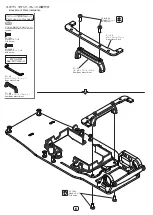
DRB-118OA
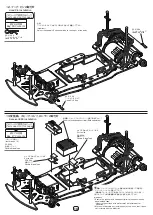
バッテリーホルダー O リング ×2
Battery Holder O-ring
16. バッテリーの取付け
Battery Installation
このページで使用するパーツ
Parts used on this page
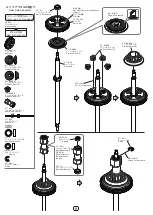
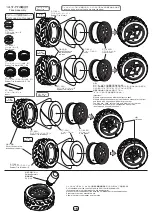
GT1-24TBB
スラスト ボール ×1
Thrust Ball
GT1-24TBB
スラスト ワッシャー ×2
Thrust Washer
GT1-29
フロント ホイール ベアリング
×4
Front Wheel Bearing
ZC-N3LA
M3 ナイロン ロック
ナット ×4
Nylon Lock Nut
ZC-S30A
φ3mm/0.5mm
シム ×4
Shim
DRB-118OA
バッテリーホルダー O リング
Battery Holder O-ring
DRB-118OA
バッテリーホルダー O リング
Battery Holder O-ring
引っ掛ける。
Hook.
引っ掛ける。
Hook.
ショートサイズ Li-Po バッテリー
(別途ご用意下さい。)
Short size Li-Po battery
(Sold separately.)
ミゾの向きに注意。
Note the direction of the groove.
GT1-24TBB
スラスト ワッシャー
Thrust Washer
GT1-24TBB
スラスト ボール
Thrust Ball
ZC-N3LA
M3 ナイロン ロック ナット
Nylon Lock Nut
ZC-N3LA
M3 ナイロン ロック ナット
Nylon Lock Nut
ホイールにはめ込む。
Fit into the wheel.
GT1-29
フロント ホイール ベアリング
Front Wheel Bearing
ZC-S30A
φ3mm/0.5mm シム
Shim
反対側も同様に固定します。
Assemble each side in the same manner.
六角にはめ込む。
Fit into the hexagon.
六角にはめ込む。
Fit into the hexagon.
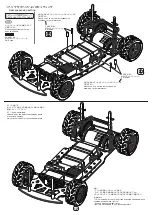
フロントタイヤ・左側
Front Tire・Left Side
フロントタイヤ・右側
Front Tire・Right Side
リヤタイヤ・右側
Rear Tire・Right Side
リヤタイヤ・左側
Rear Tire・Left Side
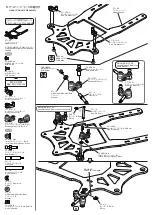
タイヤ溝の方向を図のように合わせて取付けます。
Align the direction of the tire groove as shown in the
illustration and install.
16
Summary of Contents for GT1
Page 23: ...MEMO ...

