5
7) Disconnect pump and cover the intake to
keep out contaminants.
If an extension cord is needed, refer to the chart
for proper sizing:
RECOMMENDED EXTENSION
CORD SIZES
Total Extension Cord Length (Feet)
25' 50' 100'
16 Ga.
14 Ga.
12 Ga.
Wire Gauge (AWG)
CHANGE OIL AFTER EACH USE
to protect
pump components from contaminants pulled into
pump during service. Place used oil in a sealable
container and dispose properly in accordance with
local regulations.
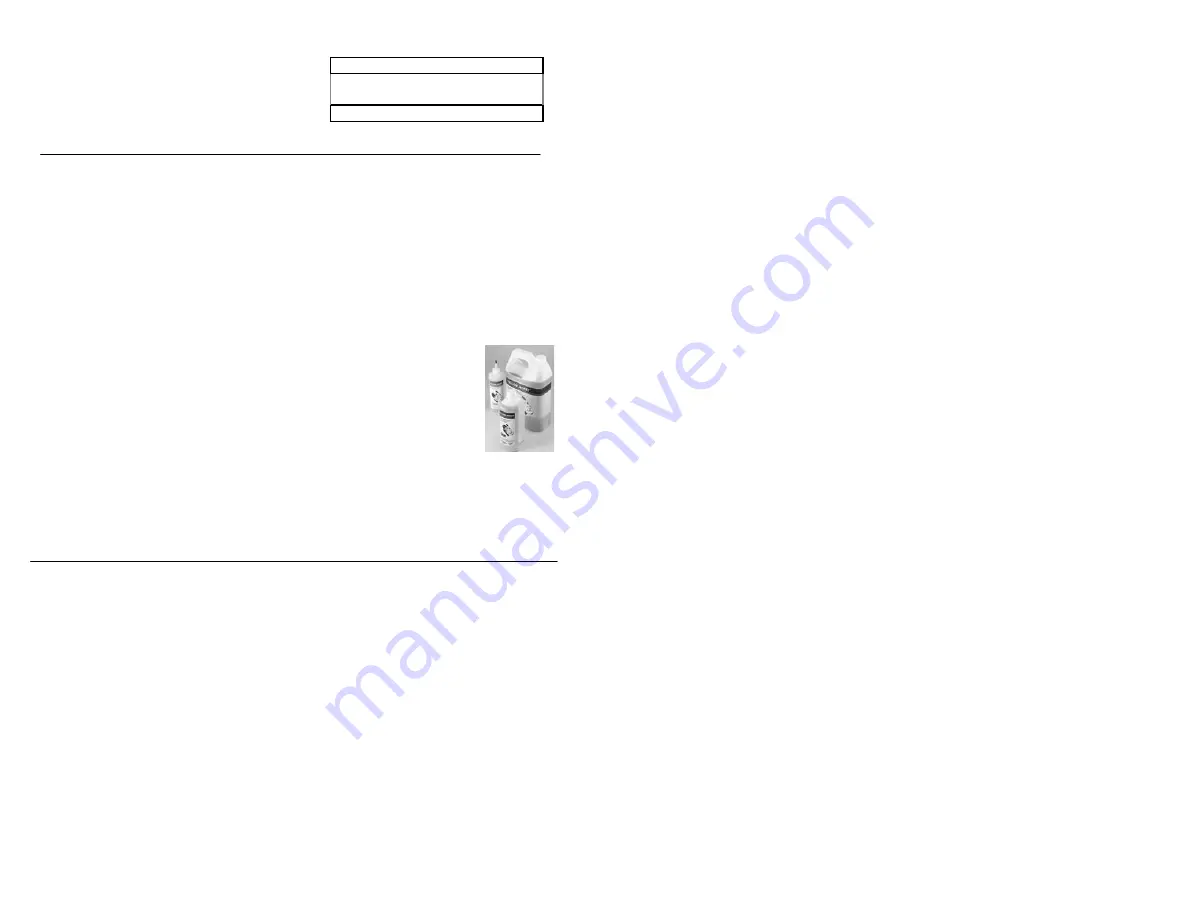
YELLOW JACKET vacuum pump oil is spe-
cially refined and formulated for extremely low
vapor pressure and high pump efficiency at all
temperature conditions. This means it can help
you get a
continued return on your pump
investment.
In fact, with
proper maintenance,
your pump
can keep making money for you up to ten years
and more. Proper maintenance includes -
1) Change the oil immediately after every use
while the oil is still hot. This insures that
contaminants are still in suspension and are
removed with the oil.
If contaminants cool, solidify and stay in the
pump, they lower vacuum efficiency. In
extreme cases, the oil stops lubricating and
the pump seizes.
Oil may look clean, but still be contaminated.
"Looking clean" is not enough. One job is
more than enough to contaminate oil. The
only way to determine oil condition is to test
vacuum pulled with an electronic vacuum
gauge.
2)
When finished with the pump, cover the
intake fitting. This keeps out moisture and
contaminants.
SuperEvac vacuum levels can be
reached only when the correct
amount of YELLOW JACKET oil
is used.
Use of other oils voids
your pump warranty.
Refriger-
ant oil, brake fluid and any other
oil such as motor oil cannot be
used.
Oil Changes
Vacuum Tips for Best Performance
1)
For the fastest vacuum, connect your pump
directly
to the system. Going through a
manifold slows the job.
2) Use
as
large
a hose as possible, even though
the system has 1/4" fittings. A 1/2” or 3/8”
hose allows a much faster and more com-
plete vacuum.
3) Use
as
short
a hose as practical to get maxi-
mum evacuation speed. Short hoses make
evacuation faster than longer hoses. Long
hoses slow the process.
4)
Metal hoses
are the most impervious so will
be most effective in evacuation.
5) Evacuate
through
both high and low
sides
at the same time to speed evacuation.
6) Use
two pumps
on very large systems to
reduce vacuum time.
4 most common comments
on pump return paperwork:
1)
"Will not pump."
This usually means the
pump will not pull a deep enough vacuum.
This can be caused by a bad seal on the gas
ballast valve or contaminated oil.
SUGGESTION: Change gas ballast “O”-ring,
change oil twice and recheck vacuum.
2) "
Will not pull below 1000 microns."
SUGGESTION: Check gas ballast “O”-ring. Test
pump to determine actual pull down. Remove all
hoses and connect vacuum sensor directly to
pump.
3)
"Noisy."
Pumps are noisy when they have
not achieved a high vacuum. In intermediate
vacuum, there will be oil, vane and exhaust
noises.
SUGGESTION: Listen to the pump at high vac-
uum. If relatively quiet, the pump is running
properly. If still noisy, there may be a system
leak.
4)
"Repair and return."
This is the most diffi-
cult return comment to handle, since we are
unsure of what needs to be done to keep the
customer satisfied.
SUGGESTION: Be specific about the problem
with your pump if returning it. Please include a
separate sheet of paper documenting your prob-
lem.
Starting problems
•
Be sure pump is plugged into live receptacle
with line voltage plus or minus 10% of volt-
age on motor nameplate. Long extension
cords can greatly reduce voltage and cause
problems.
•
Pump/oil temperature must be 30°F (-1°C) or
higher. Open intake to atmosphere and switch
on pump; run up to speed before connecting
to system.
•
Your SuperEvac pump features a heavy-duty
high torque motor for cold weather starting,
but dirty oil makes starting more difficult,
causing unnecessary wear on your unit.
•
Dropping your pump can damage it. In a
locked pump condition, motor will not run
and the thermal overload will kick out.
•
Disconnect power cord and set pump with
front cover face down on table. Reach into
coupling area and try to rotate the coupling.
Do not use pliers. if the pump does not ro-
tate, it is “locked up.”
Oil leakage
•
If leak develops between front and rear half of
oil case, tighten all seven screws. Replace
gasket if necessary.
•
If shaft seal leaks, replace it.
•
Wipe pump dry and watch for source of leak.
Tighten screws and repair.
The steps to solving 95% of all
problems
1)
Check oil level when pump is running.
It
should be 1/2 to 5/8 up in the sight glass, the
level necessary for proper operation.
2)
Check all connections.
Make sure they are
tight. Put vacuum pump oil on gas ballast
“O”-ring.
Basic Troubleshooting
6
Note:
•
This unit generates a deep vacuum that can be harmful to human tissue. Do not expose any part
of the human body to the vacuum.
•
Do not operate this unit with the exhaust blocked or restricted.
•
Keep unit a minimum of 4” (10 cm) from objects for adequate cooling of motor.
•
Continuous sound pressure level of this unit can exceed 70dB (A).
•
Vacuum pump exhaust may contain harmful vapors. Provide adequate ventilation.


