PaloSanto Solutions
Yealink SIP-T26P Server Setup Guide
5
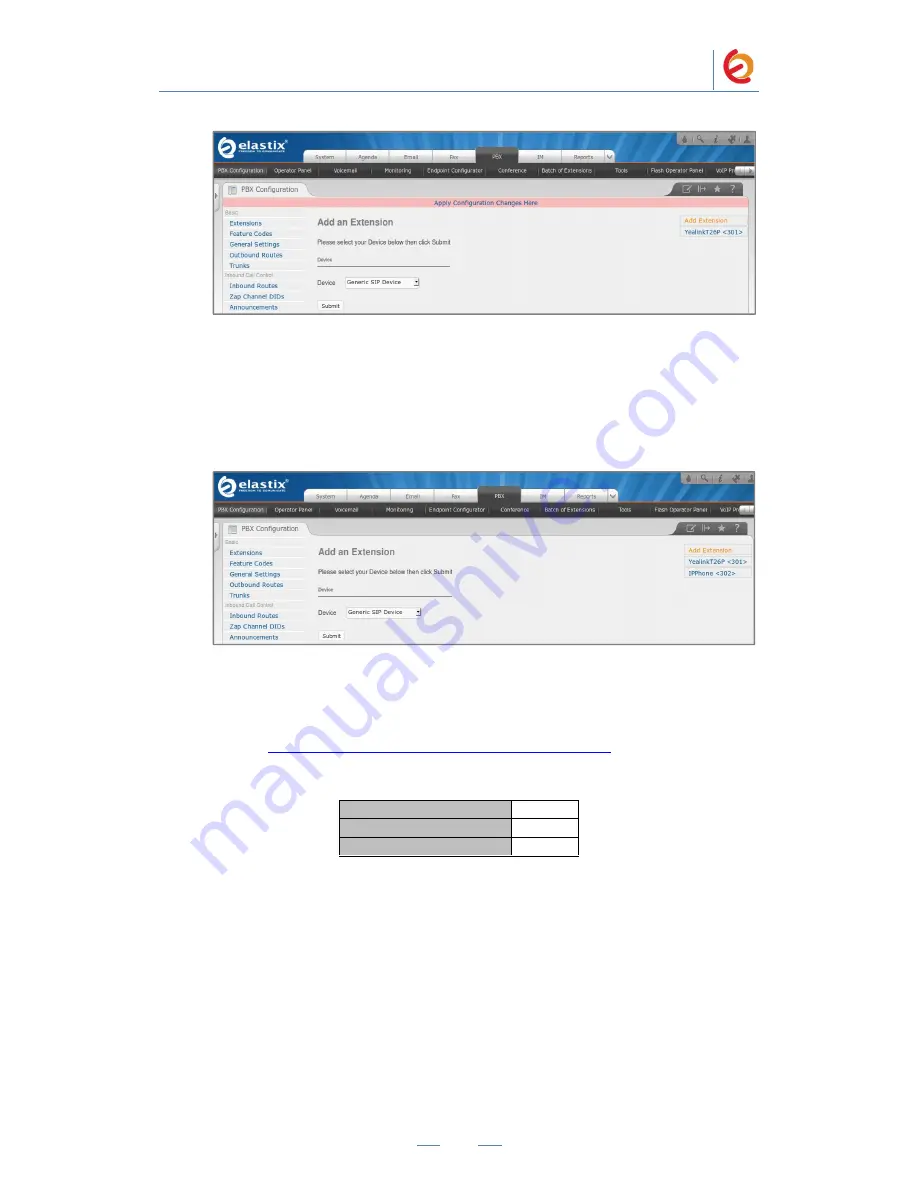
Figure 4-5. Apply Configuration Changes Here
9. With this you have just finished creating a SIP extension that will be used by the
Yealink SIP-T26P to register with the Elastix Server. Repeat Steps 5 through 8 to
similarly create another extension (different values on Step 6) to be used by the IP (SIP)
Phone to register as well (extension 302 in this example). Once finished you will see
something similar to Figure 4-6
Figure 4-6. Yealink and IP Phone extensions successfully created
10. You will need to enter the information from the extension created on the Elastix
Server into the Yealink Phone.
For the initial configuration, refer to the Yealink SIP-T26P User Manual which can be
found at:
http://www.yealink.com/index.php/Products/detail/id/2
Factory default settings
IP Addressing
DHCP
Web Access User Name
admin
Web Access Password
admin
11. Log in to the Yealink SIP-T26P WebUI by pointing your browser to the Yealink
Phone’s IP address.
12. When prompted, enter the Web Access Username and Web Access Password to
access the Yealink WebUI (Figure 4-7).


